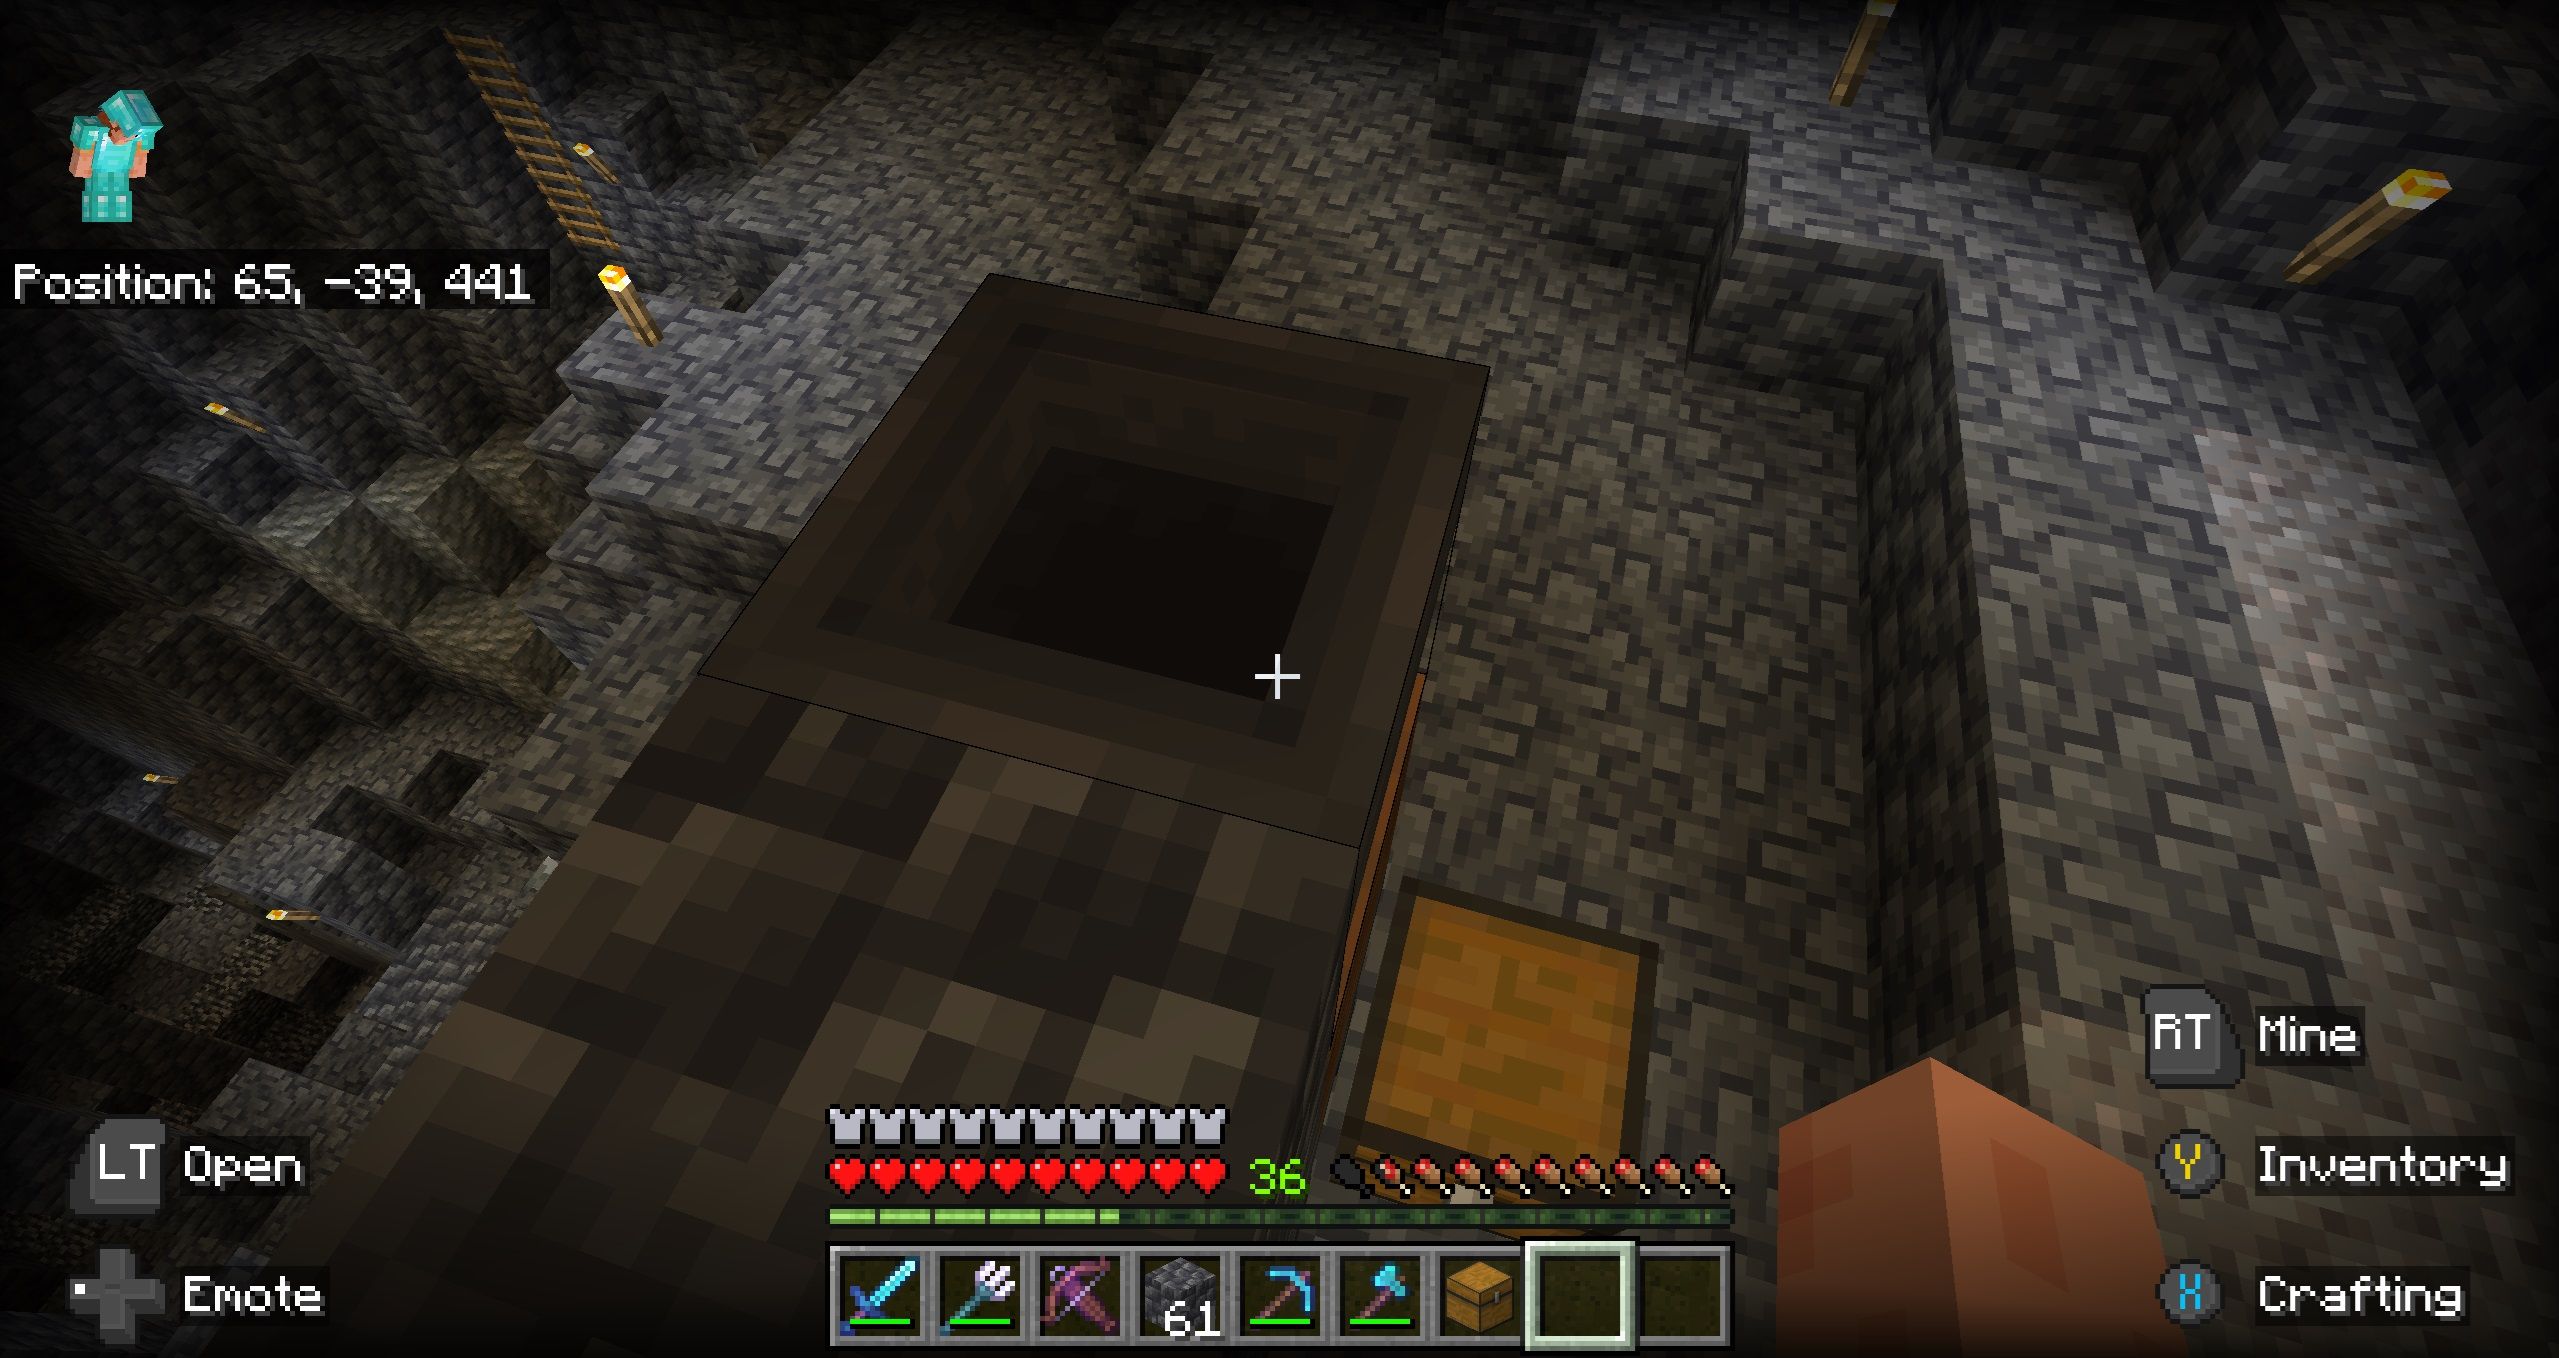
Play Minecraft long enough, and eventually you’re going to want rare ores. And if you want the rarer materials– gold, redstone, lapis lazuli, and of course, diamond– you’ll have to excavate further down. With deeper mining comes tougher blocks, which take longer to break and in turn causes more wear and tear on your equipment.
Related
Minecraft: 27 Essential Things Everyone Should Build First
Minecraft can be overwhelming at first, but this guide will show you what items you should build first when starting a game.
This is where moss mining comes in. Though it may seem strange, a single block of moss and some bone meal gives you the easiest way to not only expose valuable ores deep down, but also give you other valuable by-products in the process. Interested in getting those rare ores quicker, and getting some extra goods while you do? We’ll tell you how.
What Is Moss Mining?
Moss Mining is a way to mine large areas quickly by taking advantage of the moss block’s unique quirk: changing the exposed blocks around it into more moss as it grows.
Moss only transforms certain blocks into moss as it spreads, generally variations of dirt or stone. It also only transforms blocks that are exposed to air from above, so you can see all the blocks that could possibly be affected before you start.
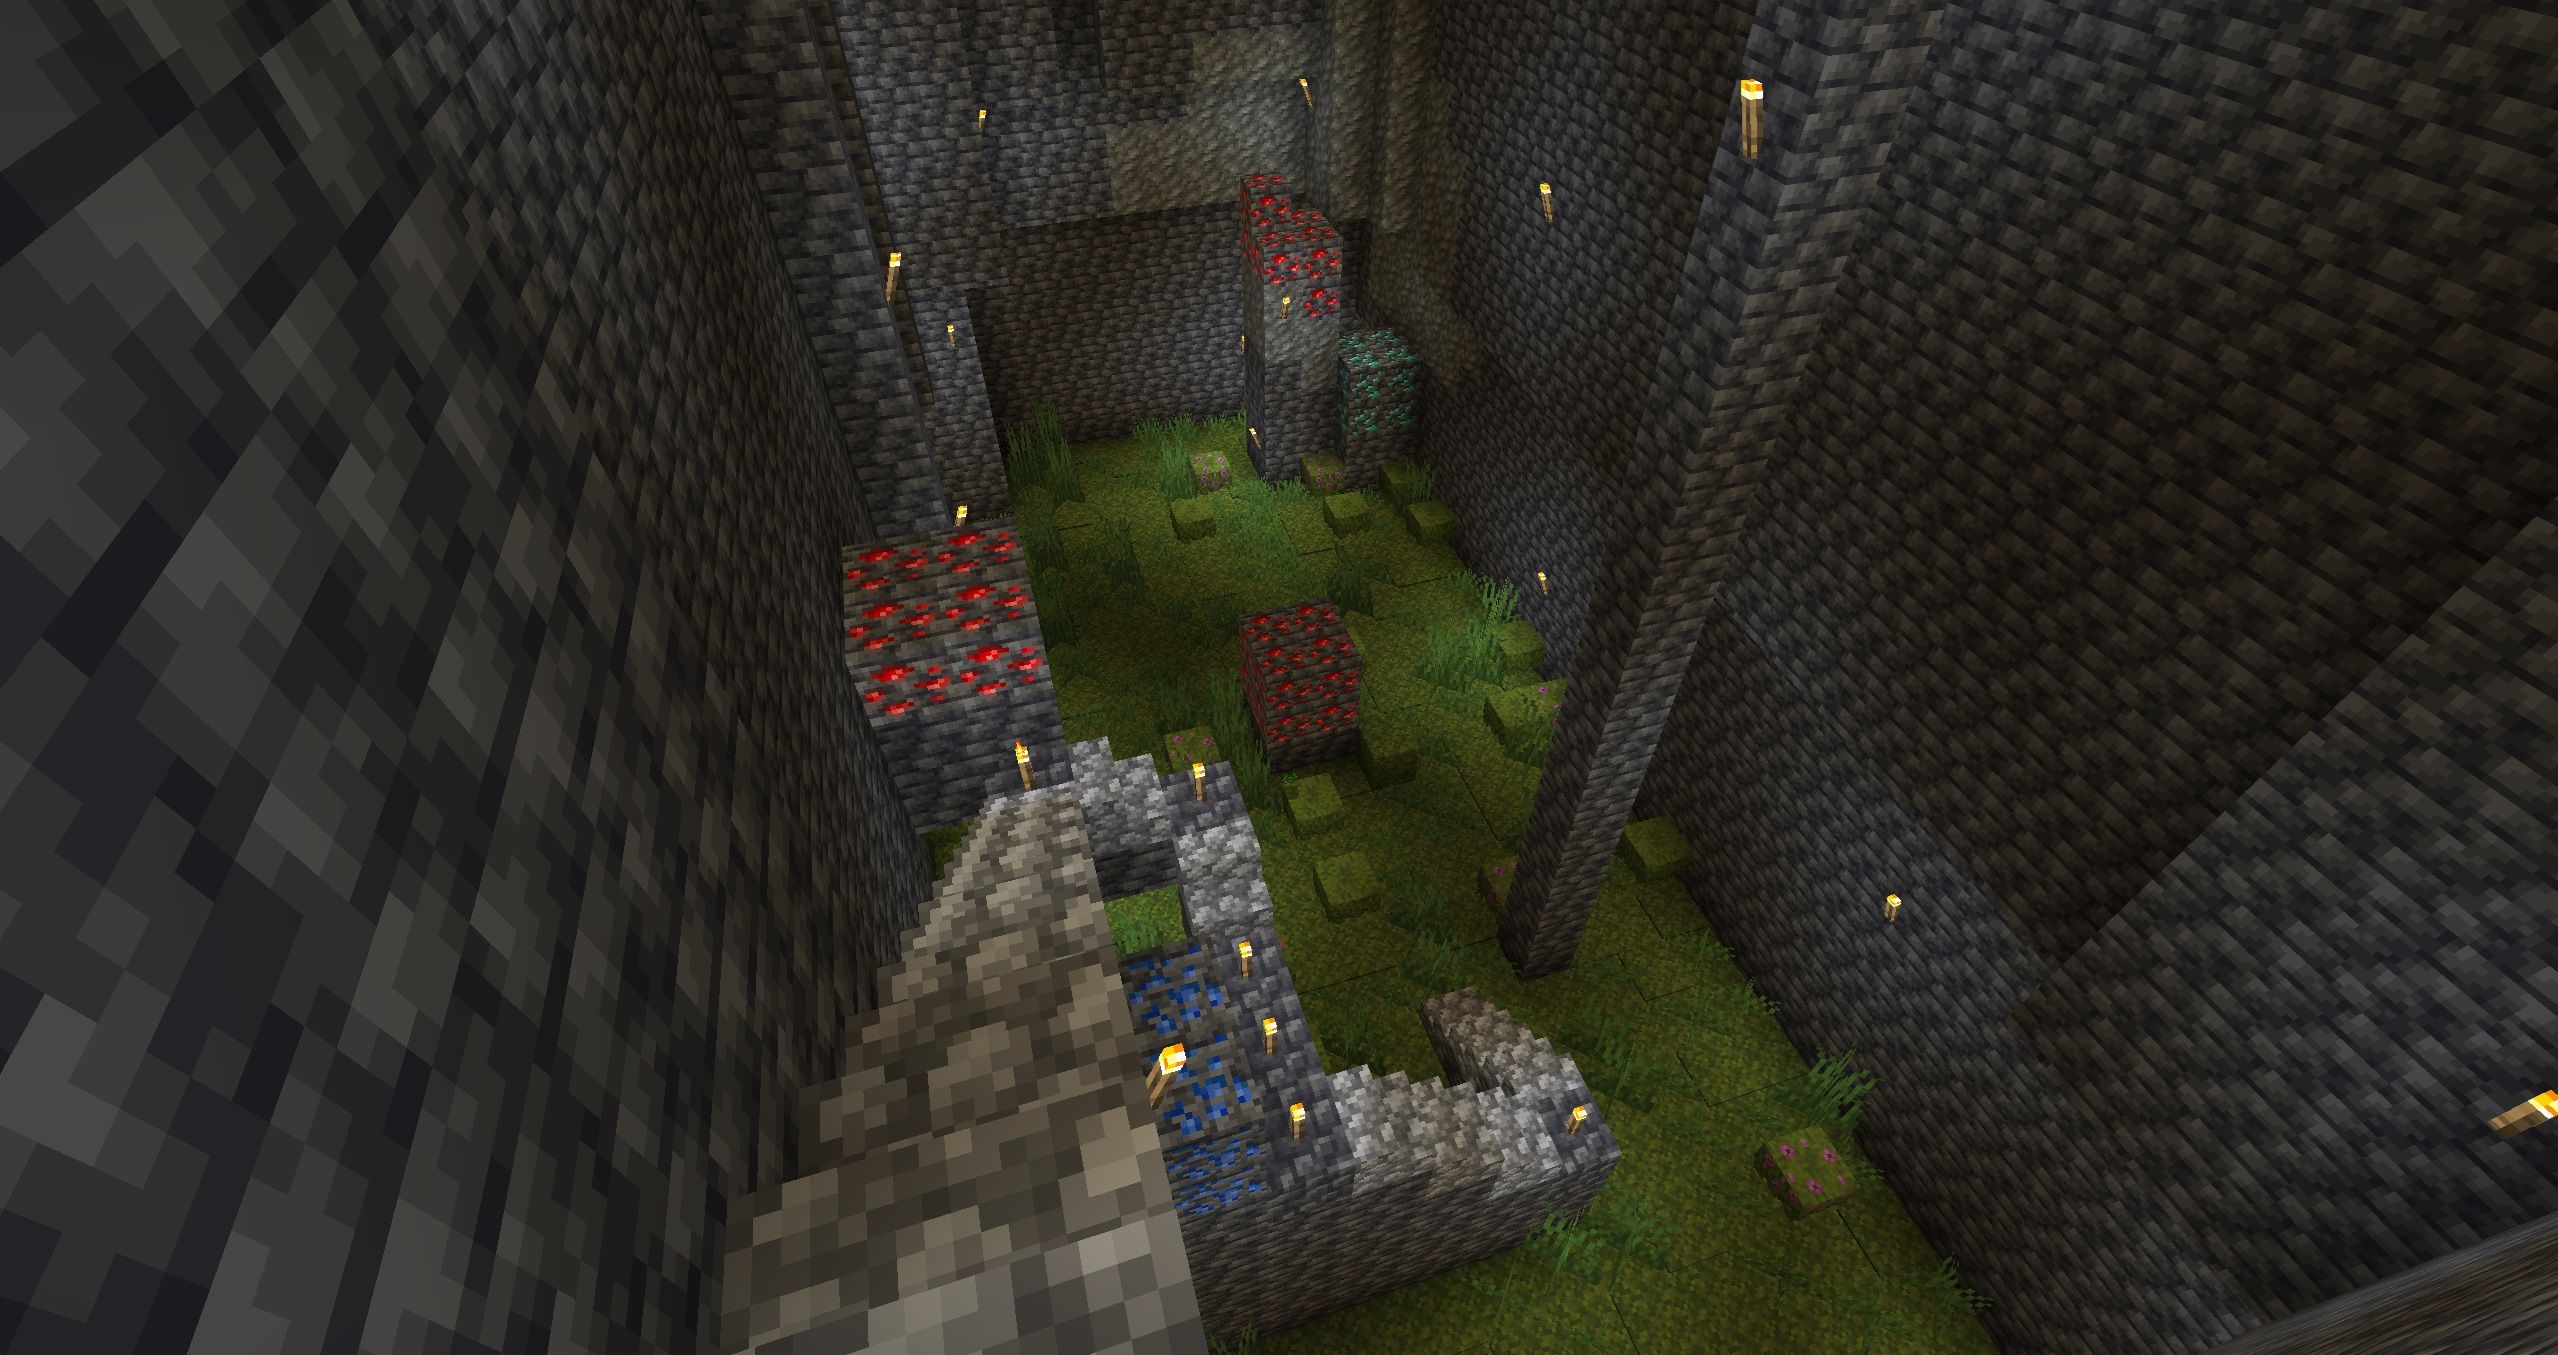
In conjunction with bone meal’s ability to accelerate the growth of all plants, you can change a large swath of relatively flat land into easily mineable moss. Then you can harvest that moss to expose veins of valuable ore blocks beneath, including diamonds, which you can then dig up.
Why Should You Moss Mine?
Normal methods of mining like strip-mining and branch-mining are not only time-consuming, but also damages your equipment, leading to costly repairs or even worse, breakage. This isn’t so bad at the cobblestone layers, but the rarer ores are down in the deepslate, which are more difficult to break.
Wear and tear is especially bad for enchanted equipment, since every time you use the anvil, it costs more levels for you to use on the same item. The grindstone requires another copy of the item and removes all enchantments.
This is where moss mining comes in. Moss is so easy to break that you can cut down tons of moss blocks with something as cheap and easy as a stone hoe, or even your bare hands in a pinch.
Moss blocks are fragile, but you’ll still incur a lot of durability damage from the sheer amount of them you’re going to break. Bring multiple hoes so that you can get excavate with minimal interruption.
With a composter, the process is also self-sustaining with minimal preparation, and the non-ore blocks you get from Moss Mining are also useful in their own right.
Where To Find Moss
The quickest and easiest way to get moss blocks is to buy it off a wandering trader for one emerald, this requires a little bit of luck, but once you get one, you’ll have an infinite amount as long as you remember to save at least one moss block when you moss mine.
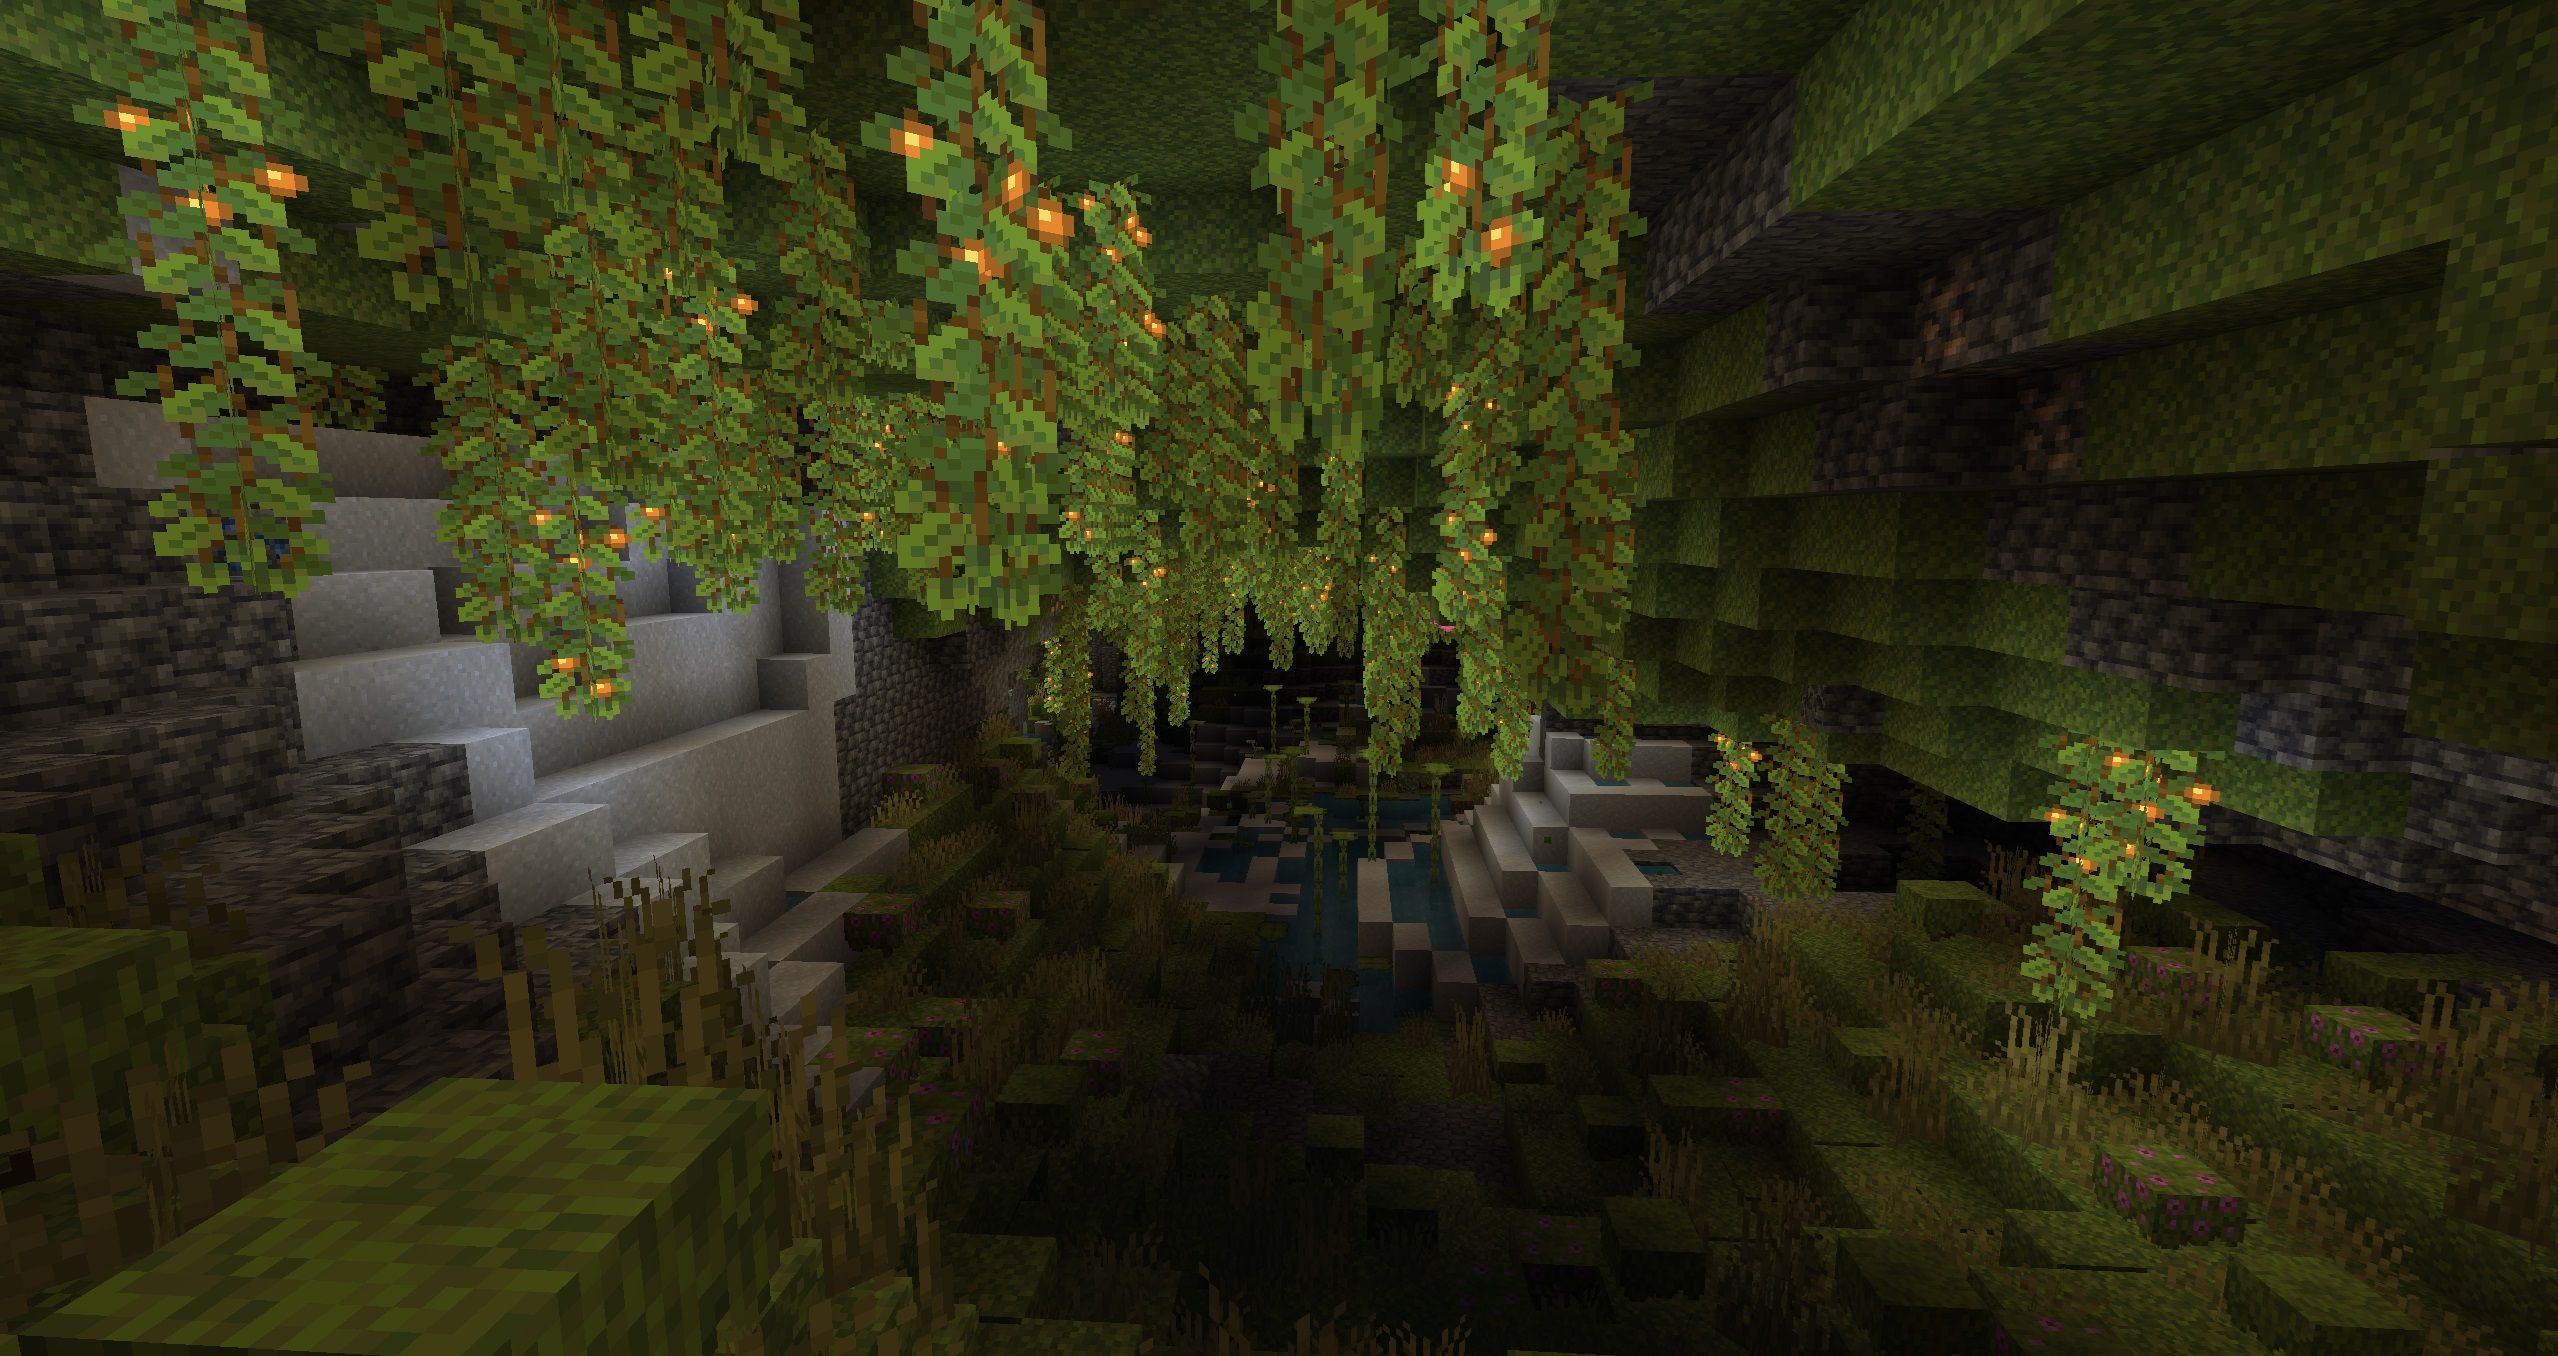
Moss blocks are also naturally generated in the Lush Cave biome. Finding a Lush Cave can be tricky since they’re uncommon. They’re generally found in humid biomes at any Y-Level, and never in grassland biomes like plains or savannah.
Humid biomes are: swamps, jungles, dark forests, old growth taigas, and bamboo jungles.
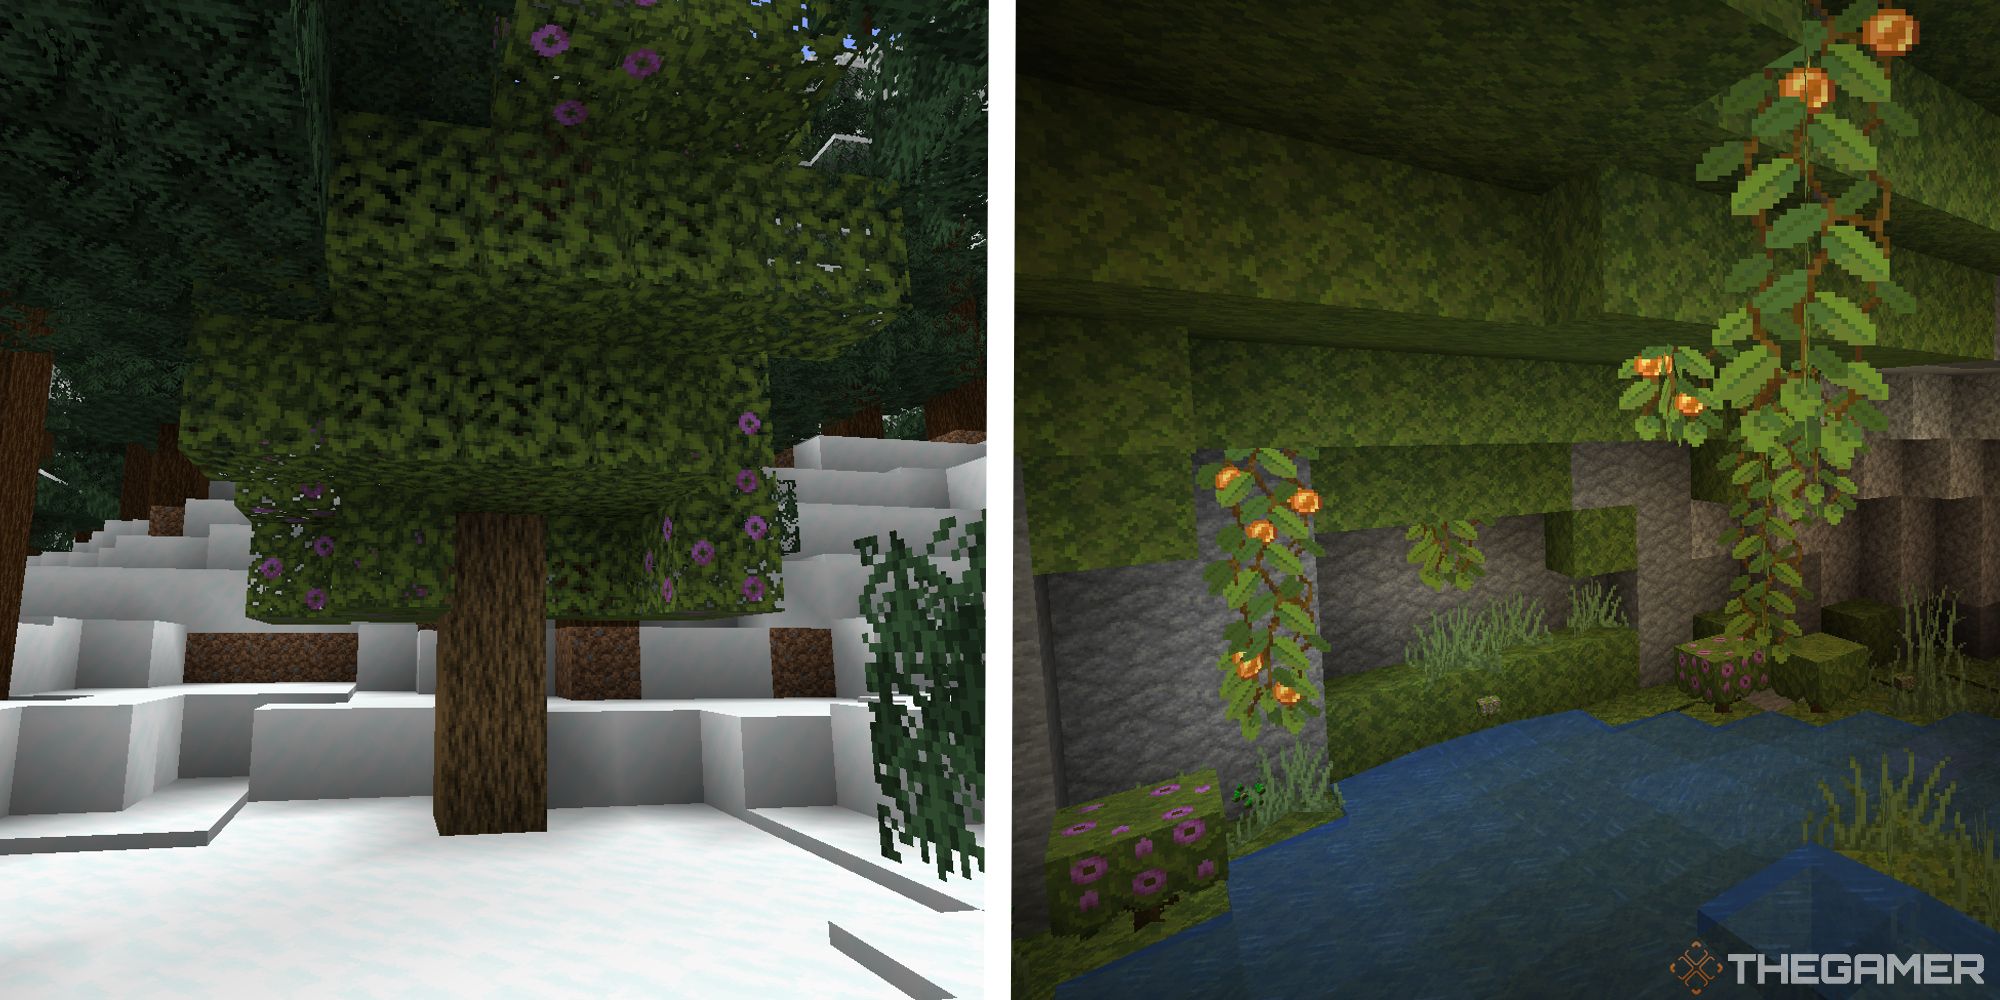
The most reliable way to find Lush Caves is to look for an azalea tree on the surface. These always indicate a Lush Cave underneath, just dig down under the base of the tree, carefully so you don’t fall to your death. Dripstone caves and Lush Caves are mutually exclusive, so if you find one, you’re unlikely to find the other nearby.
Related
Minecraft: How To Find A Lush Cave
Lush caves are lively underground biomes filled with flowers, berries, and vines in Minecraft. Here, you can learn how to find this biome.
Best Ways To Get Bone Meal
Bone meal is essential to moss mining, but luckily it’s also relatively easy to get. You make bone meal from bones, with each one yielding three bone meals. The most common source of bones are skeleton archers, most often found in unlit areas like caves or the overworld at night.
They’re also an uncommon drop on any fish mob, like cod or salmon which are plentiful in the ocean. You only need about 30 units to start mossmining, after which you’ll be producing enough plant matter to feed to a composter for a net gain of bone meal.
Best Places To Moss Mine
Moss mining is a great way to mine a wide area very quickly, but because of how the moss spreads, it’s much less effective at mining downwards. Only blocks that have nothing above them are transformed, so you only ever excavate the top layer of your site. You do this very quickly, but if you need to go down, you’re better off using a pickaxe.
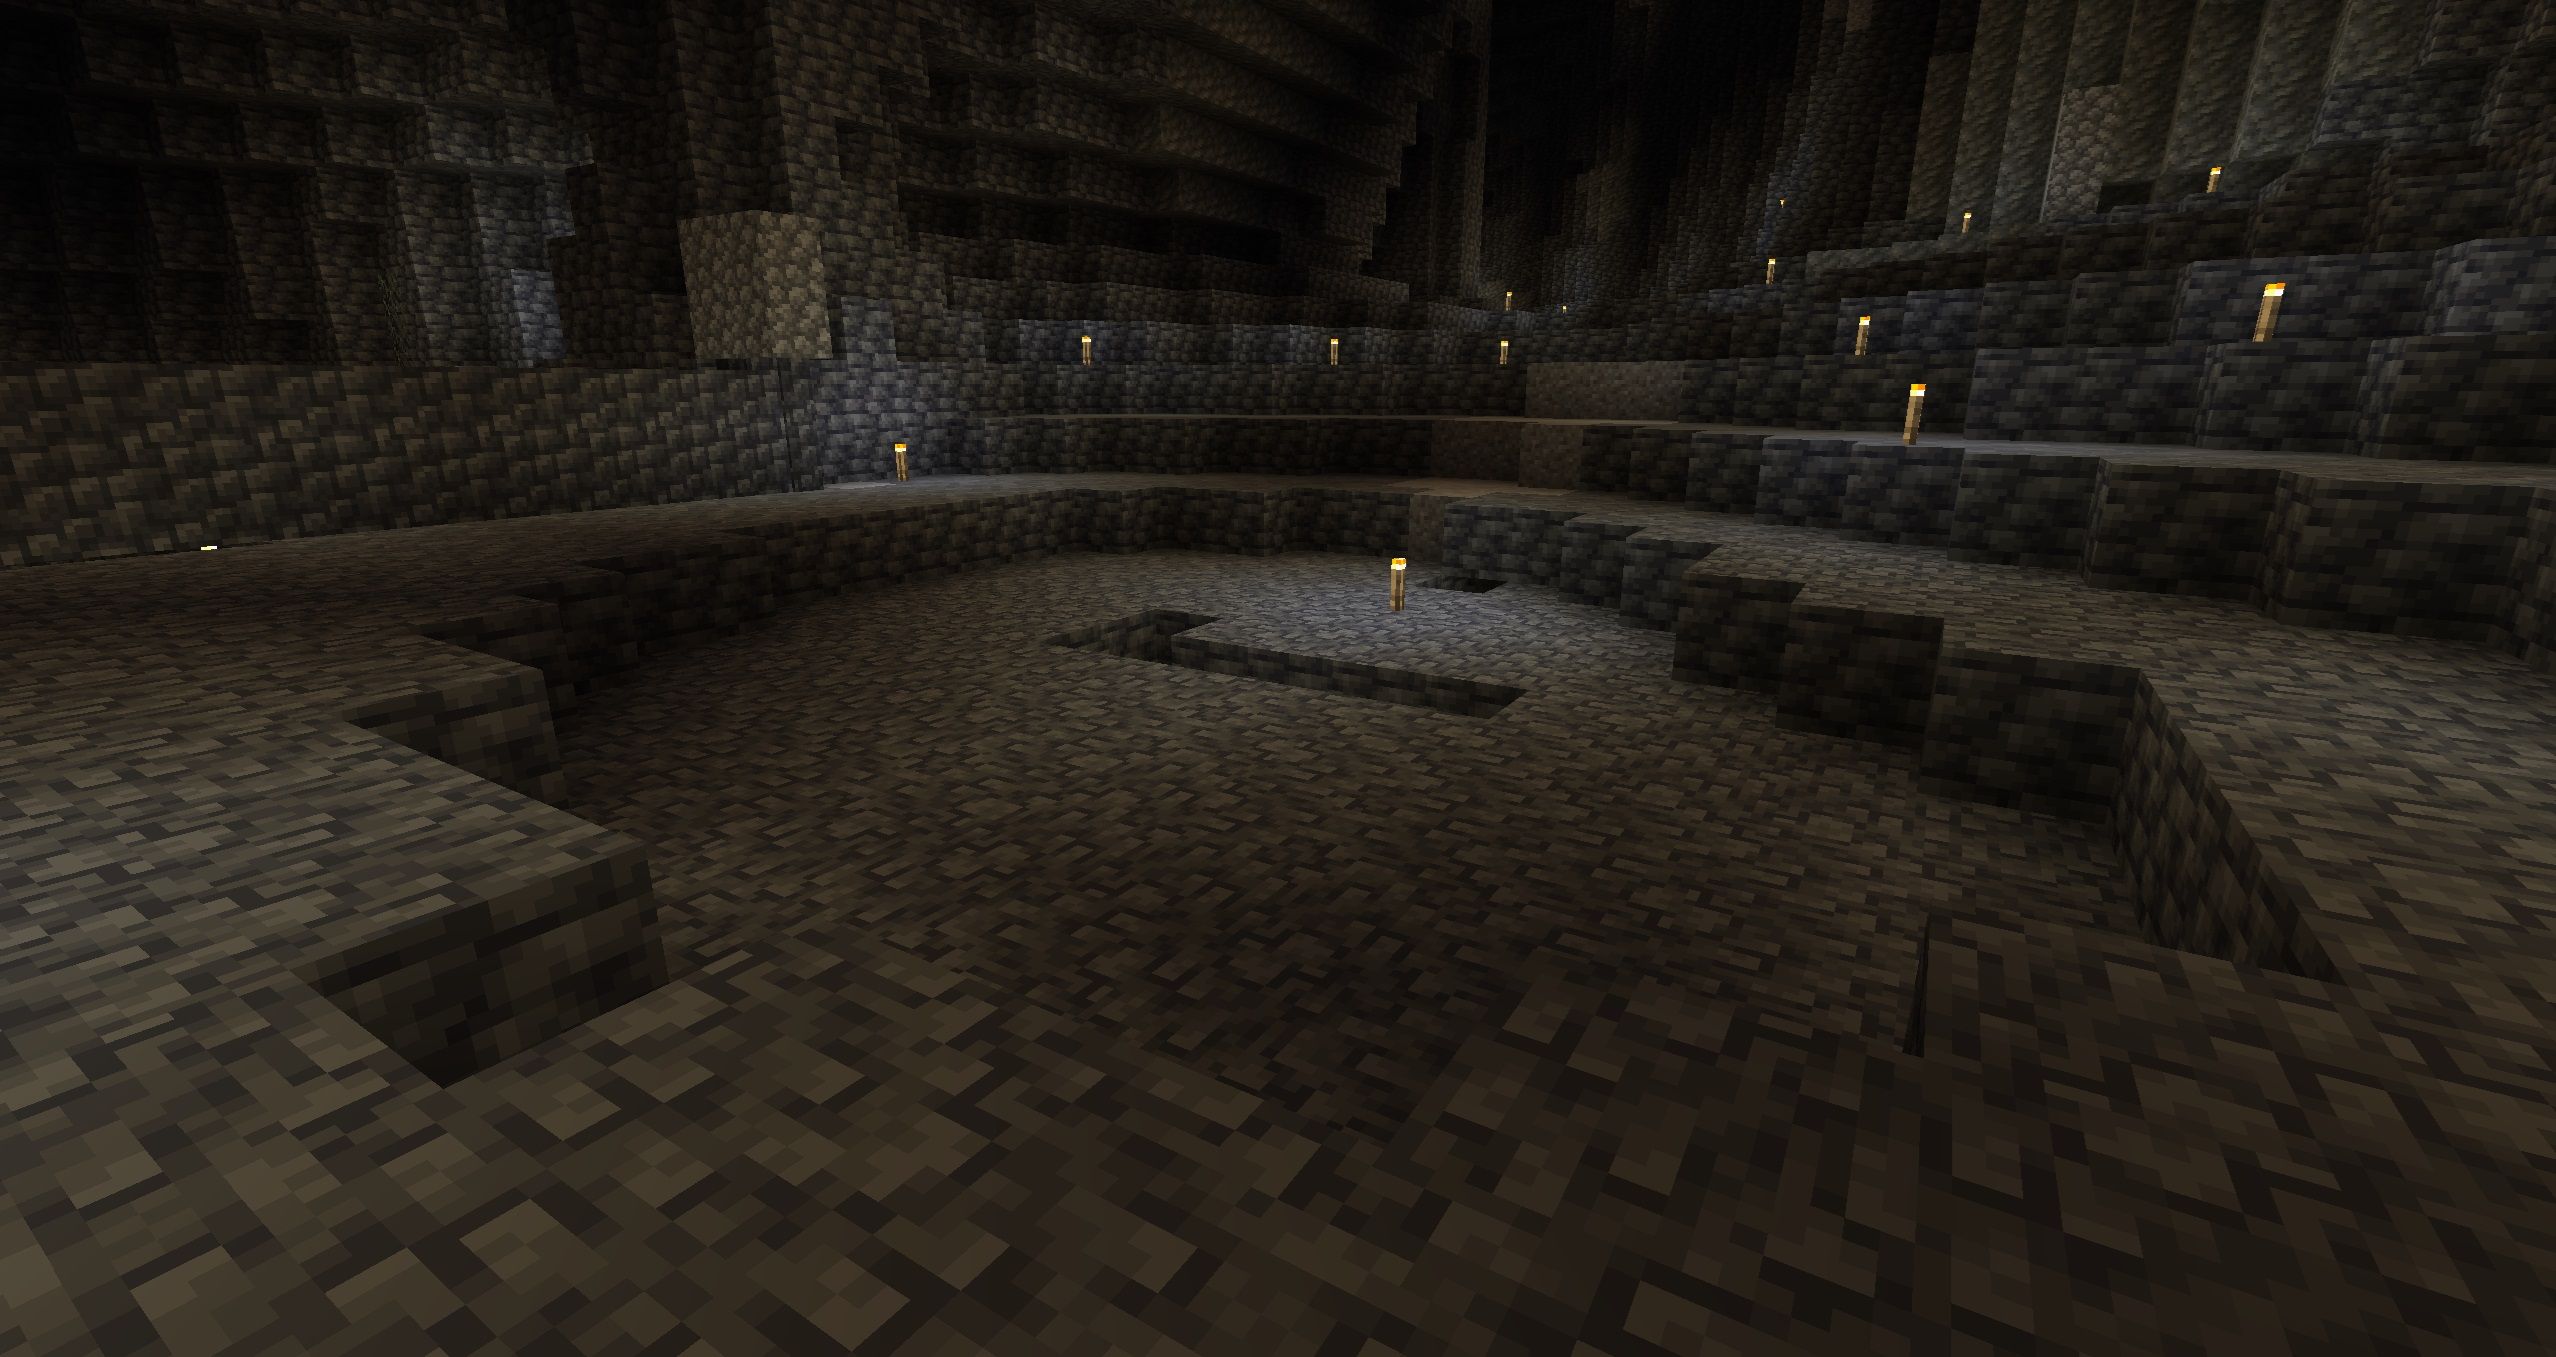
You’ll often find the best places in caves, since many surface caves go pretty far down. Finding your site this way instead of digging down deep enough is that you can find sites with plenty of flat land at the bottom of caves without having to create them yourself.
The best places to moss mine are when you’re already deep down, ideally Y=-40 or lower. Gold, Lapis, Redstone are more common at higher Y-Levels, but this deep down, you’ll still find plenty of them. More importantly, diamond gets way more common this far down, and gets even more common as you get to the bottom (Y=-64).
How To Moss Mine
Once you have your moss block, a composter, and enough bone meal, you’ll have enough to get started. While not necessary, you may also want to bring an extra chest for surplus storage and a good weapon for dealing with mobs. Otherwise, just follow these steps:
Find A Site To Excavate
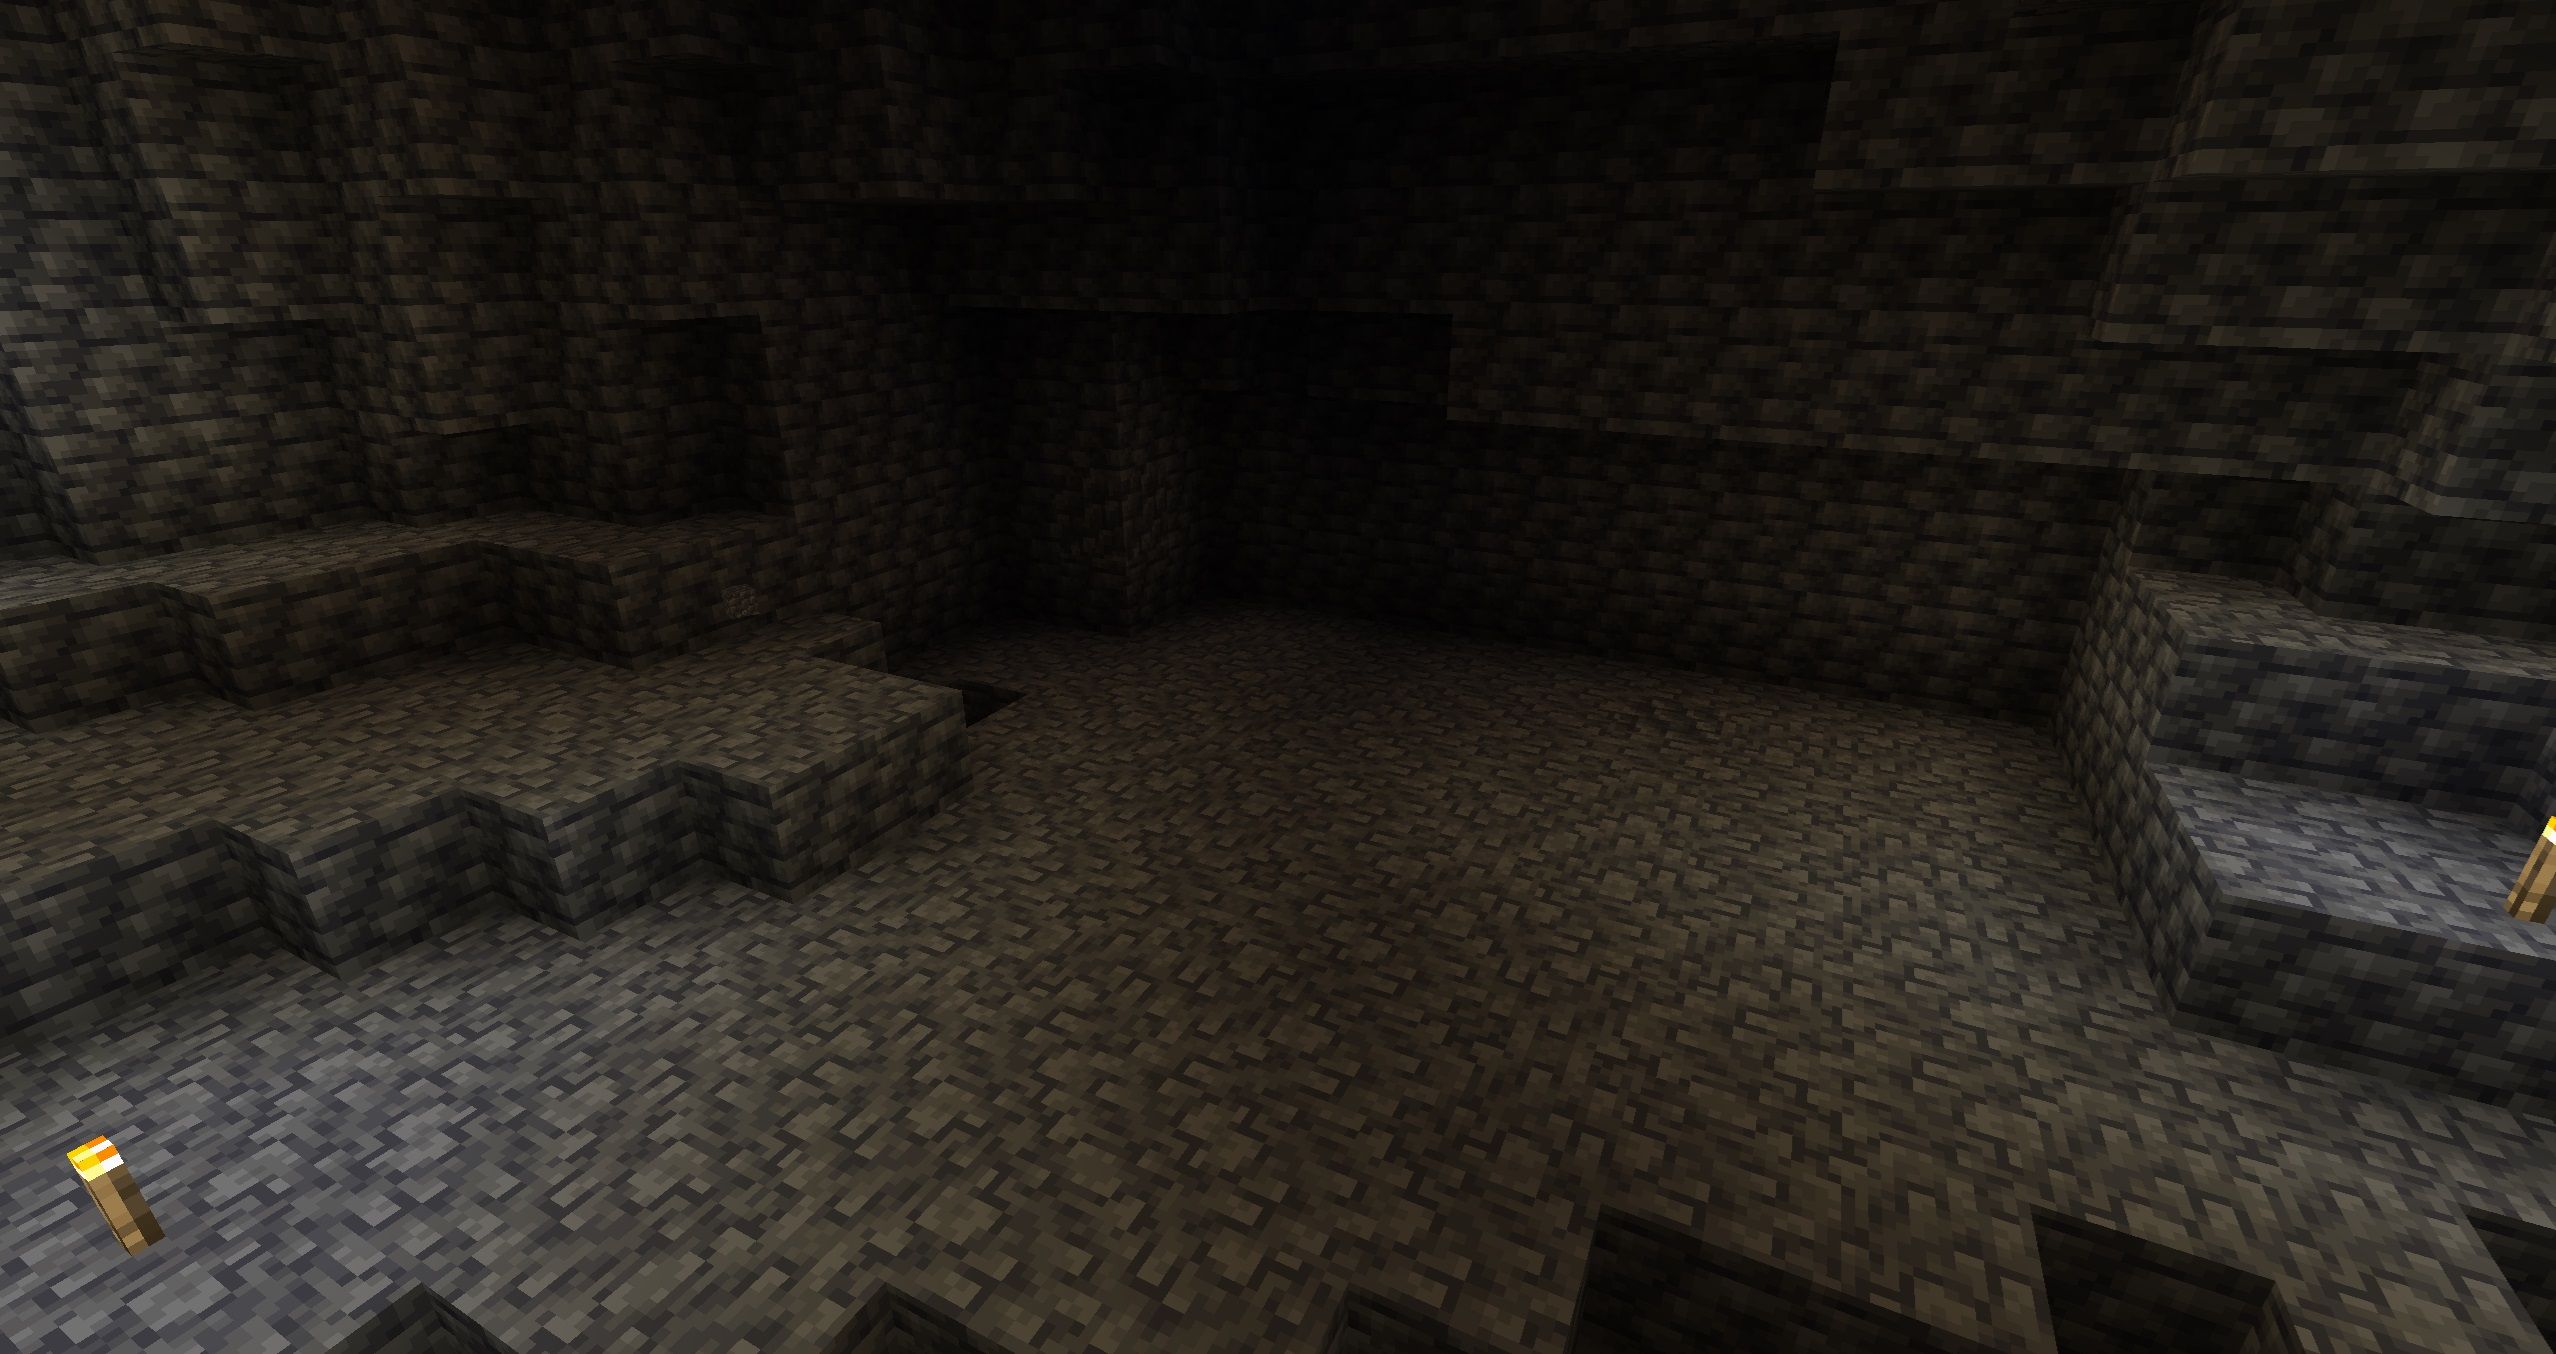
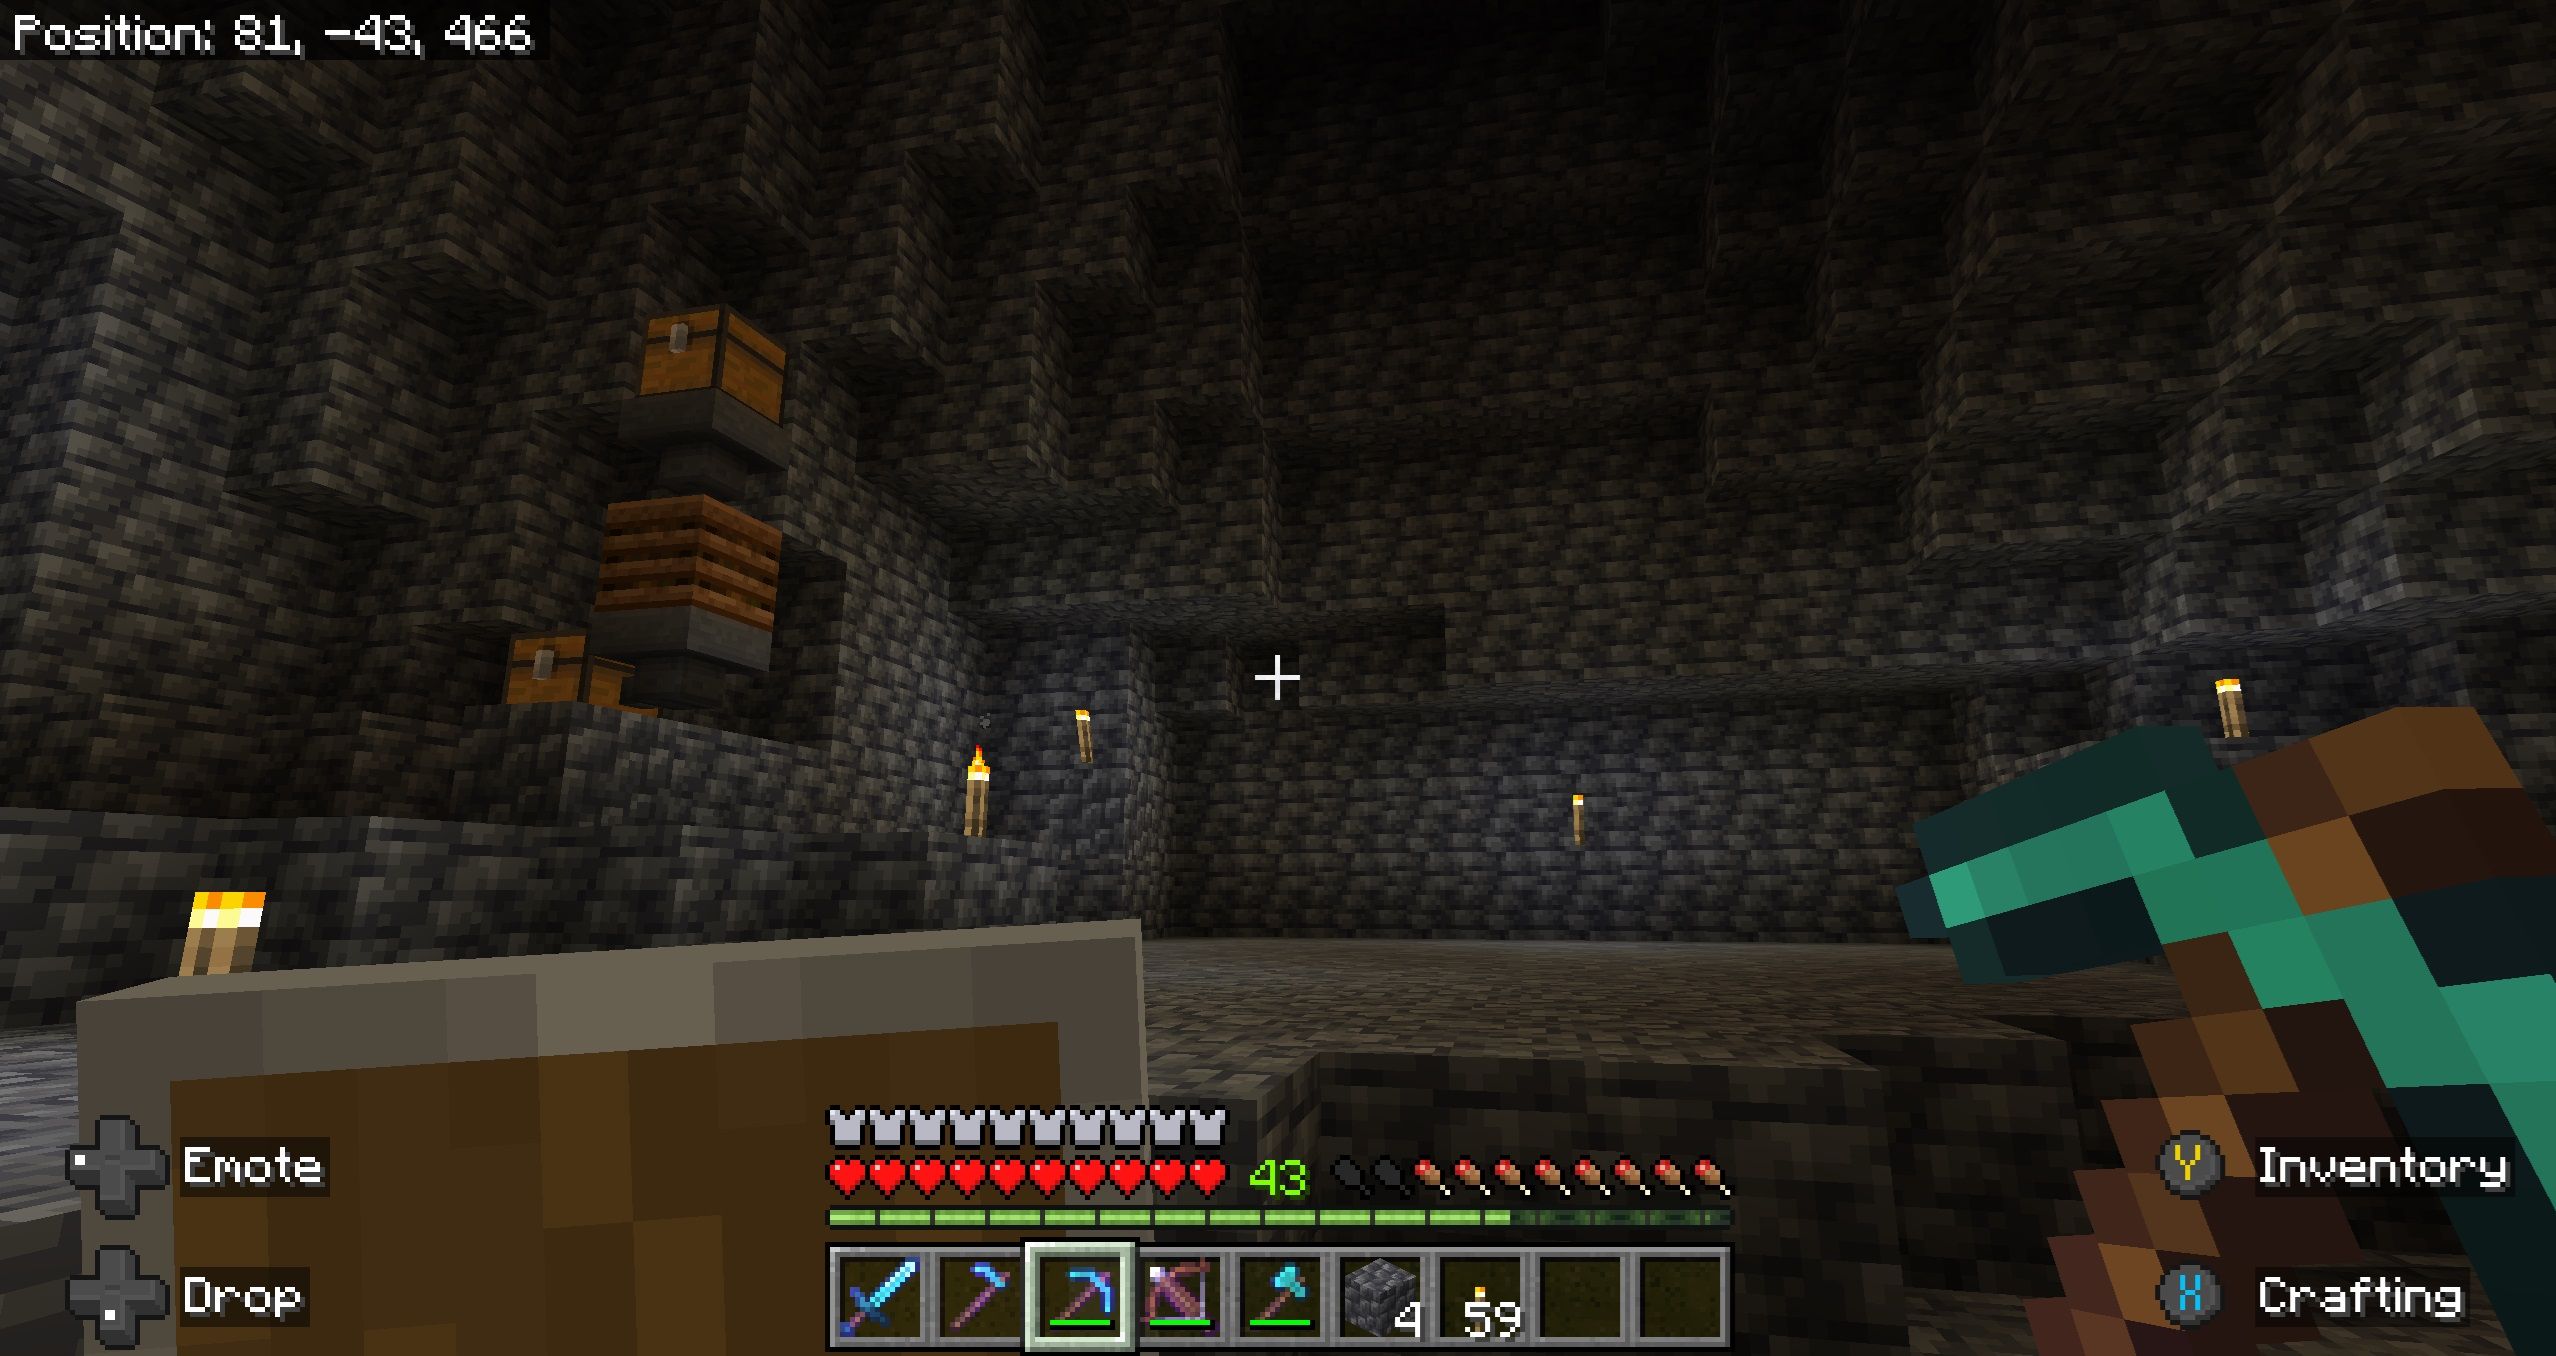
You’ll want some place deep down and with plenty of flat land. You can usually find the ideal place in particularly large cave systems, which are plentiful in Minecraft.
If you’re particularly unlucky and can’t find a suitable place, you can dig your own. If your chosen site is deep enough, (like Y=-45 or lower), you don’t have to worry about long falls.
Secure The Area
Kill all the monsters in the area and then put down torches to stop them from spawning. You’ll want to space them 14 blocks apart or less, and the further you illuminate outside of the area you’re working in, the less chances there are of monsters spawning in to attack you while you’re working.
You should also place your composter or auto-composter setup somewhere nearby. If there are slimes in the area, consider another site since slime spawns are area-based and not affected by the light level.
Place Your Moss Block
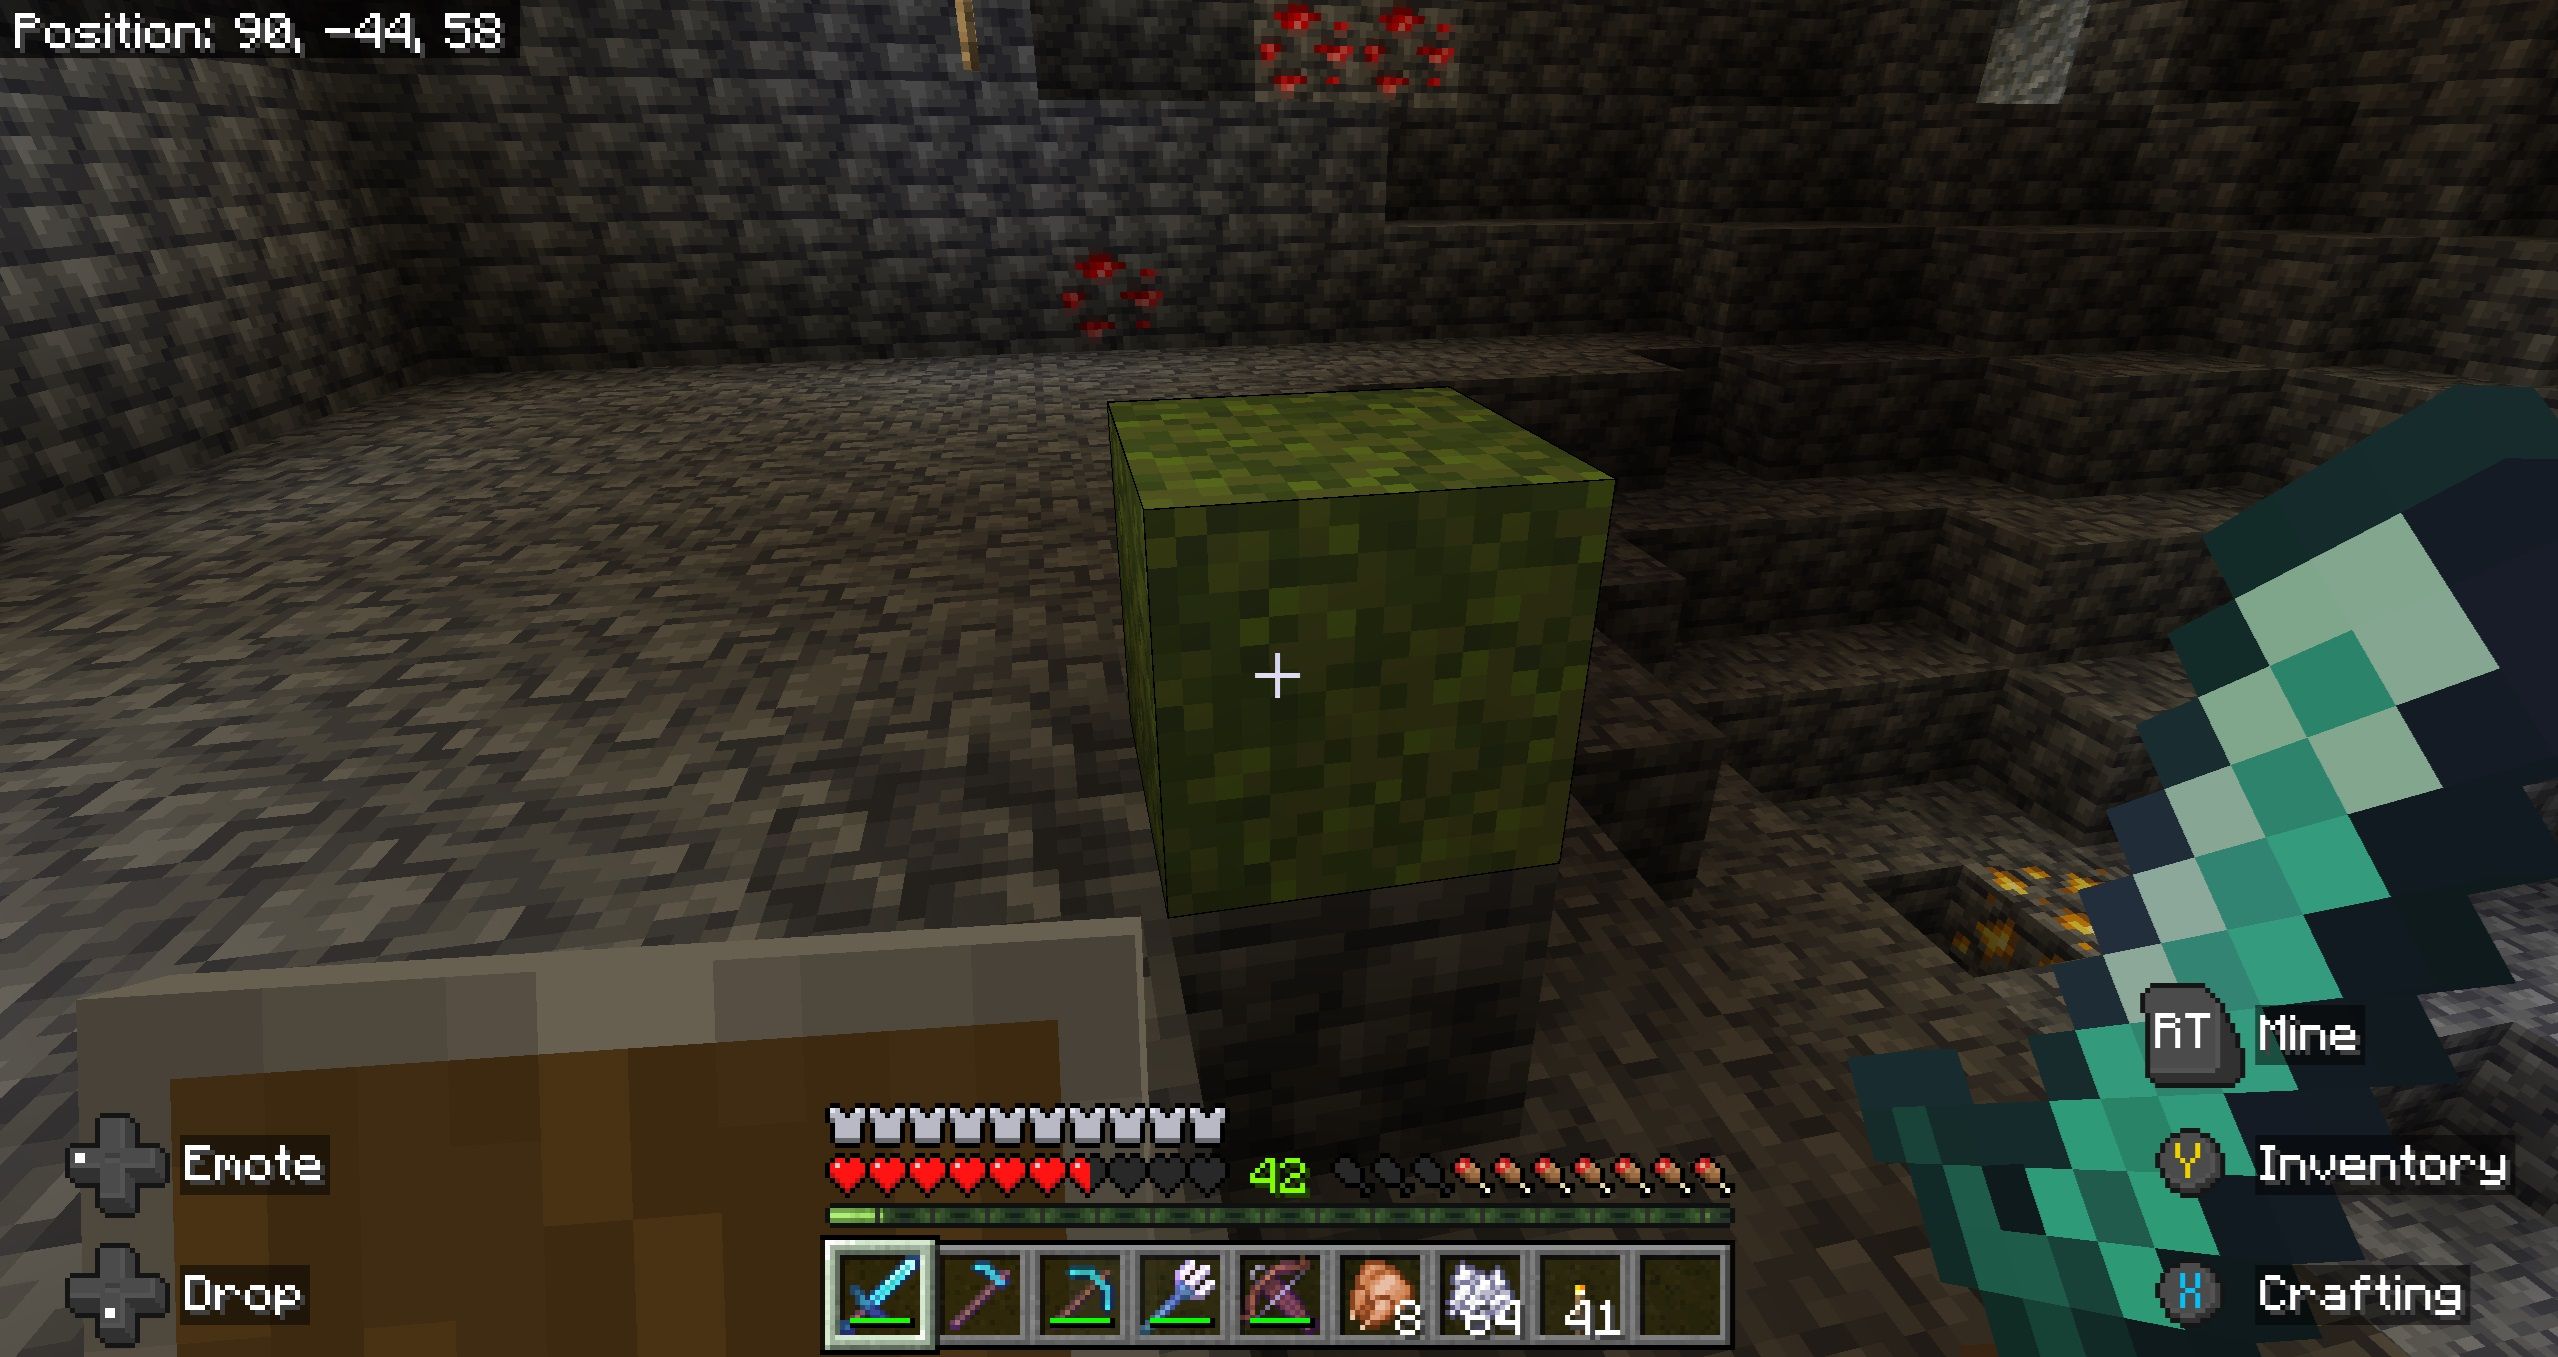
Place the moss block at the point you’d like to start at. Ideally, this is at the center of your site, since the moss can expand further than you think, and in random directions.
Apply Bone Meal
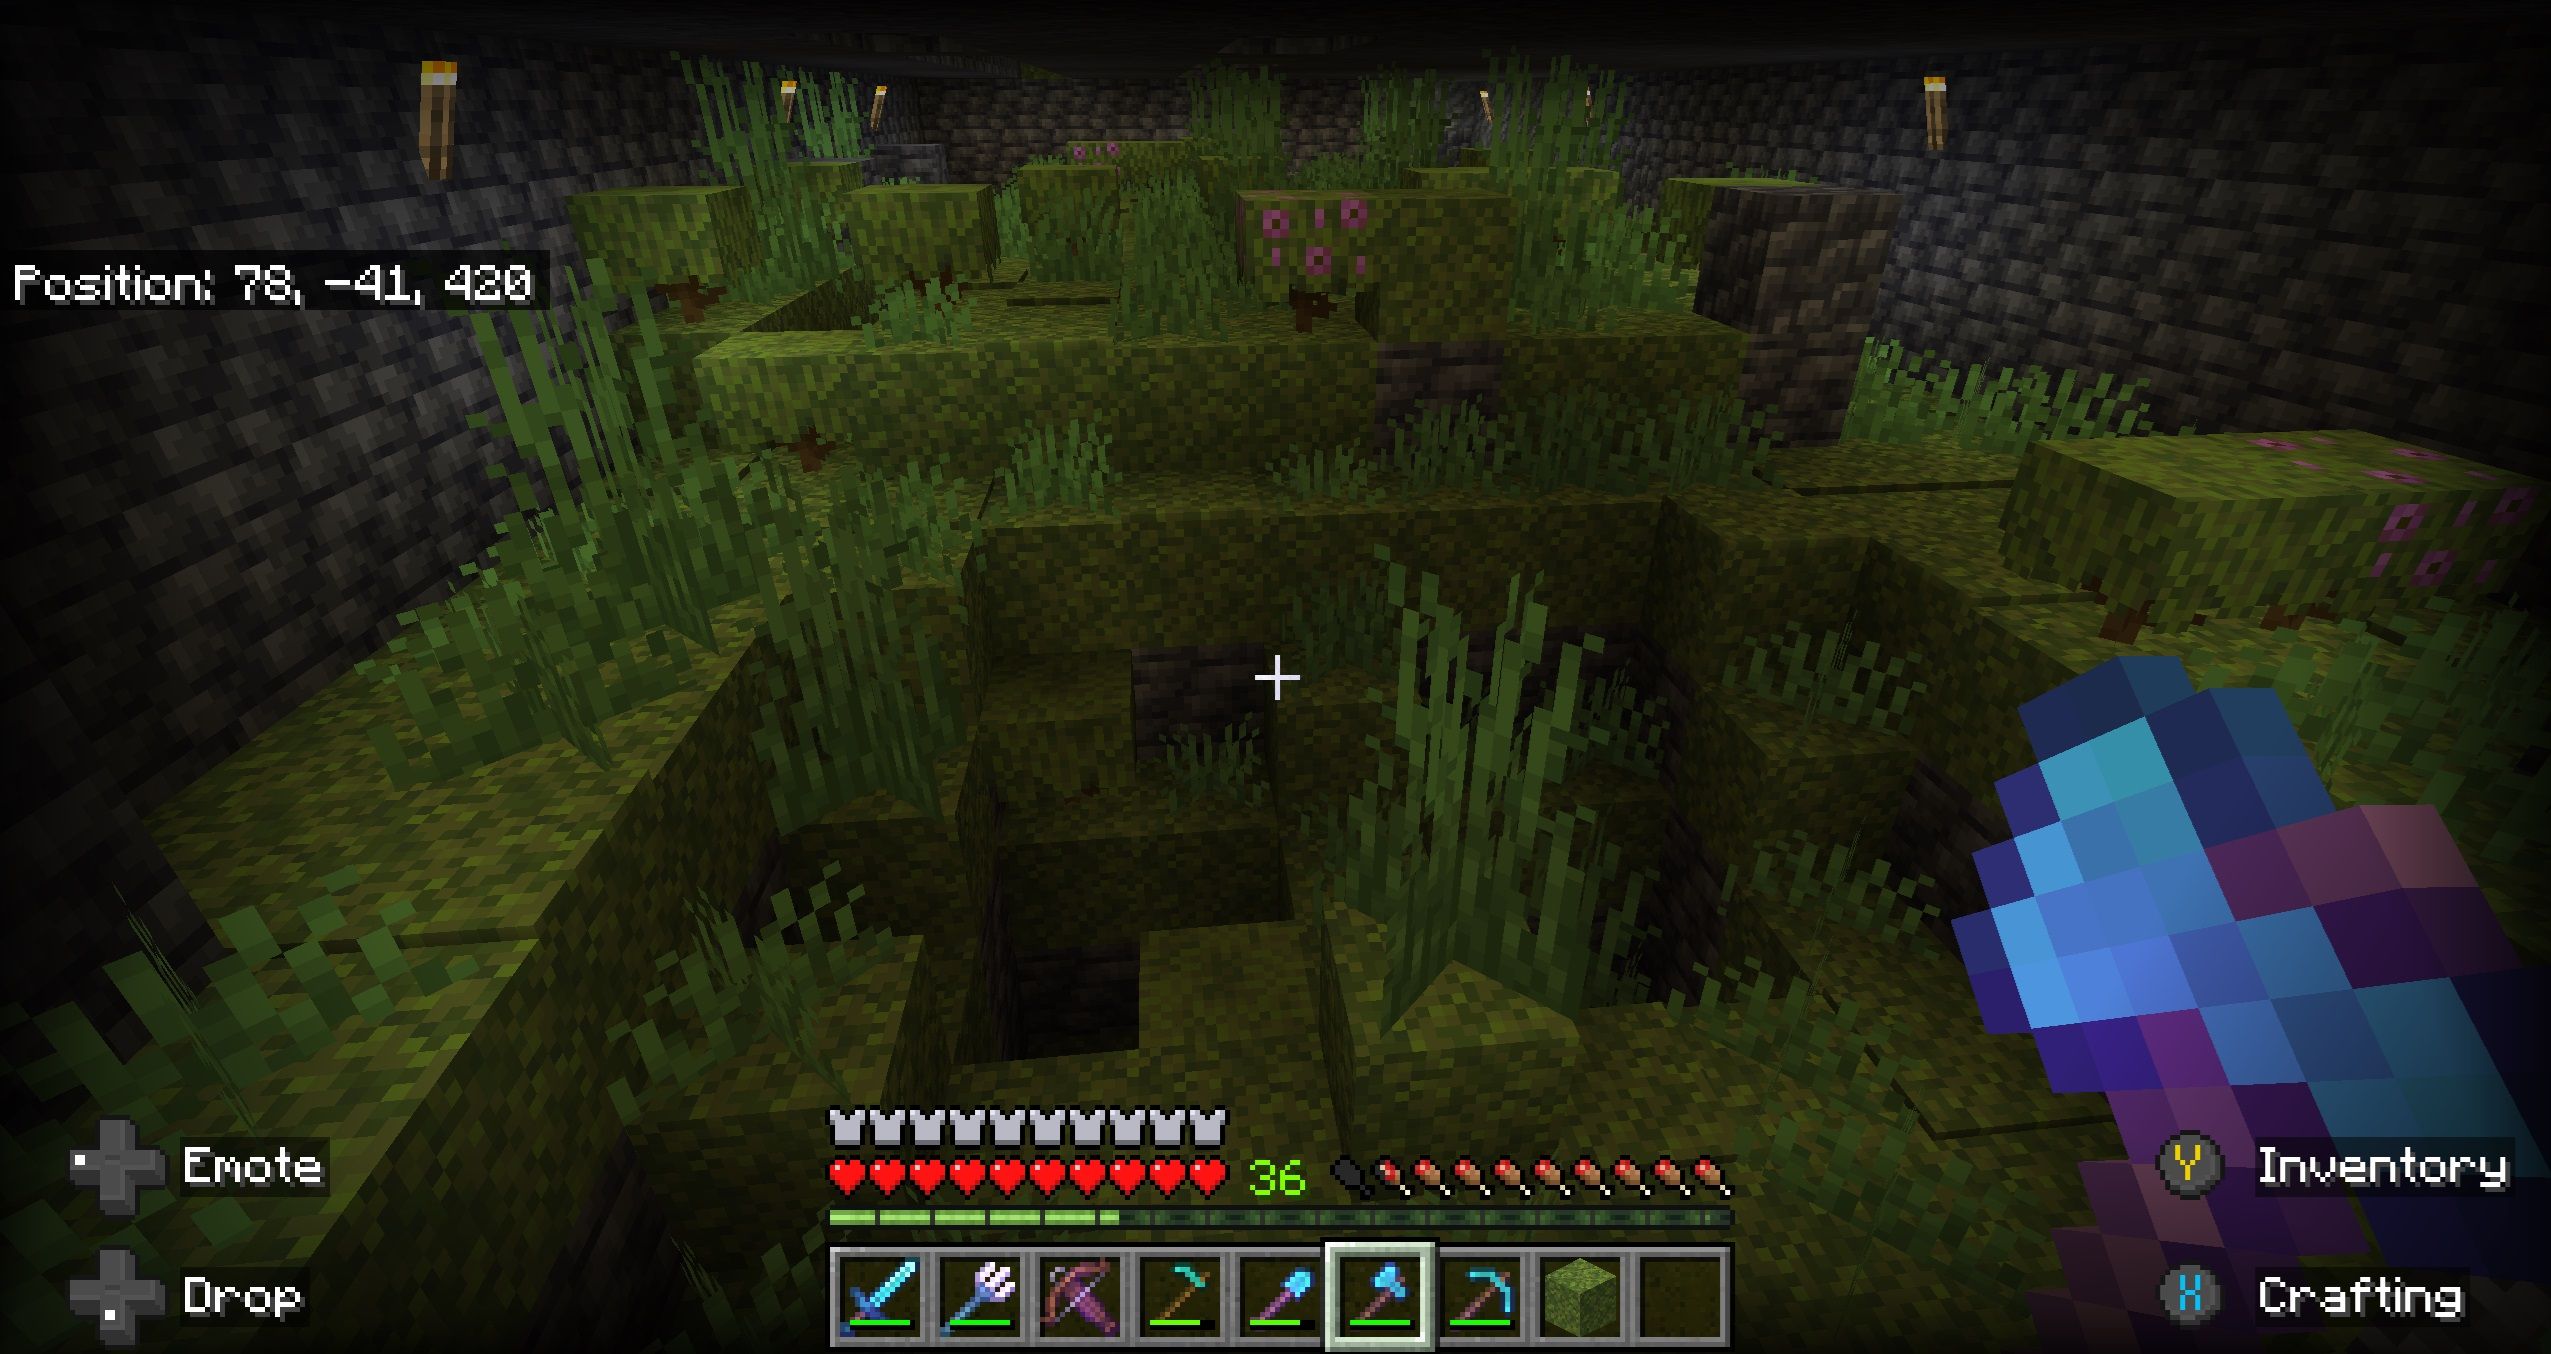
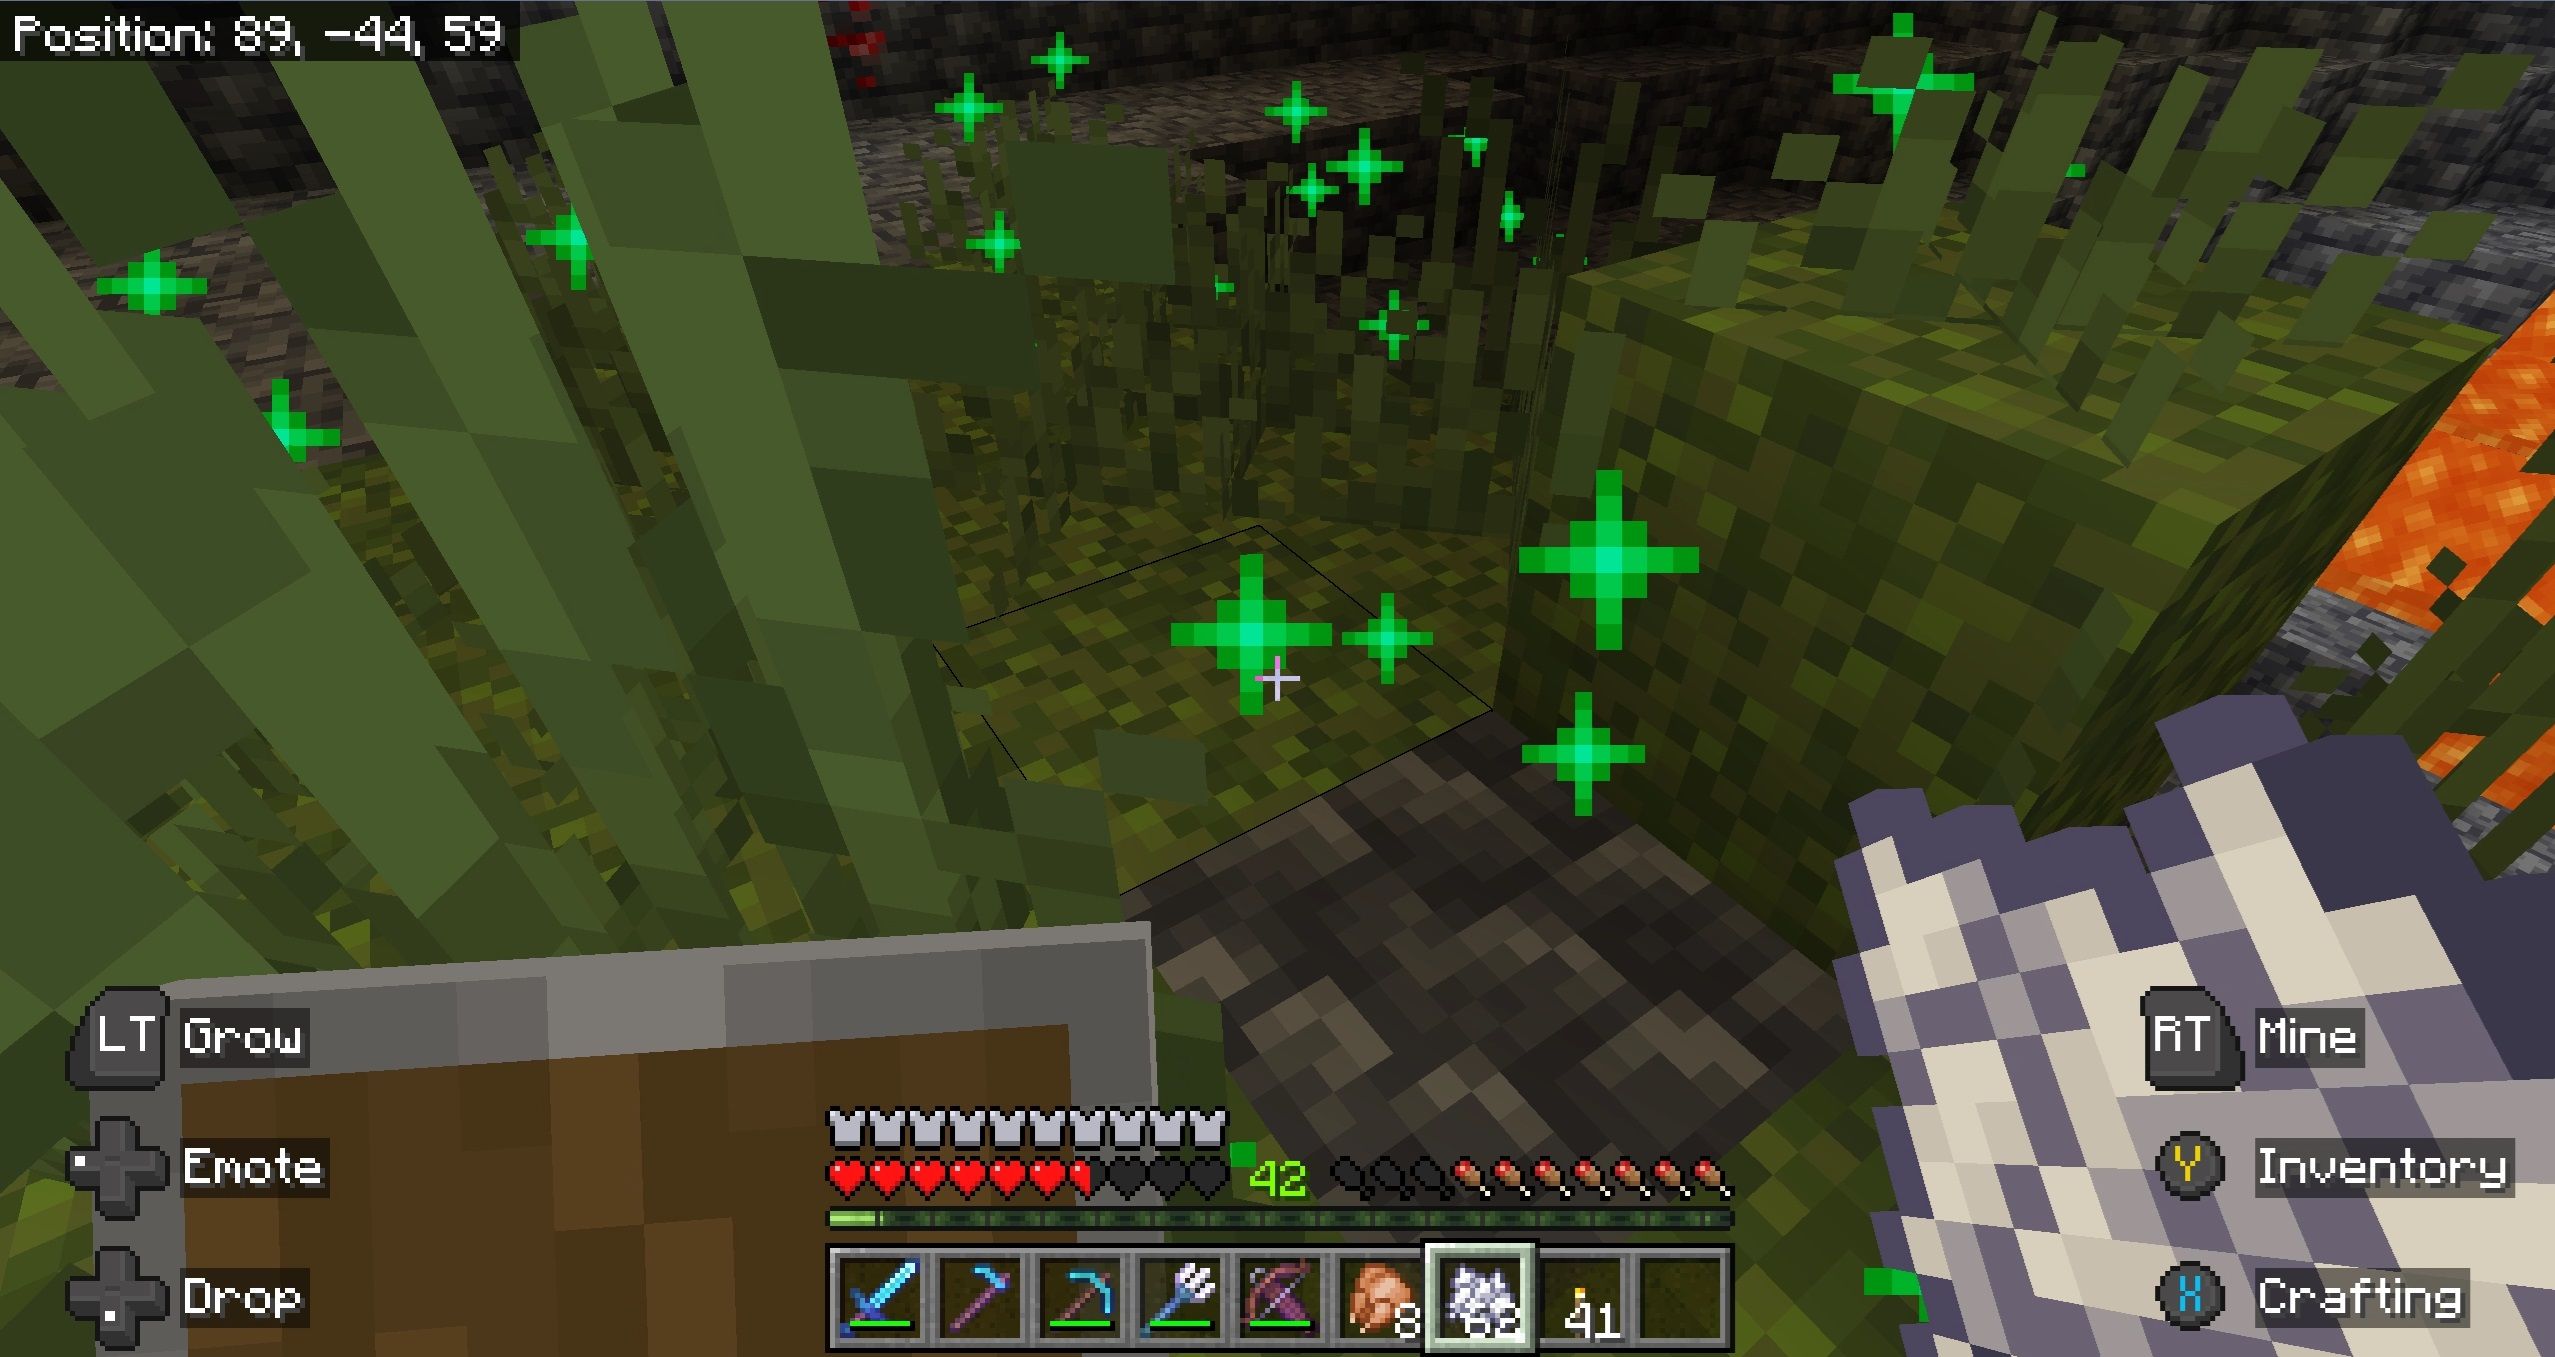
Use your bone meal on the moss block, which will turn adjacent and random nearby blocks into moss or azalea blocks. Repeat this on the outermost mossy blocks, which will spread the effect outward. Keep going until you’ve reached the edge of the area you want to excavate.
Harvest The Moss
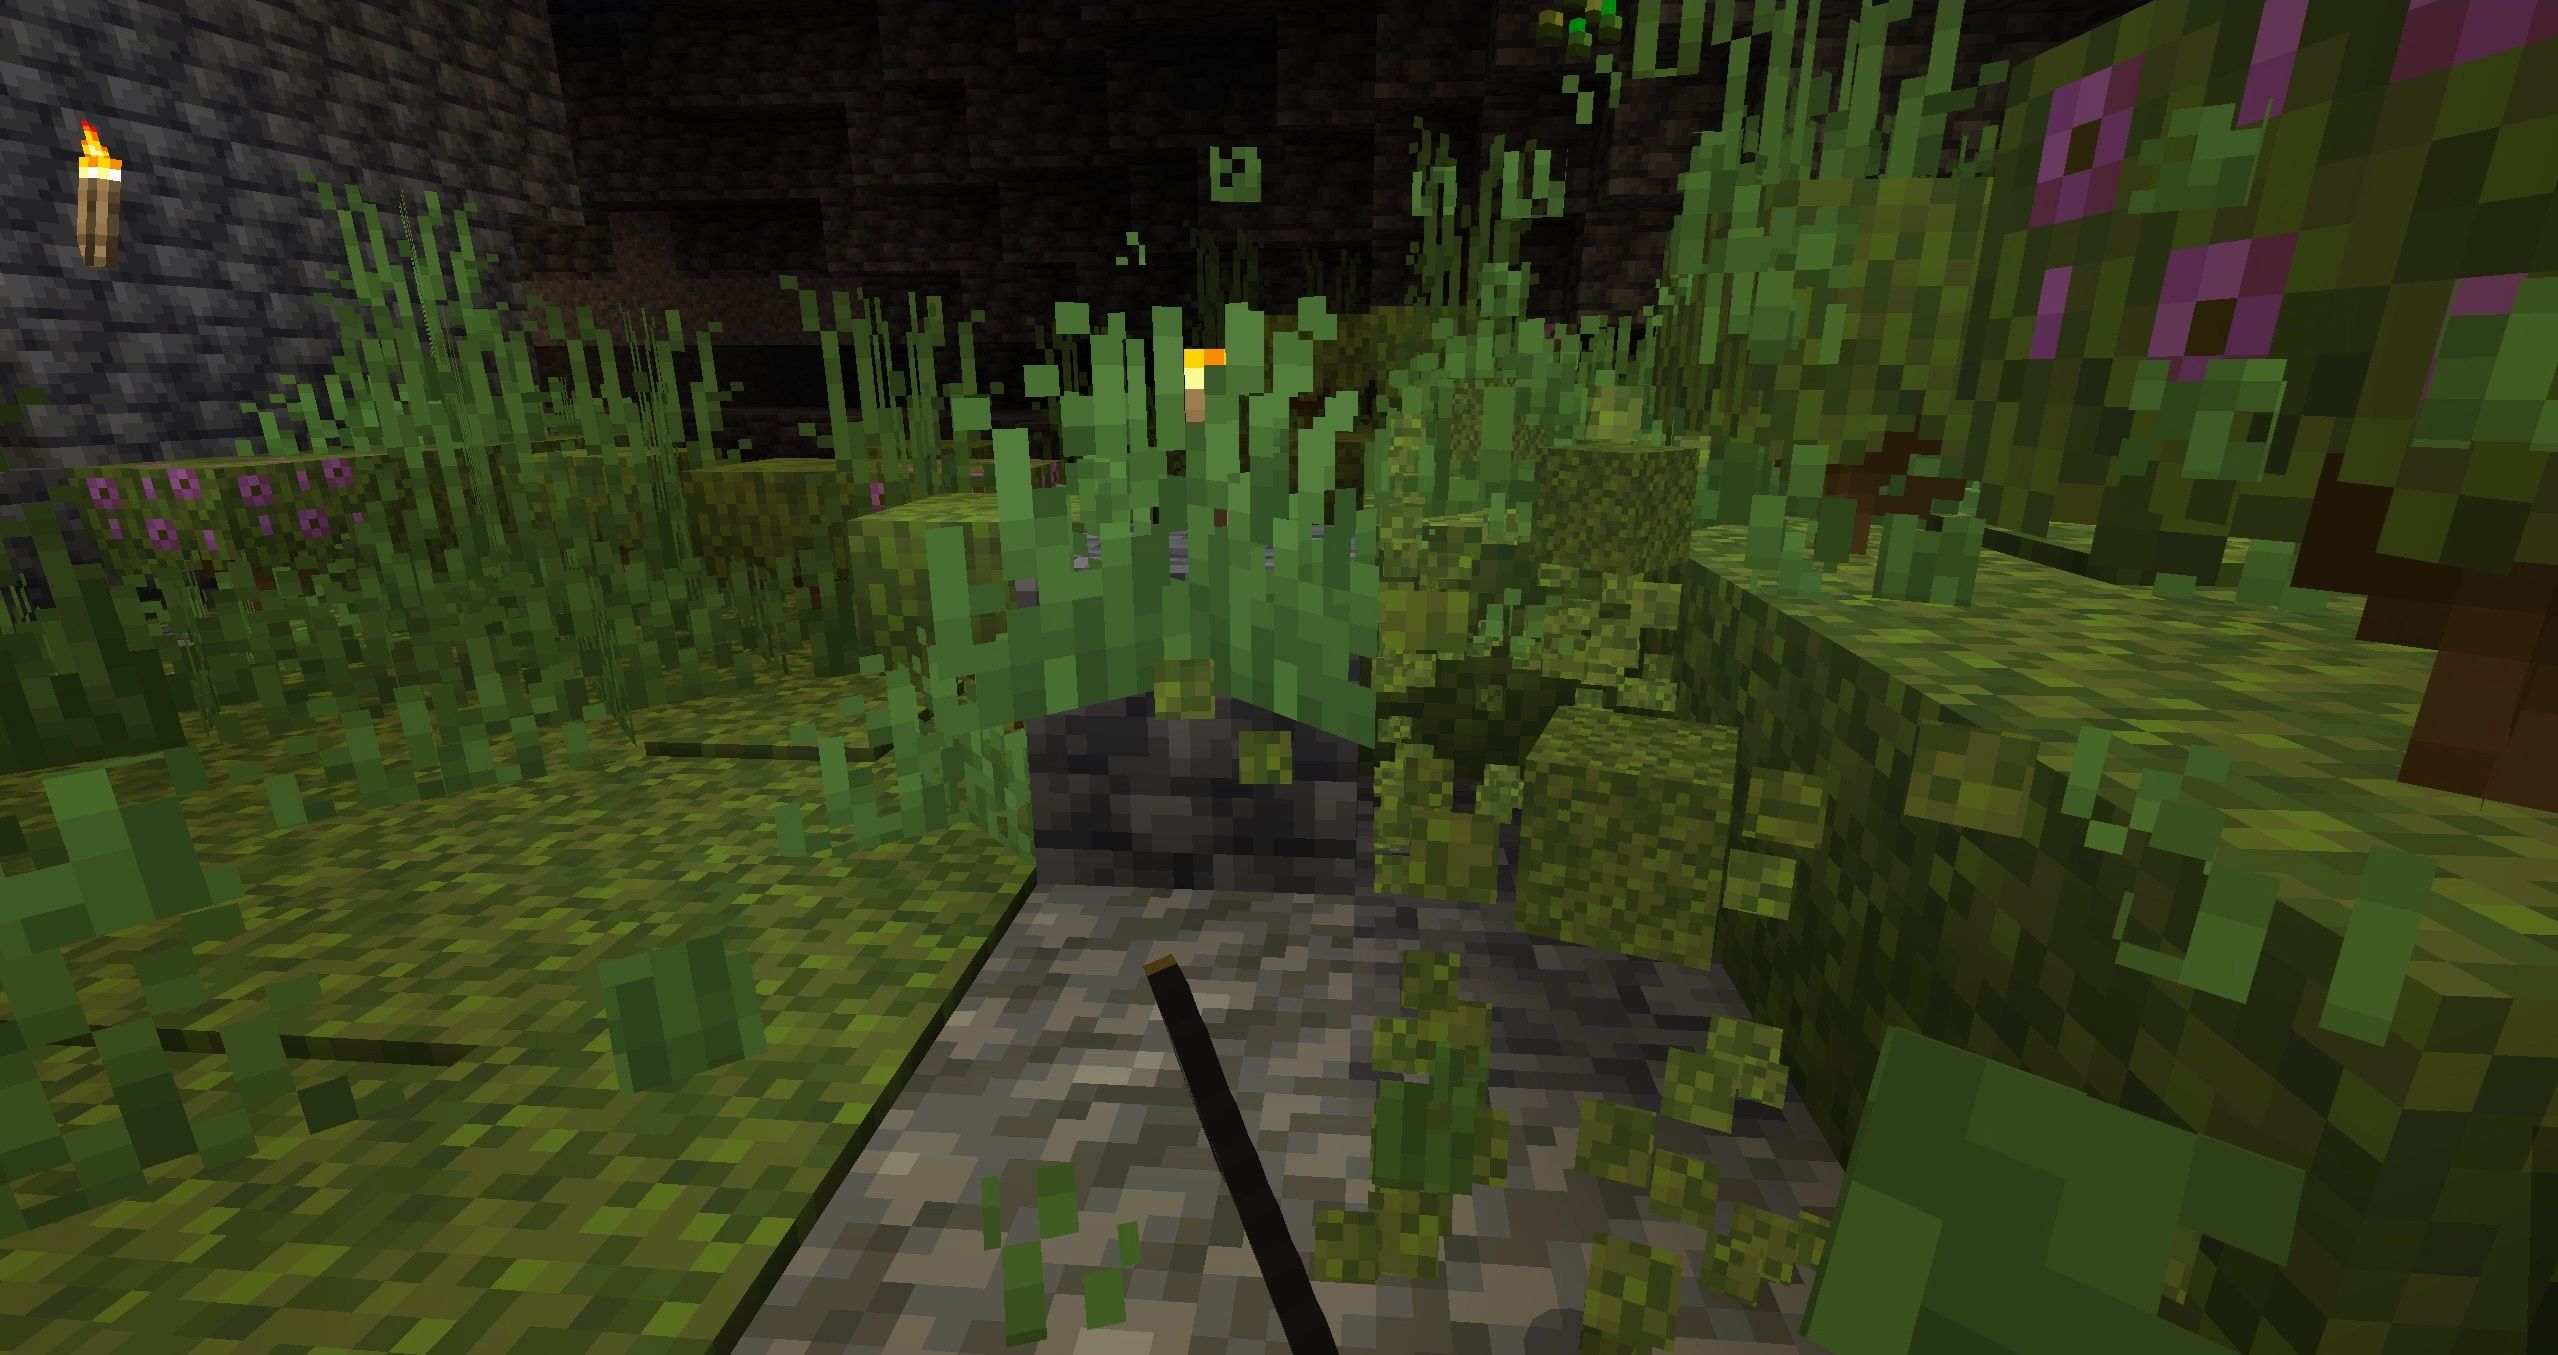
Once you’re satisfied with the amount of area you’ve converted into moss, start breaking the moss blocks and other byproducts. If you use a hoe, you’ll break them so fast that you won’t even need to stop moving.
Because the growth effect can happen over a random area, and the area likely contains azalea and flowering azalea nearby, you’ll occasionally turn them into azalea trees, which generate oak wood, so keep an axe on hand just in case.
To keep the area flat, clear all the moss top to bottom, making sure to get moss that sticks out from the rest. Turn any stones you uncover into moss or use your pickaxe to keep the ground even.
Use The Composter
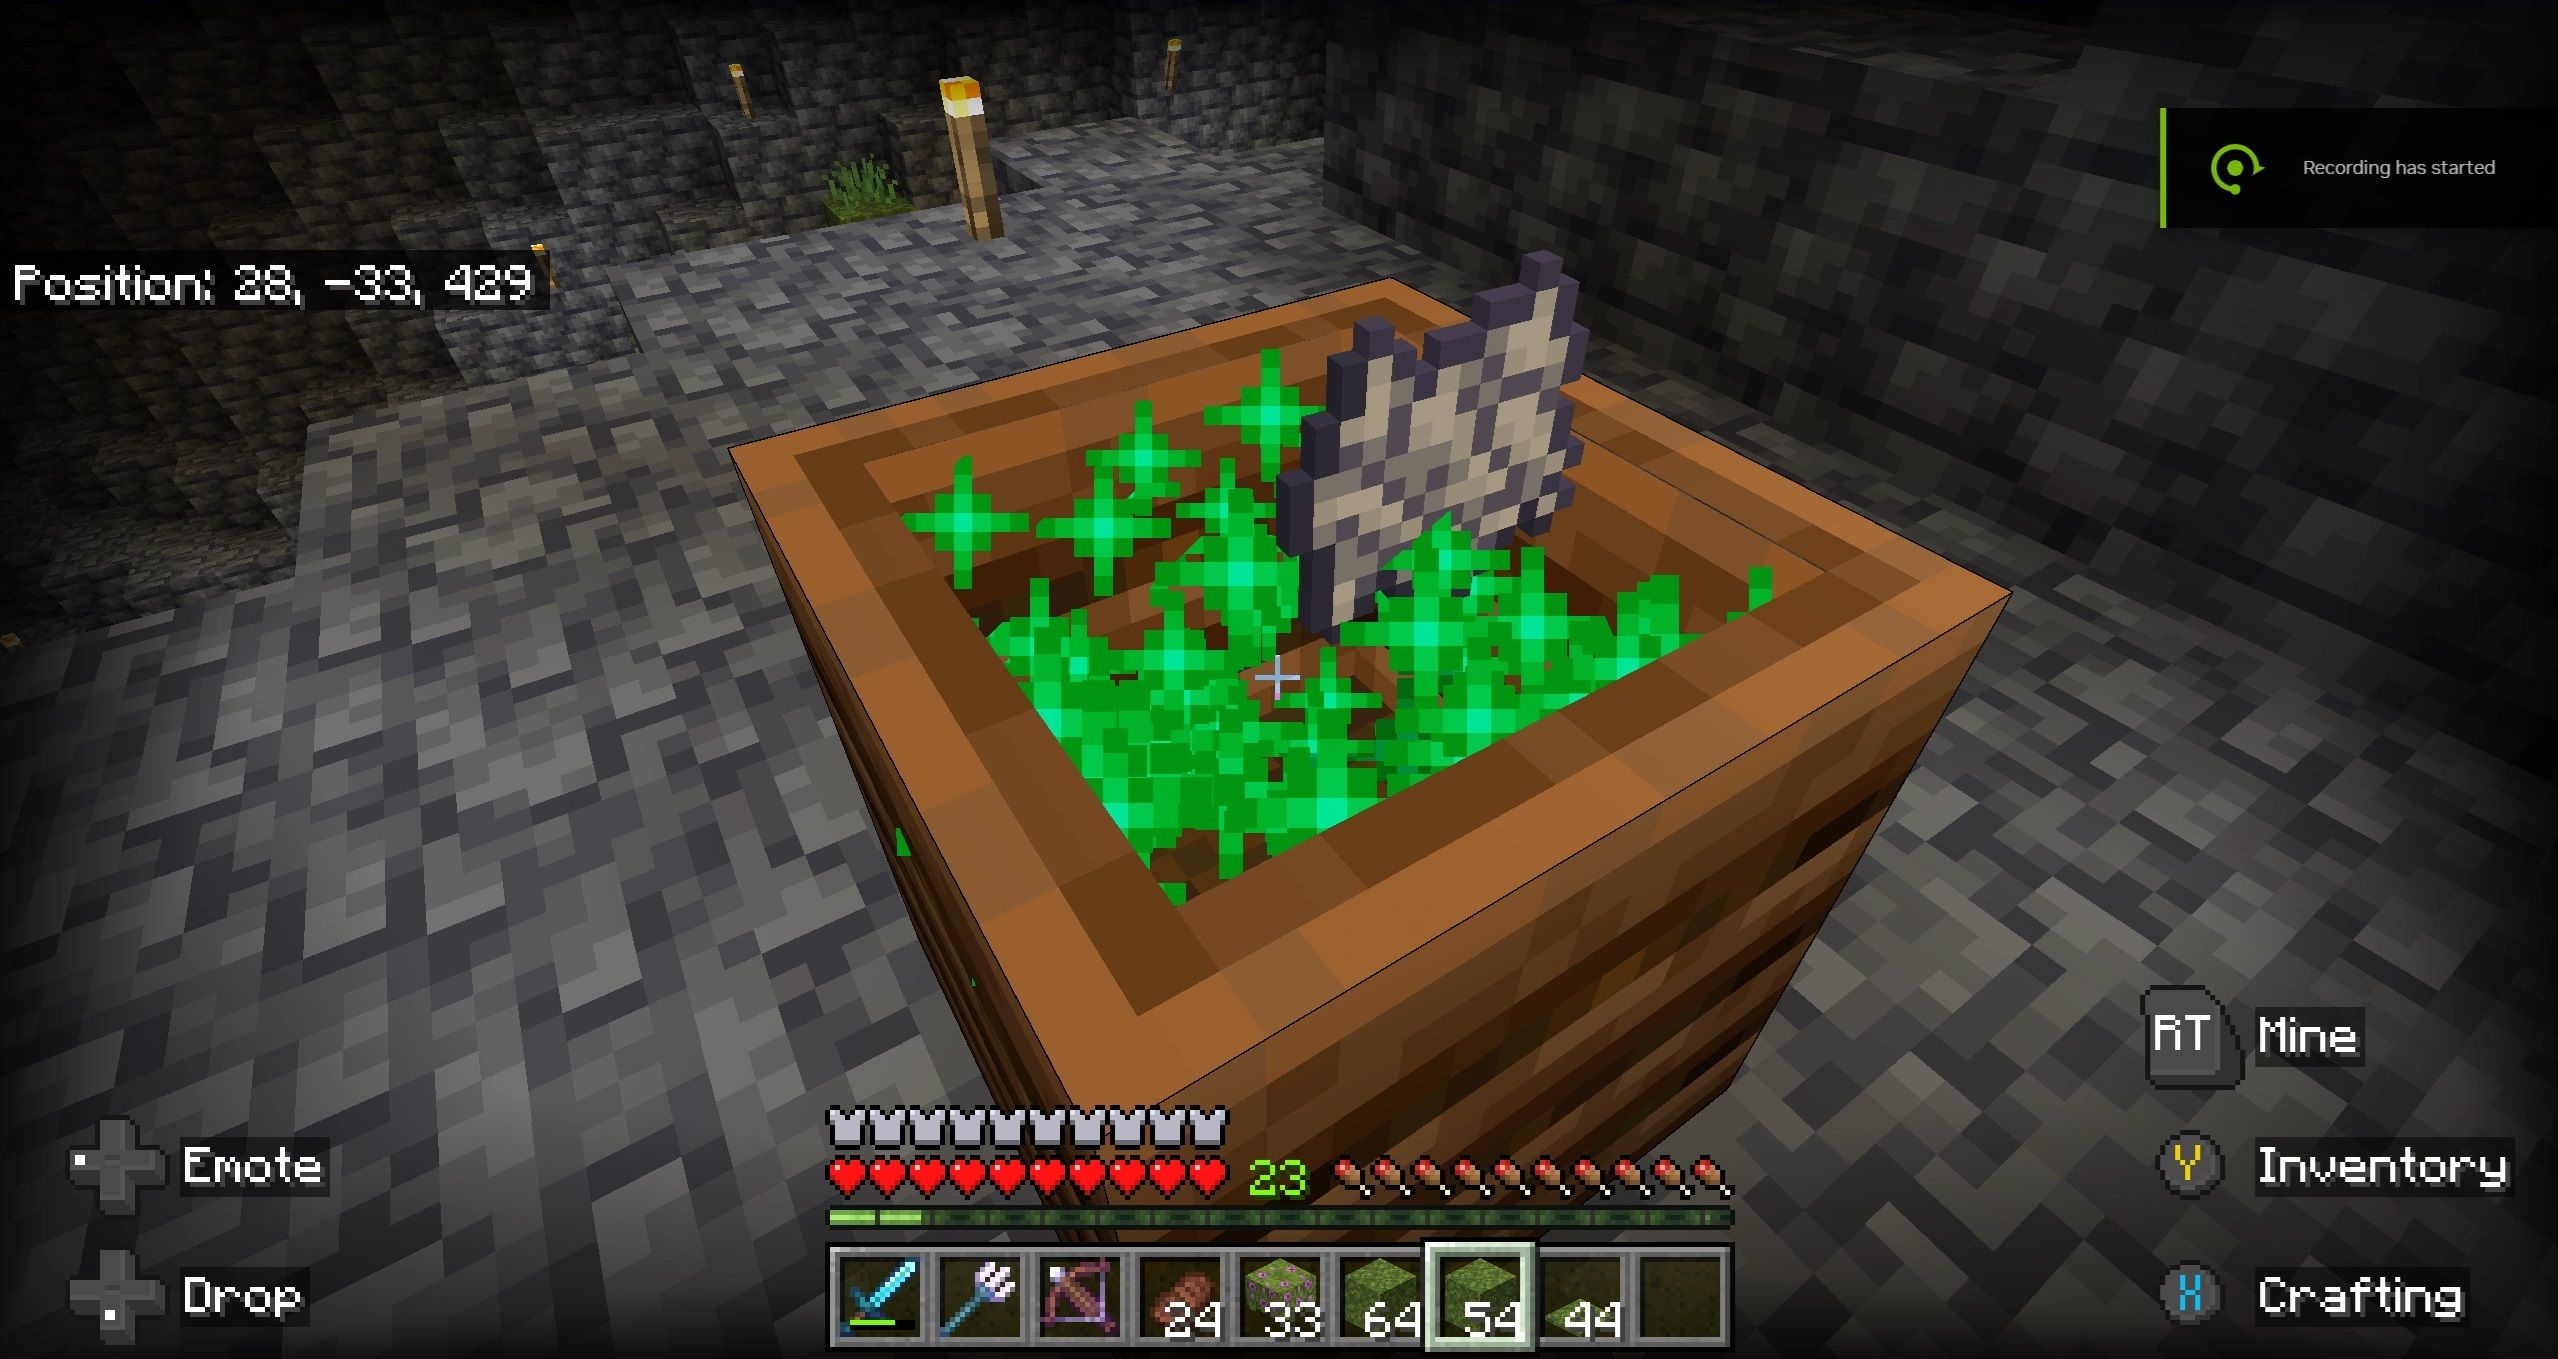
Take the plant matter that you’ve collected and use them on the composter. Every piece you put in there has a chance to raise its level by one, which you can when the amount of material in the composter visibly increases. On the seventh success, it will produce a unit of bone meal.
Retain at least one moss block so that you can restart the process, otherwise you’ll have to gather more moss.
You can also automate the process with an auto-composter setup, which we’ve detailed below.
Inspect The Area
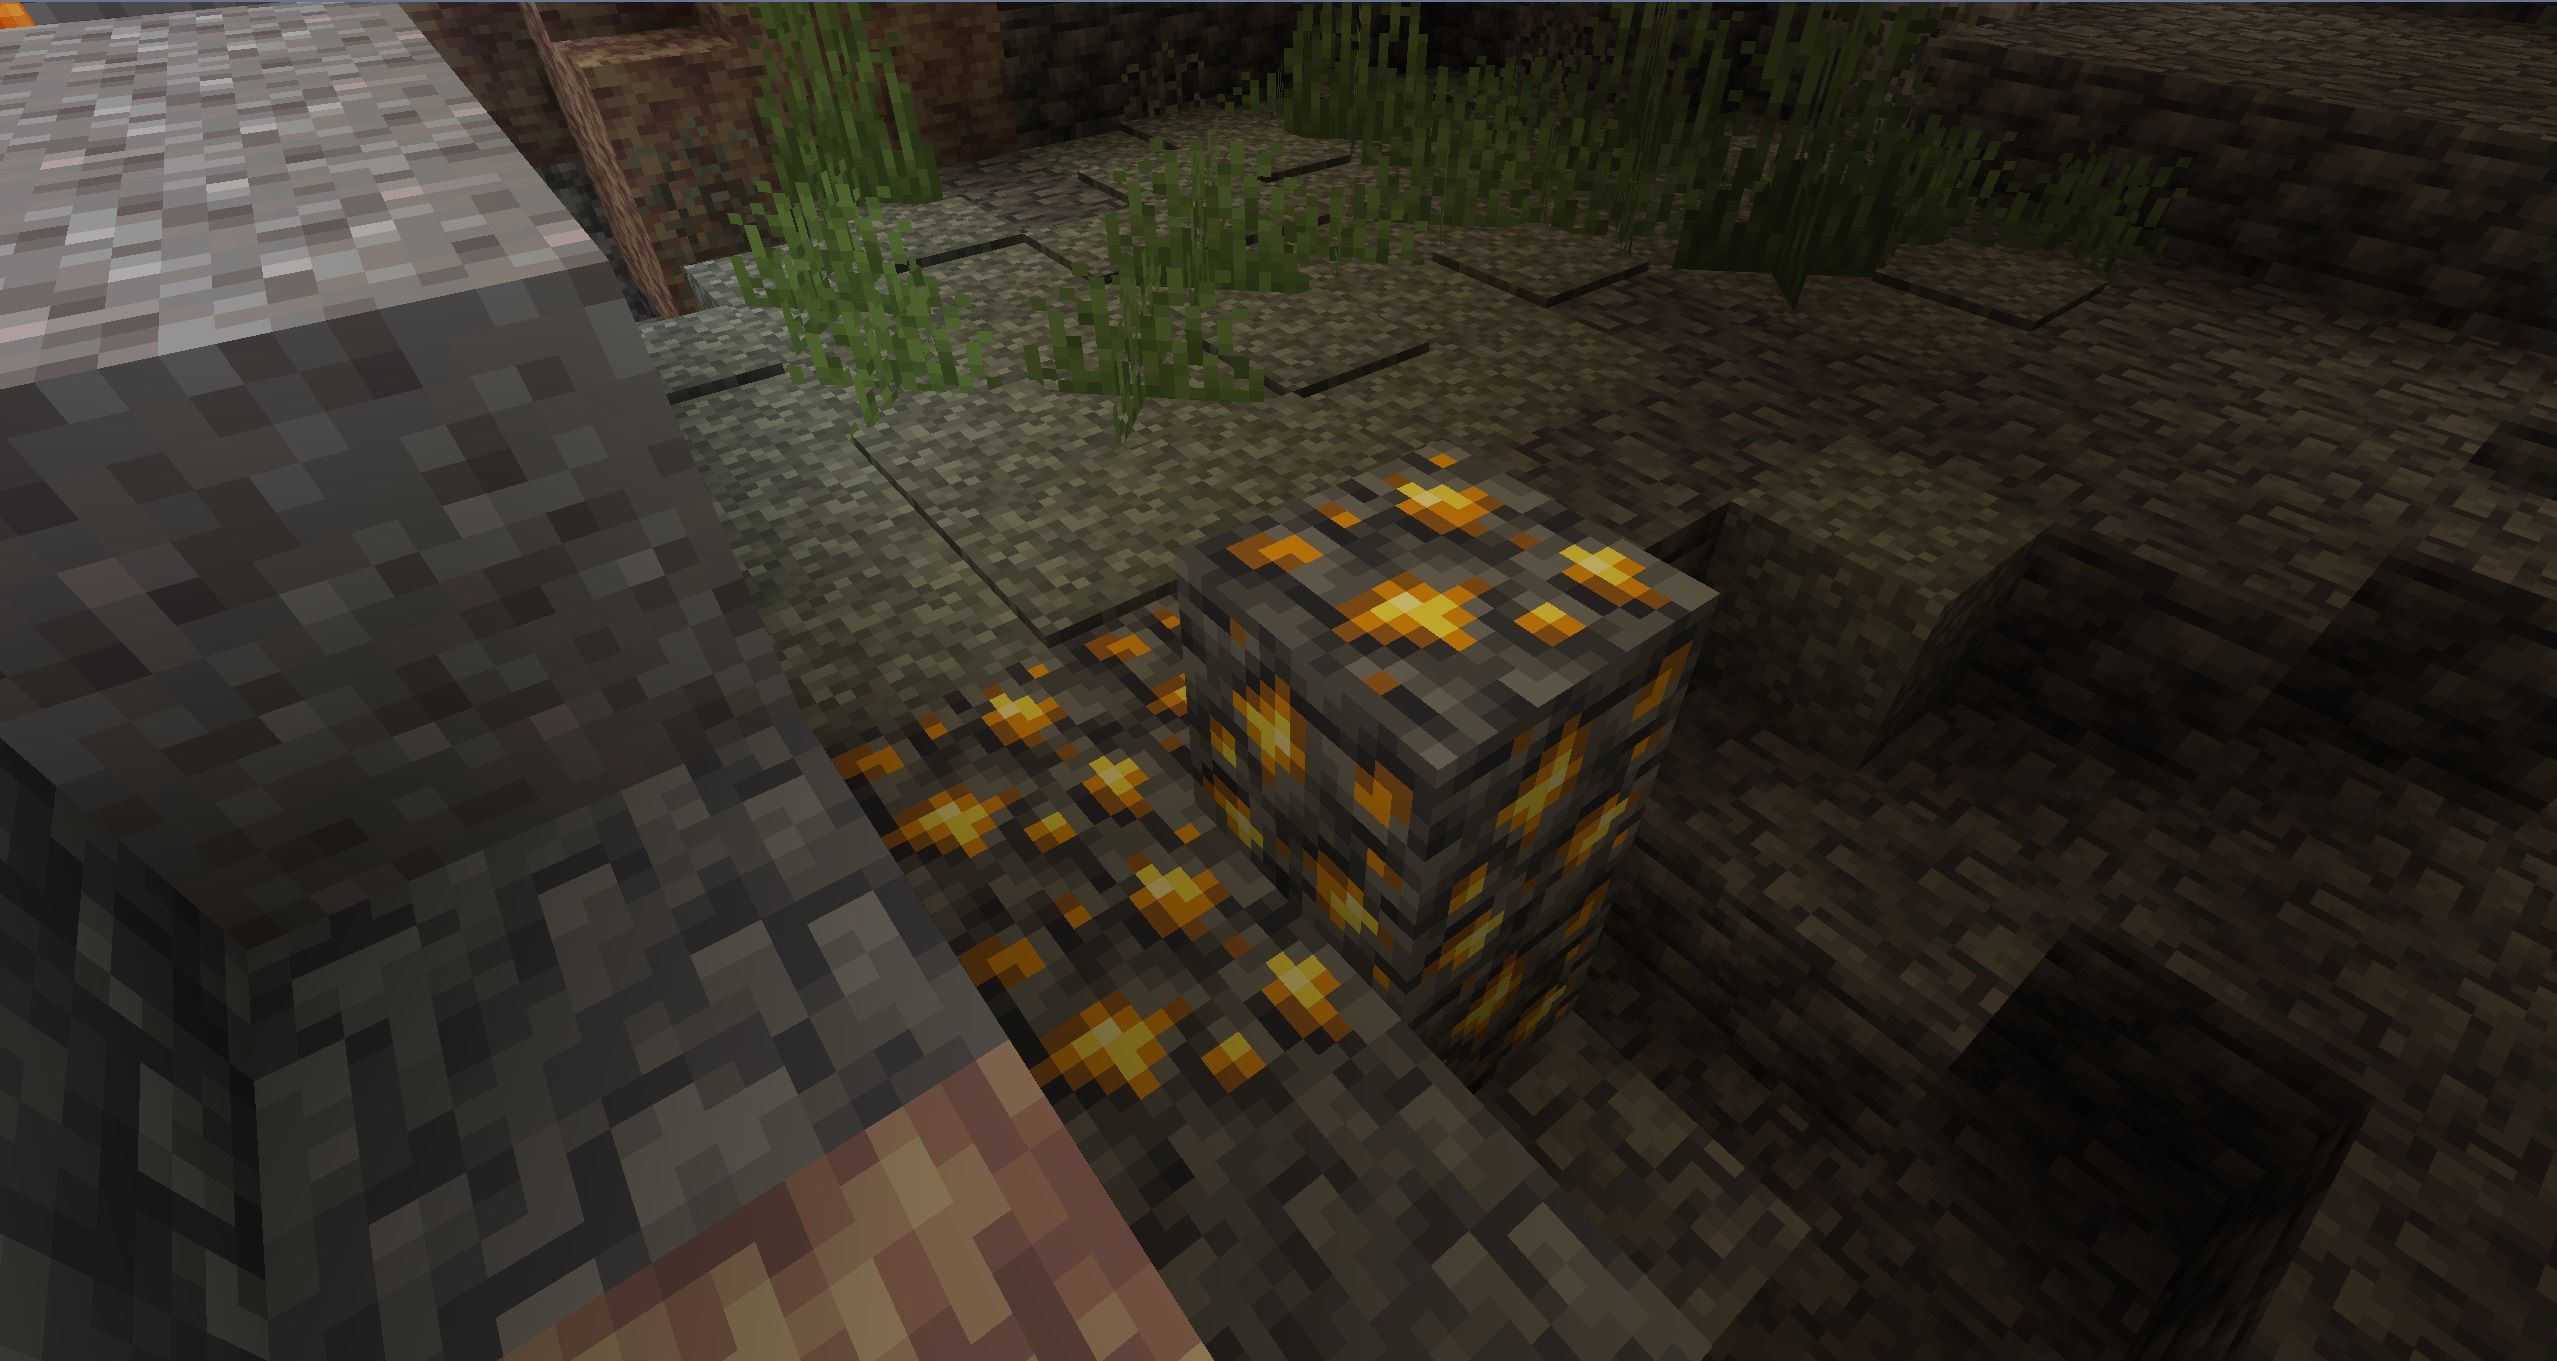
Once you’ve cleared most or all the moss you’ve generated, look at the uncovered blocks, and make sure you dig up any ores that you’ve uncovered. Once you’ve harvested all the valuables, place another moss block and repeat the process from there.
Moss Mining By-Products And What To Do With Them
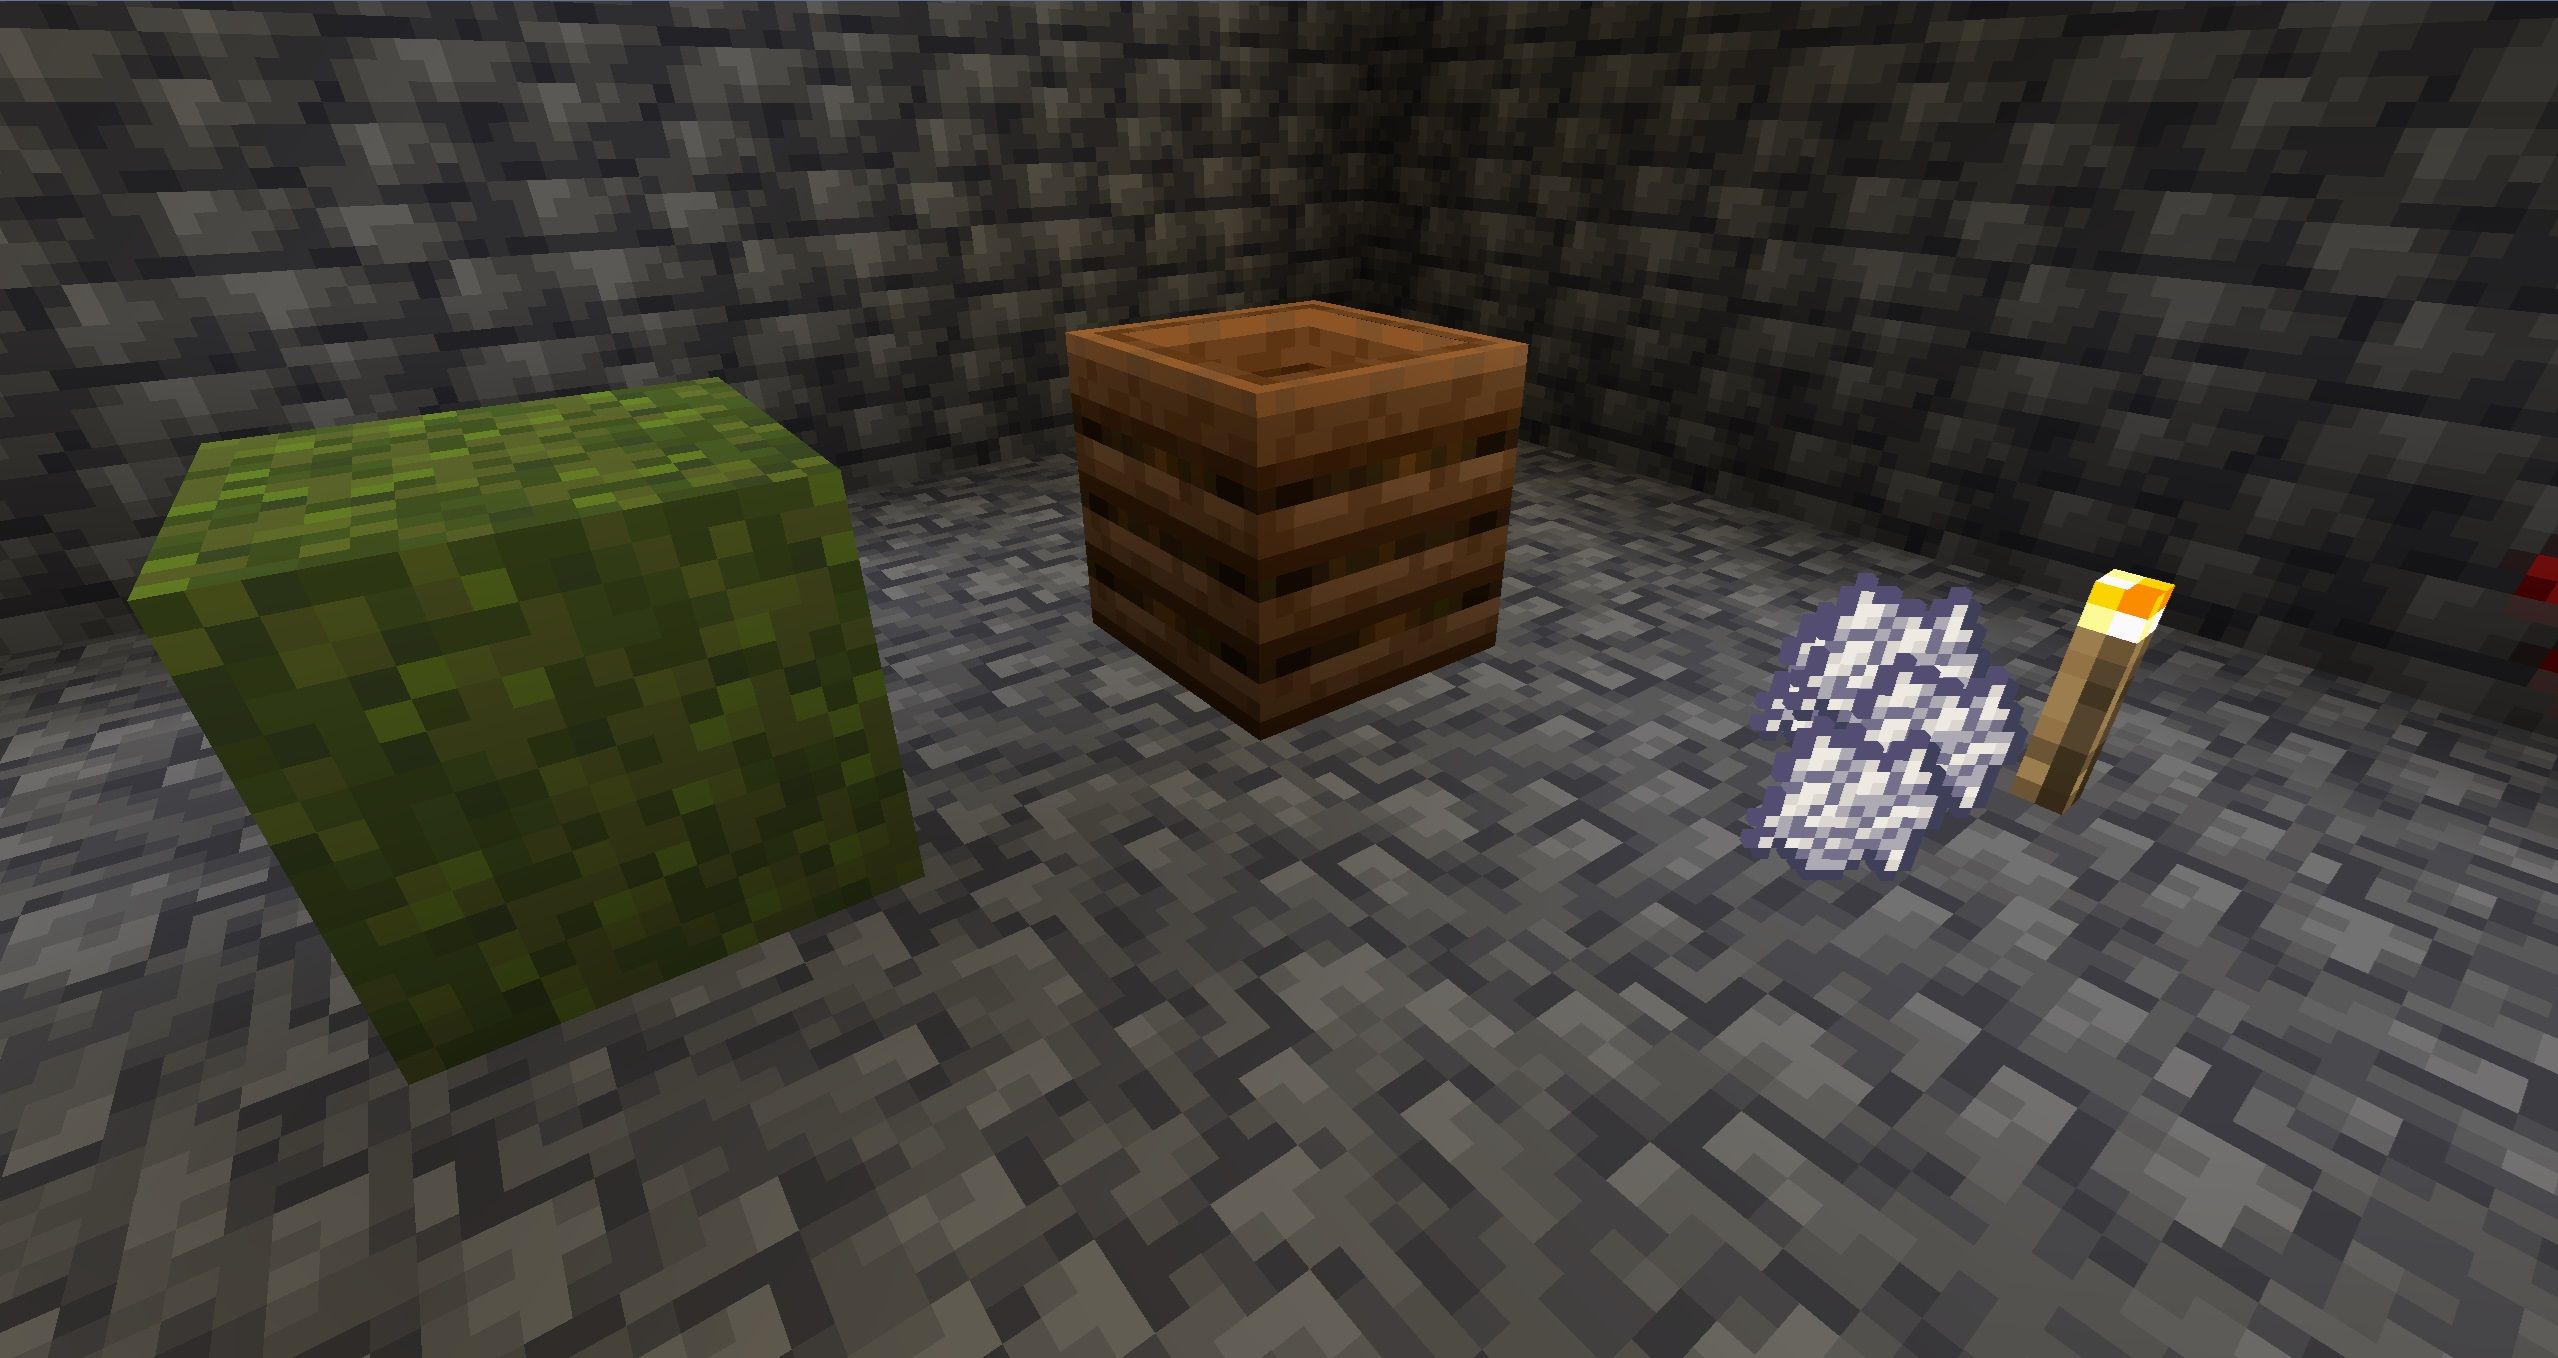
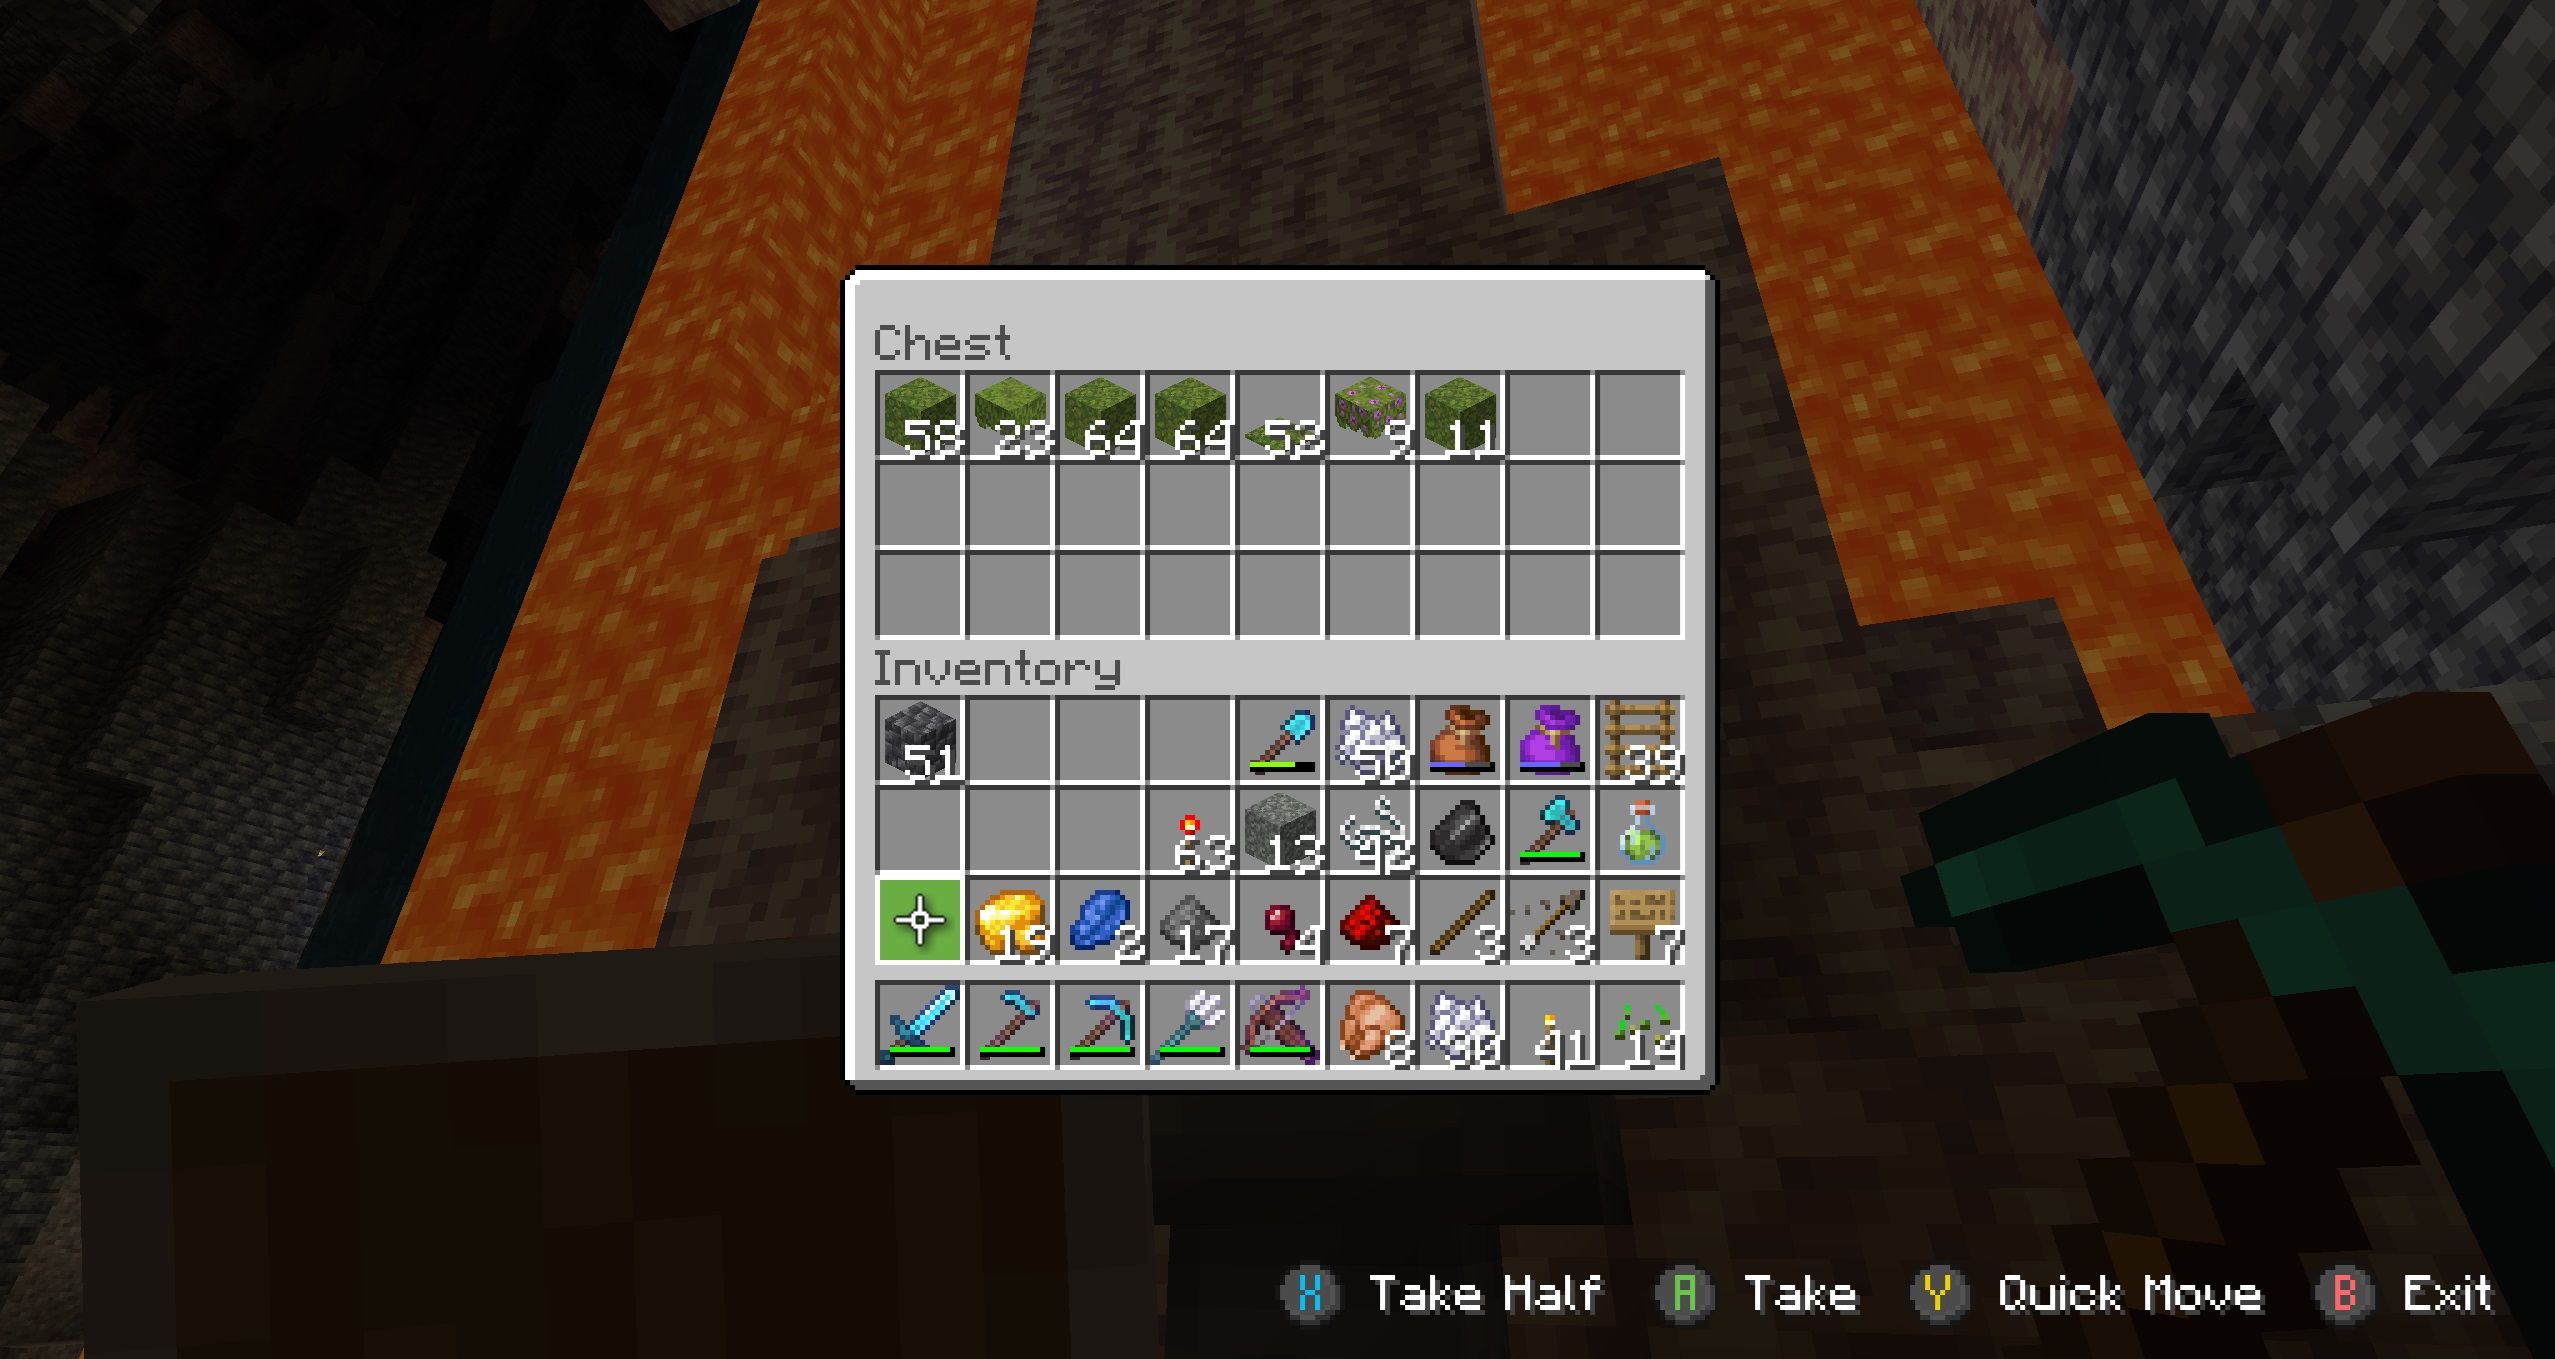
Aside from ore and moss blocks, this process also yields moss carpets, azalea and flowering azalea bushes, grass, wheat seeds, and rarely, wood. All of these except for the seeds can be used for decoration, but the flowering azalea bush in particular looks really nice. You also can plant the seeds to grow wheat, or as chicken feed to get them to reproduce.
However, you’ll need the bulk of these to keep perpetuating the cycle, since except for the wood blocks, they can all be put in the composter. The composter then produces bone meal that you can use to continue moss mining. This method will yield a generous surplus of bone meal, which you can use to supercharge your crop farming as well a being a basis for multiple dyes.
How To Make An Auto-Composter
Manually inputting plant matter into a composter is a tedious and inefficient way to make bone meal, but you can automate the process easily.
Here’s what you’ll need:
- 1 Composter (7x Wood Slabs)
- 2 Chests (8x Wood Blocks, each)
- 2 Hoppers ( 1x Chest, 5x Iron Bars, each)
|
1. |
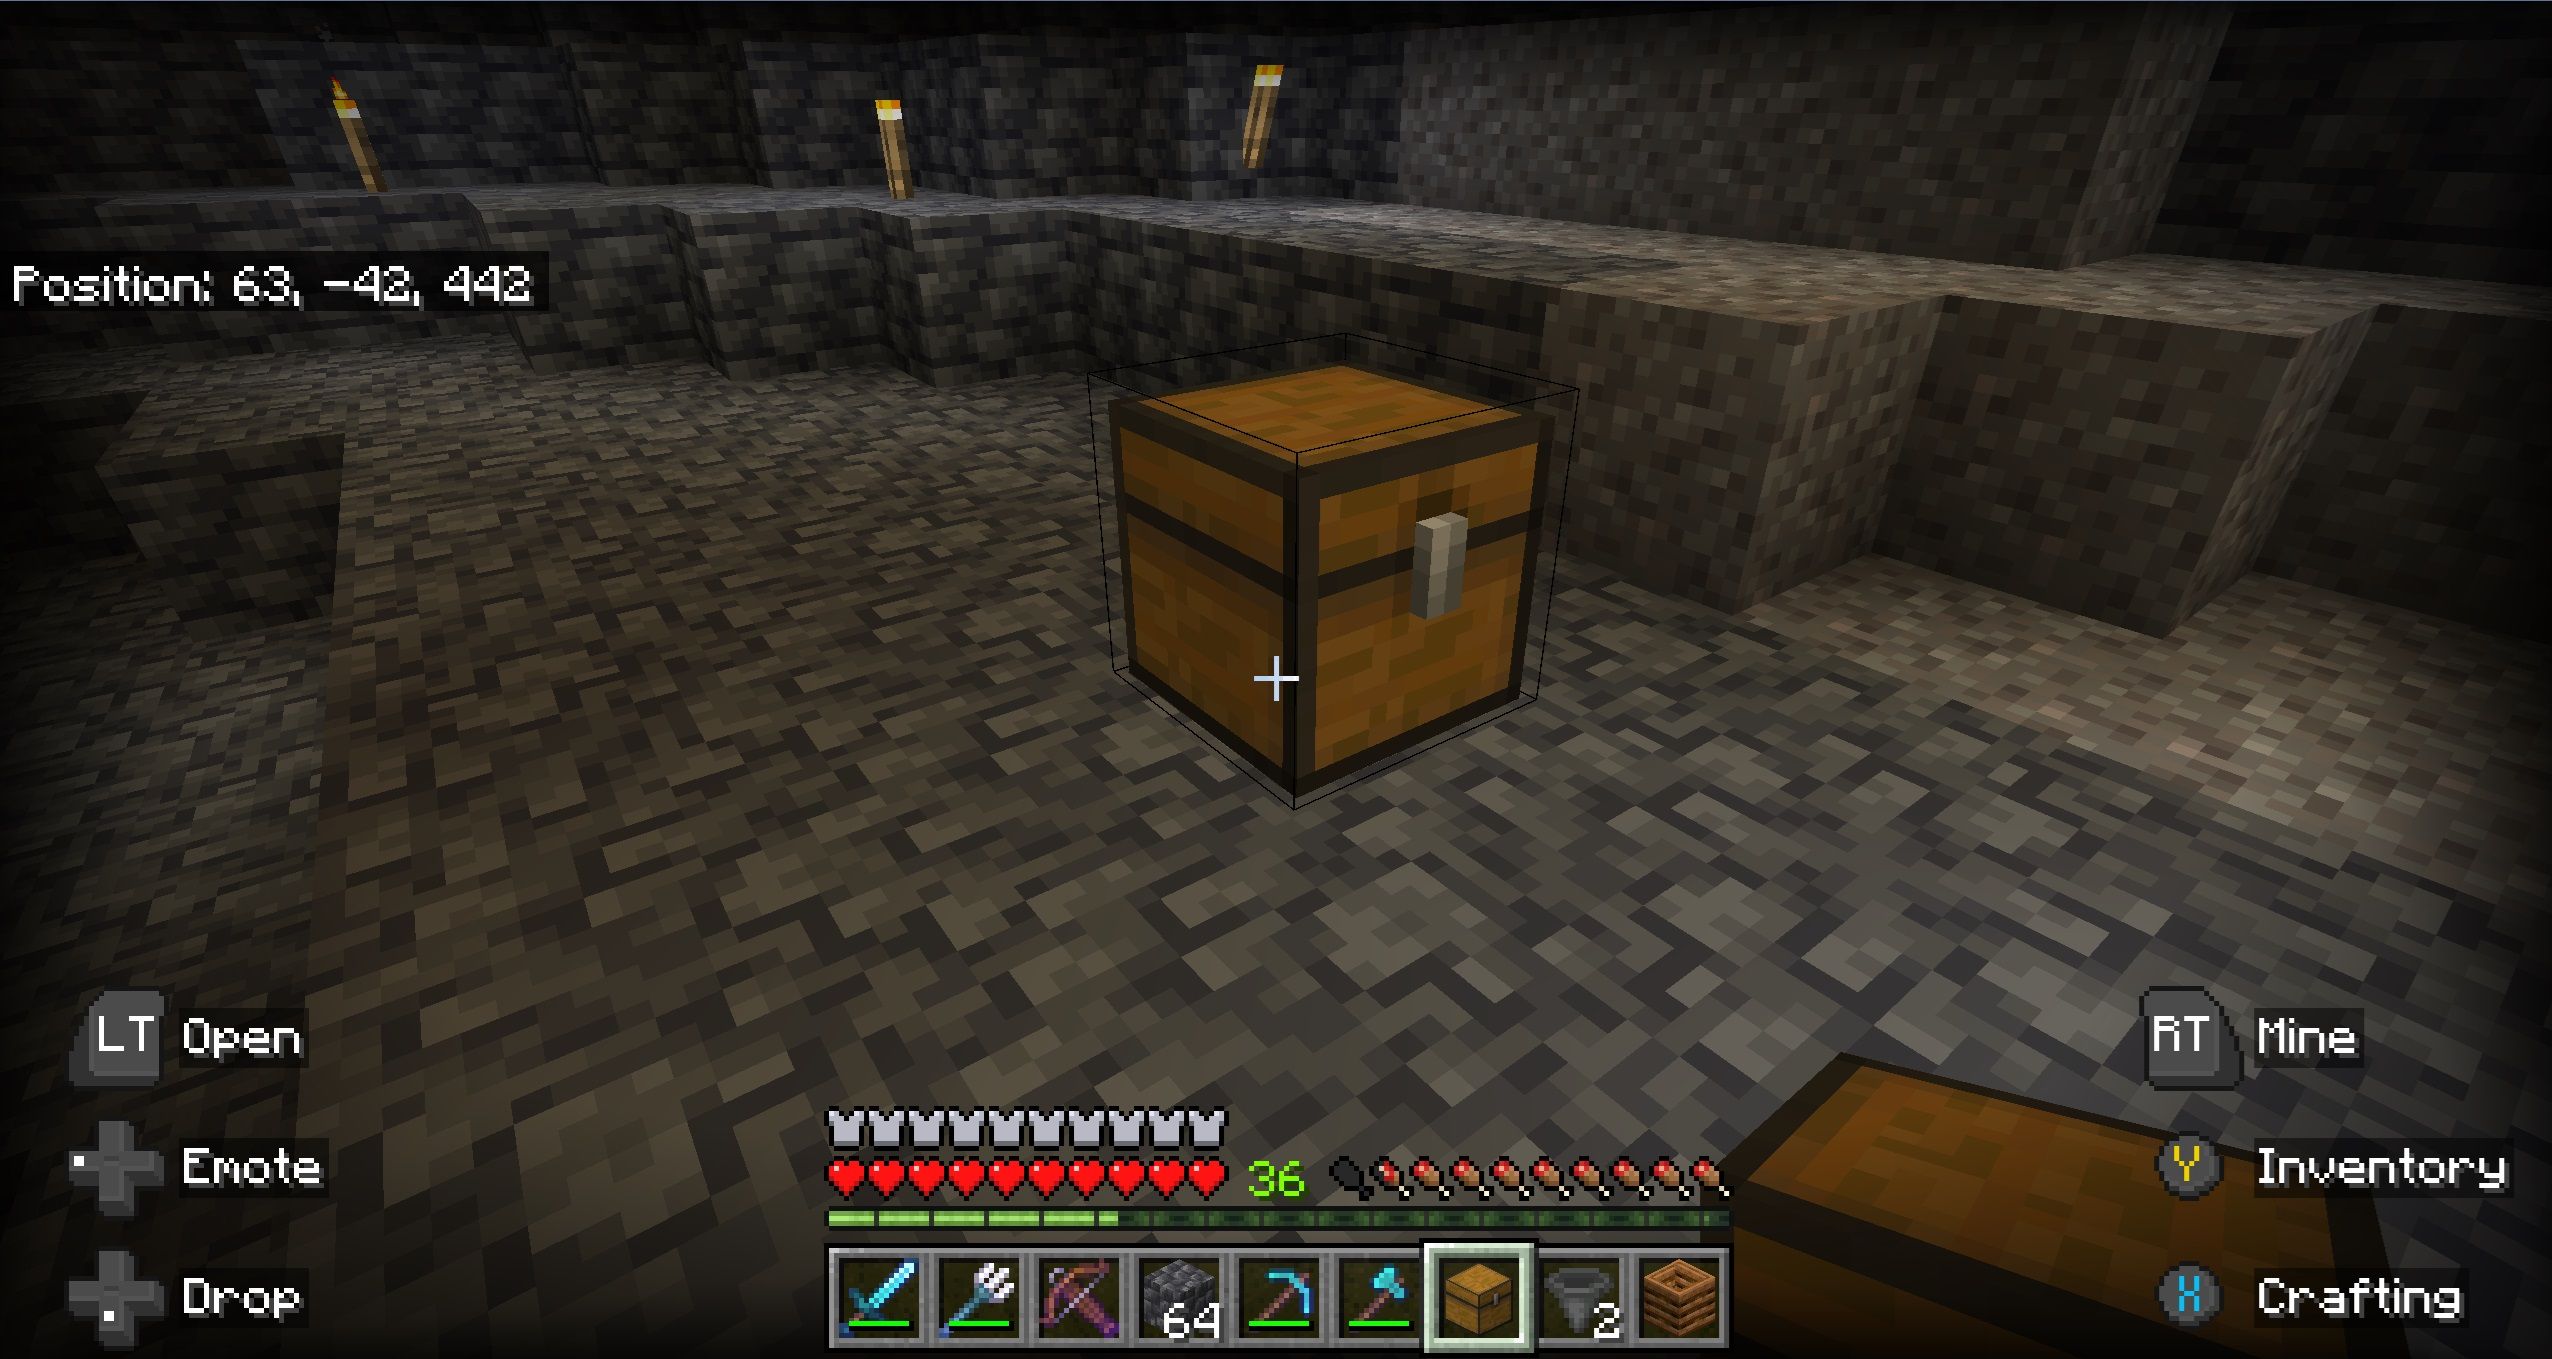
Put a chest down |
|
|---|
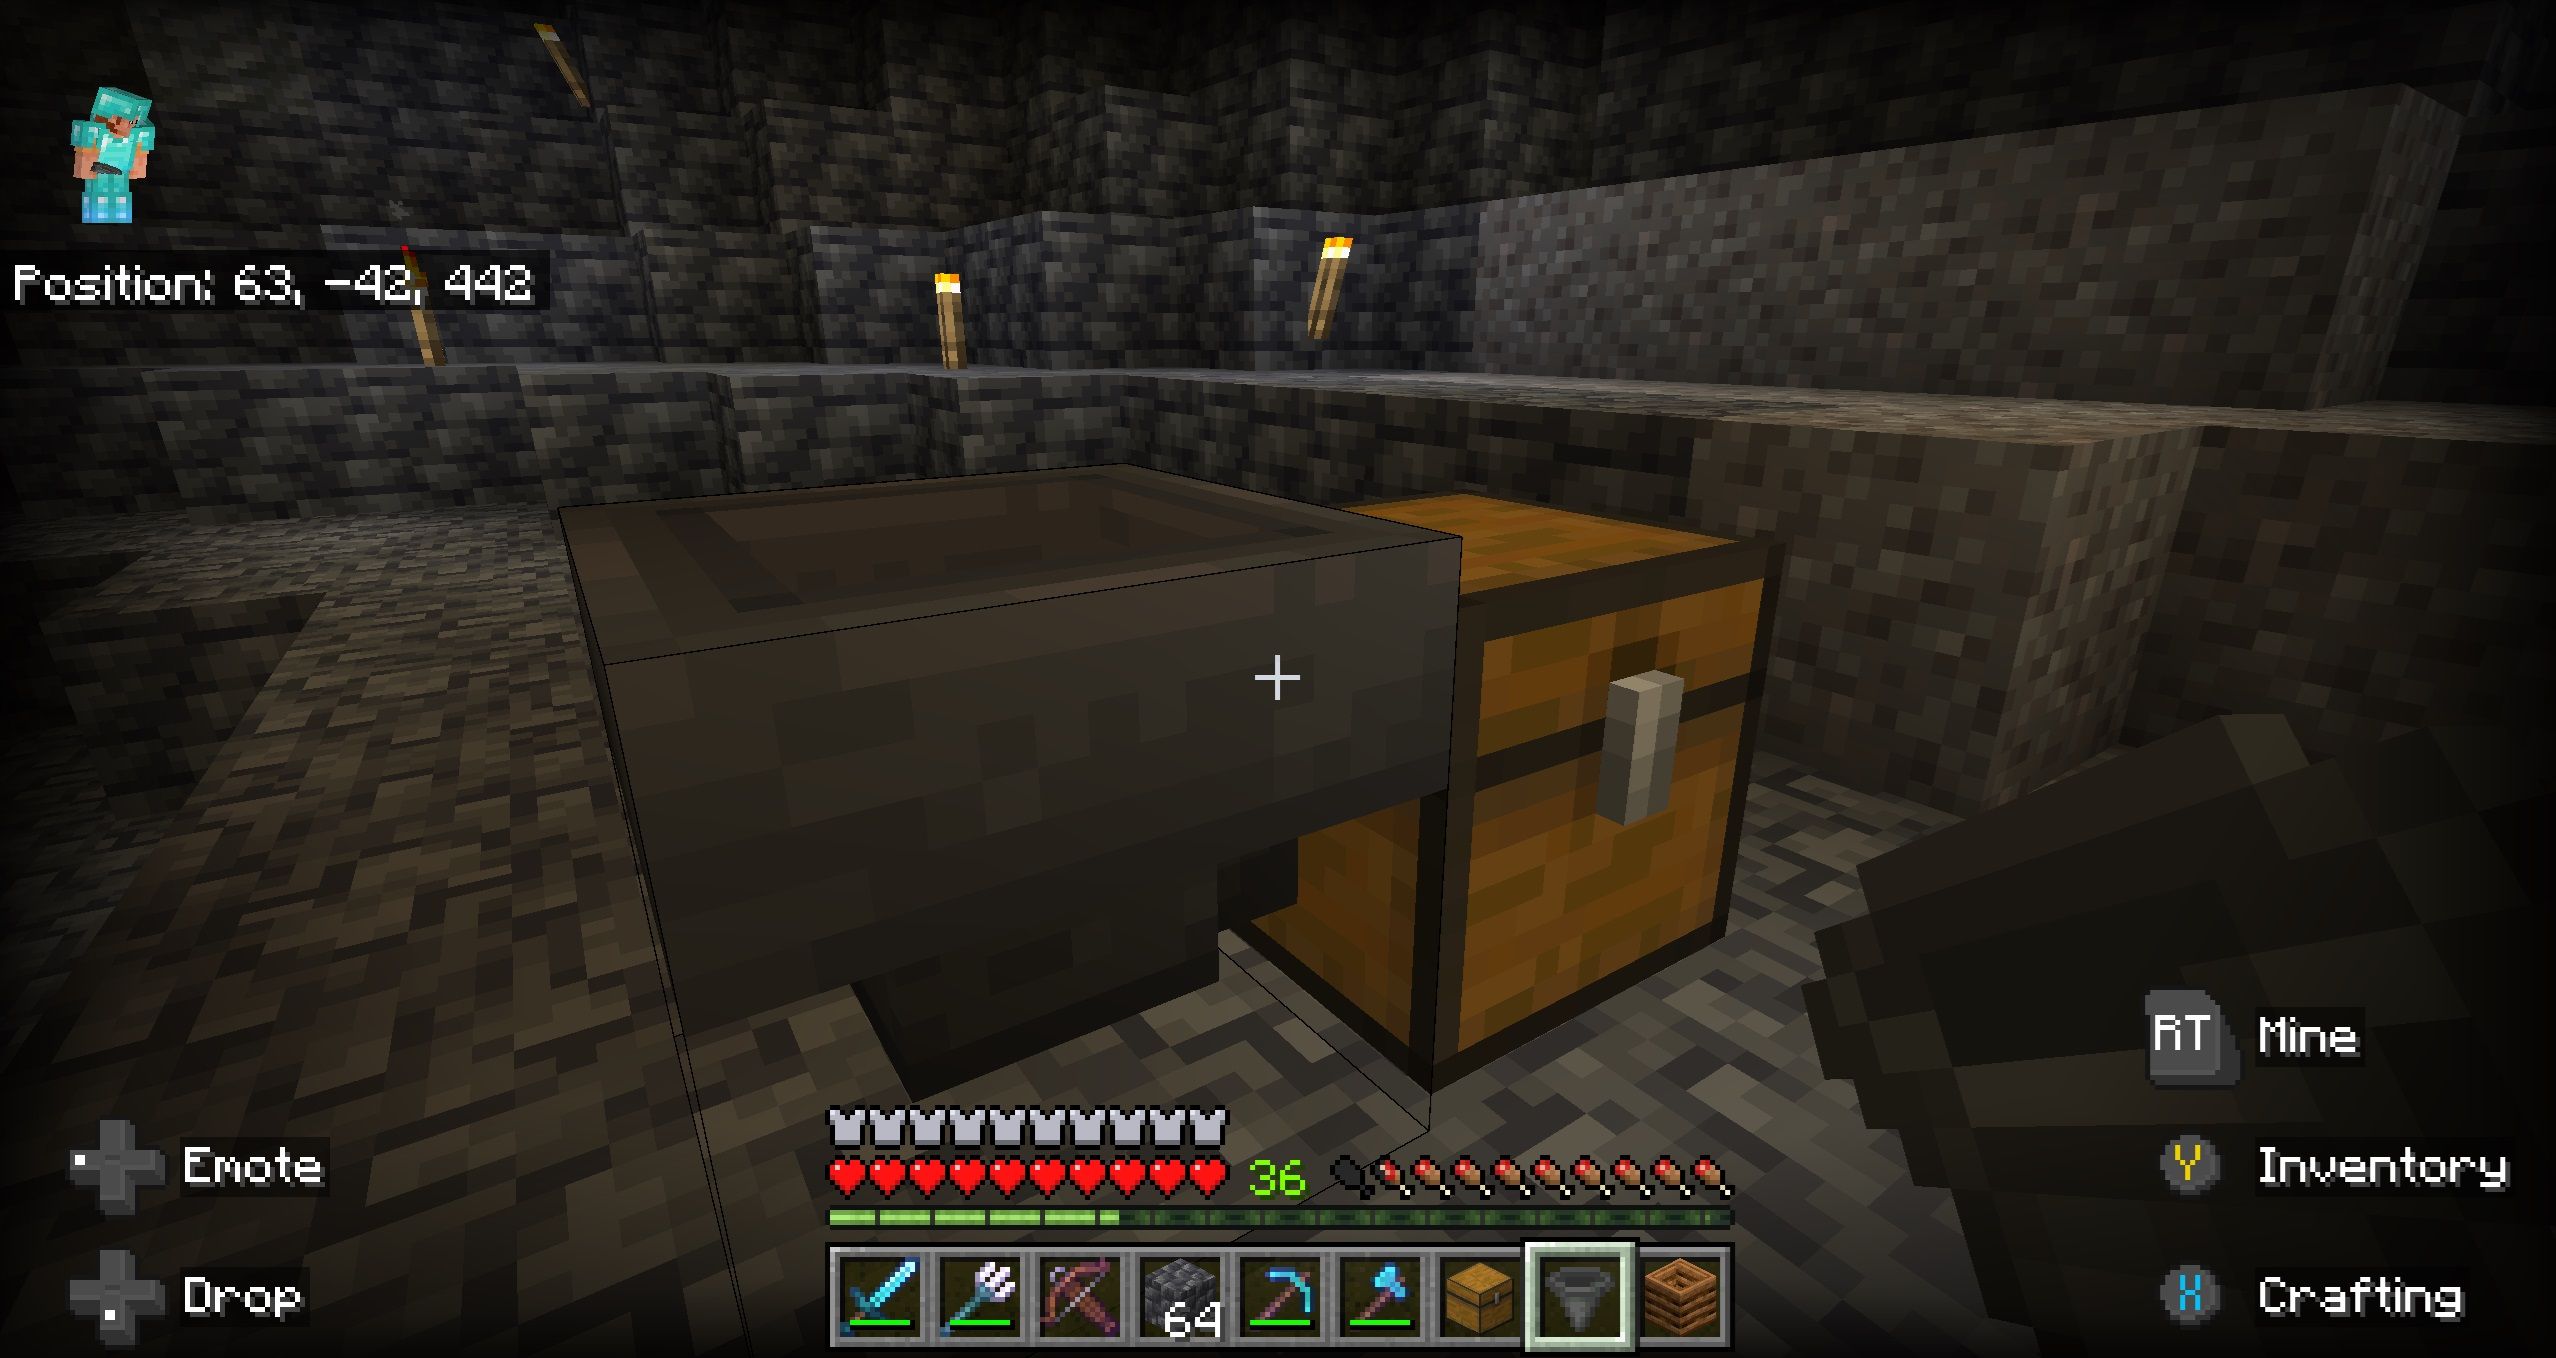
| 2. | Attach a hopper on the side of the chest (crouch to place on interactable blocks) |
|
|---|
|
3. |
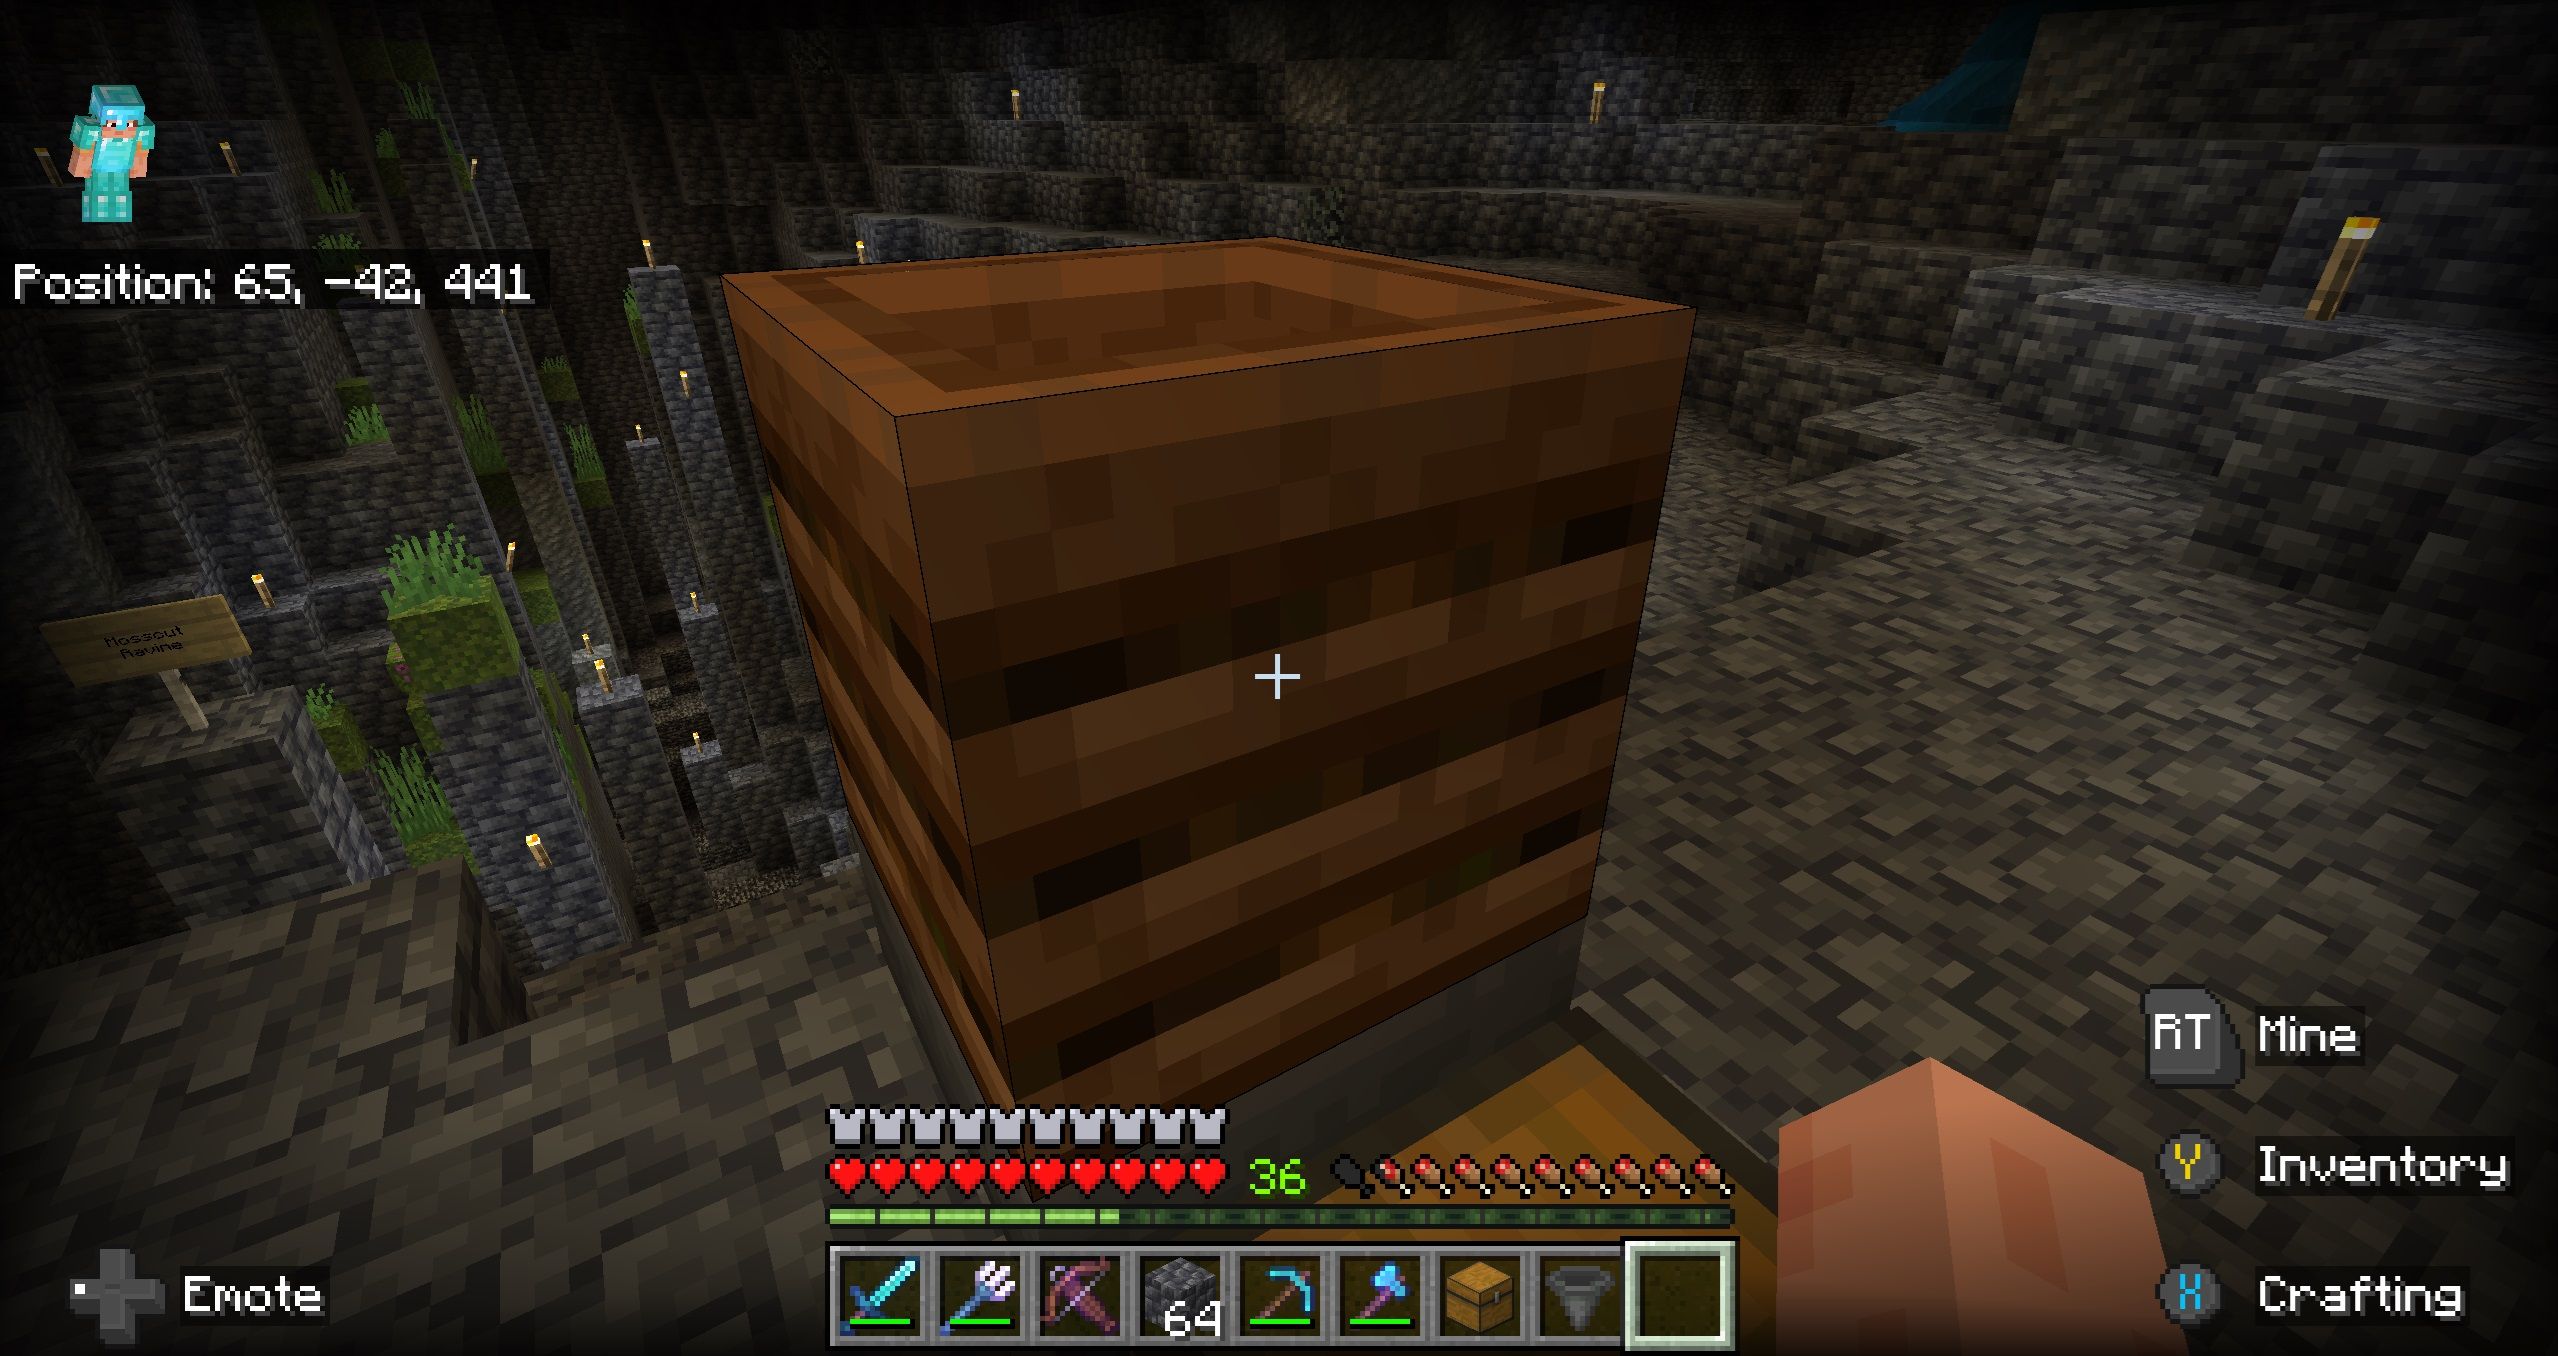
Place a the composter on top of the hopper |
|
|---|
|
4. |
Place a hopper on top of the composter |
|
|---|
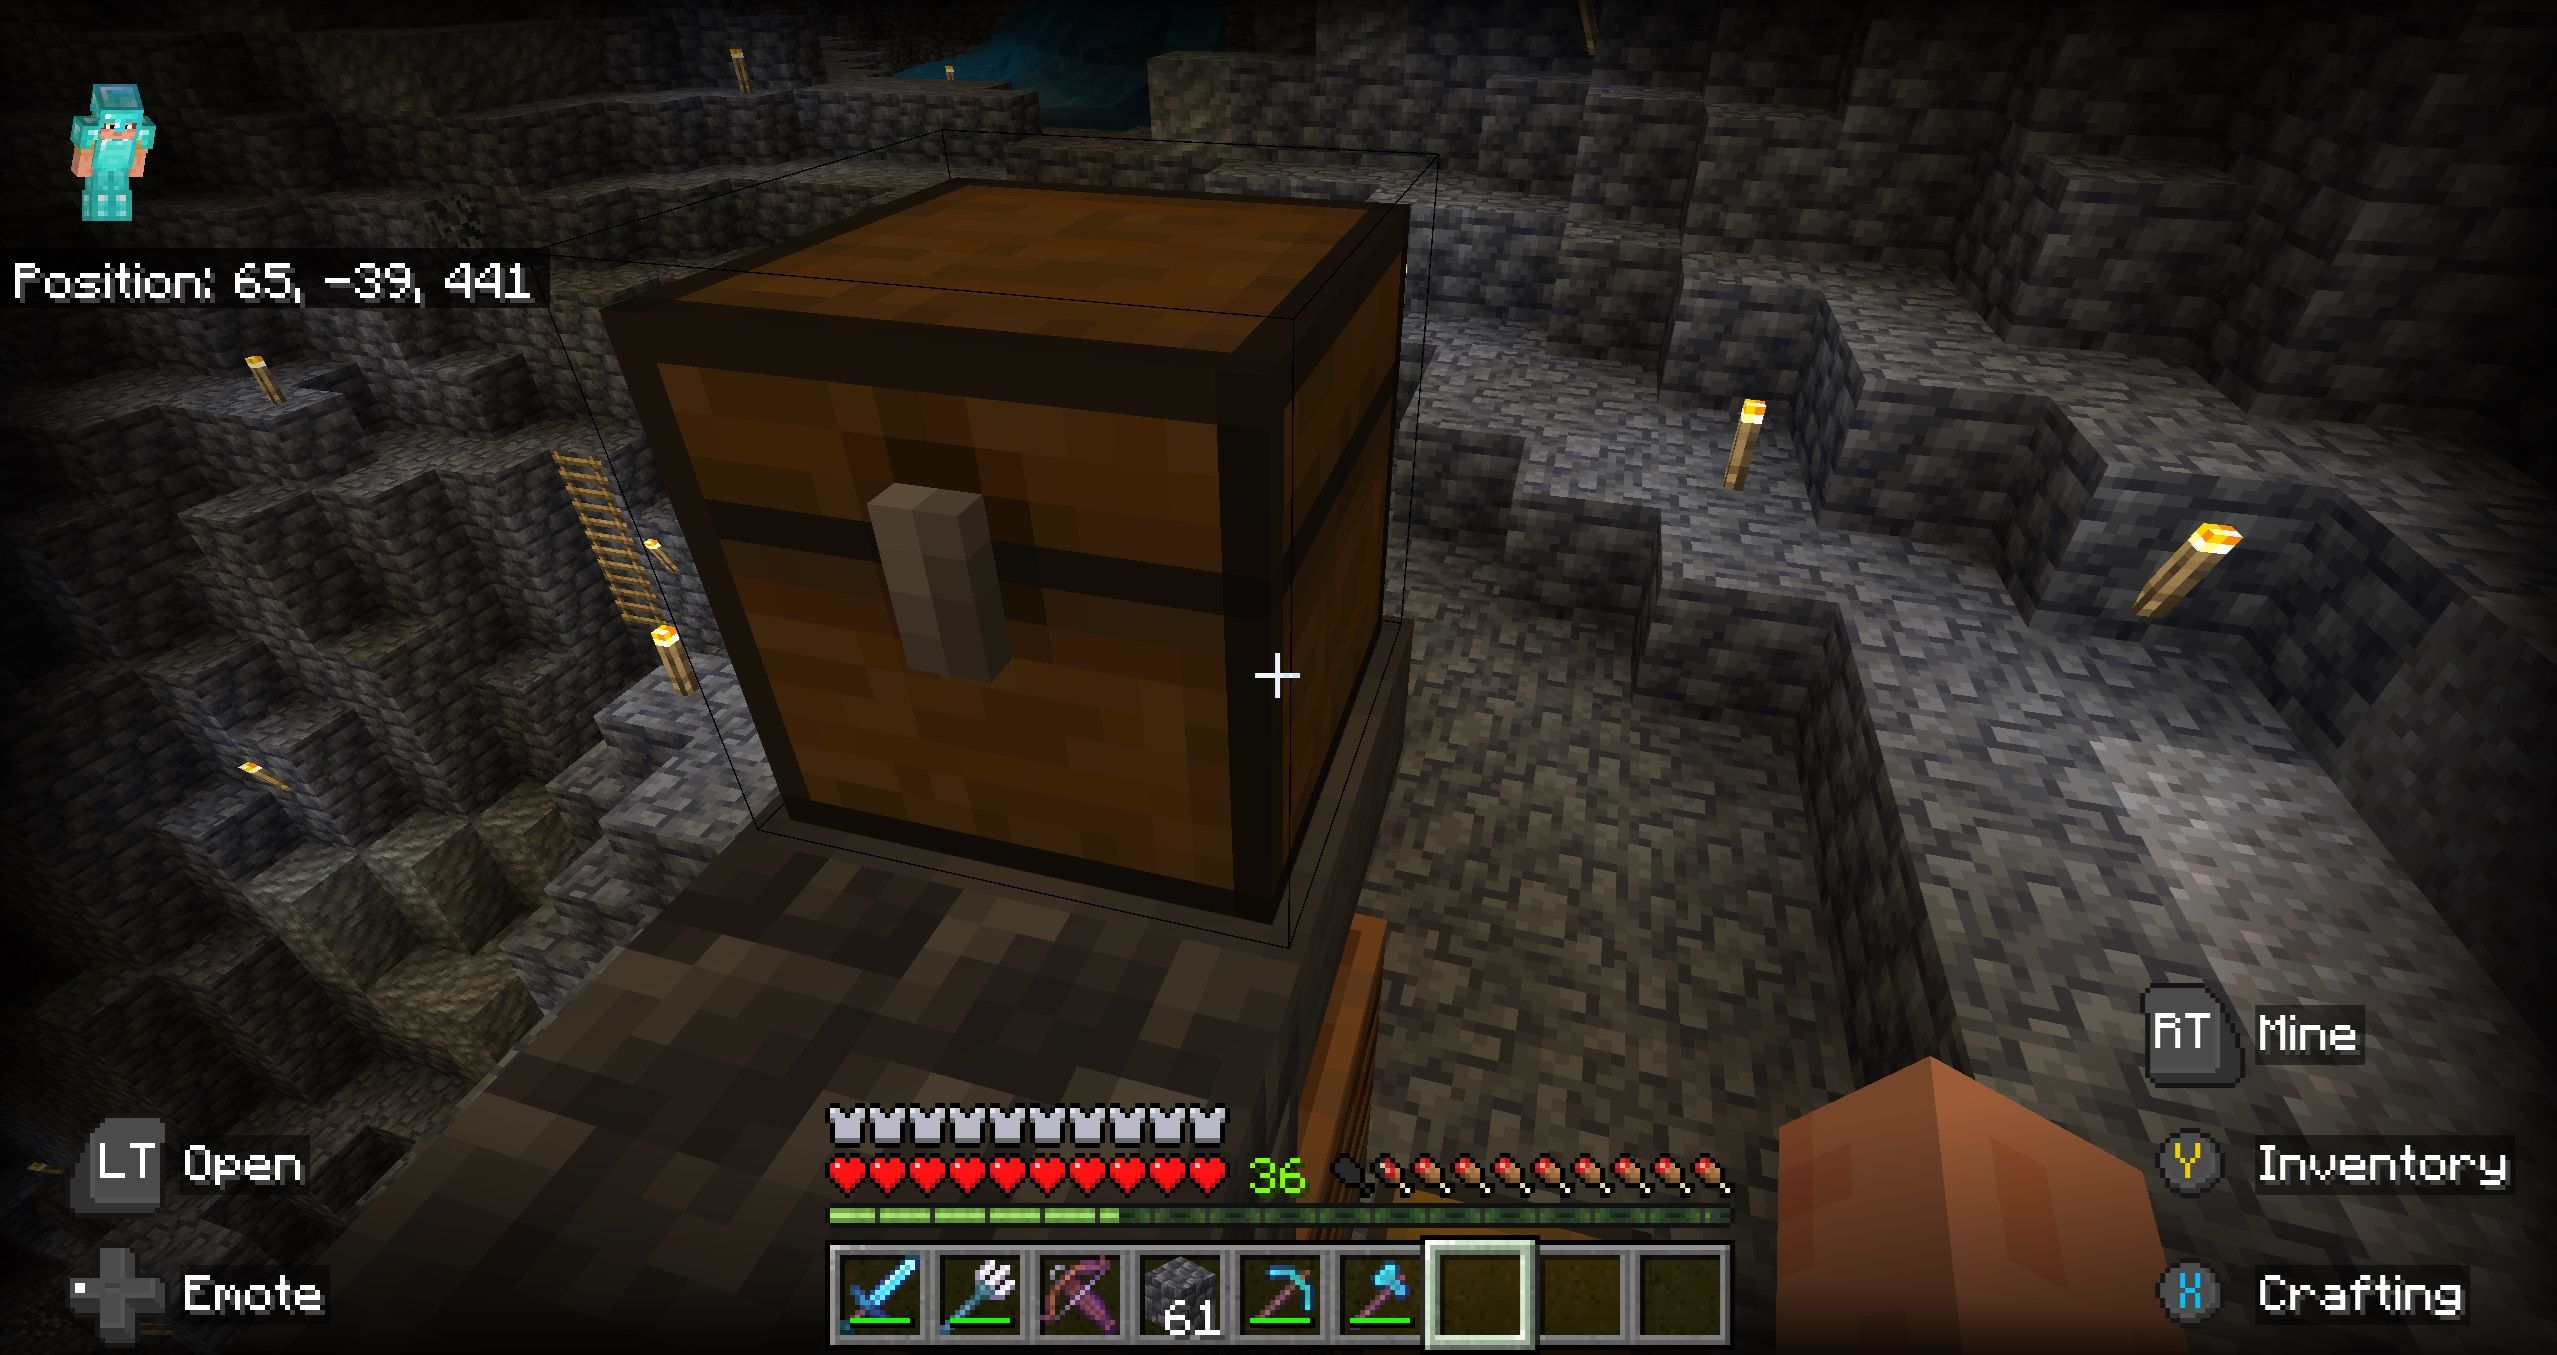
| 5. | Place a chest on top of the hopper |
|
|---|
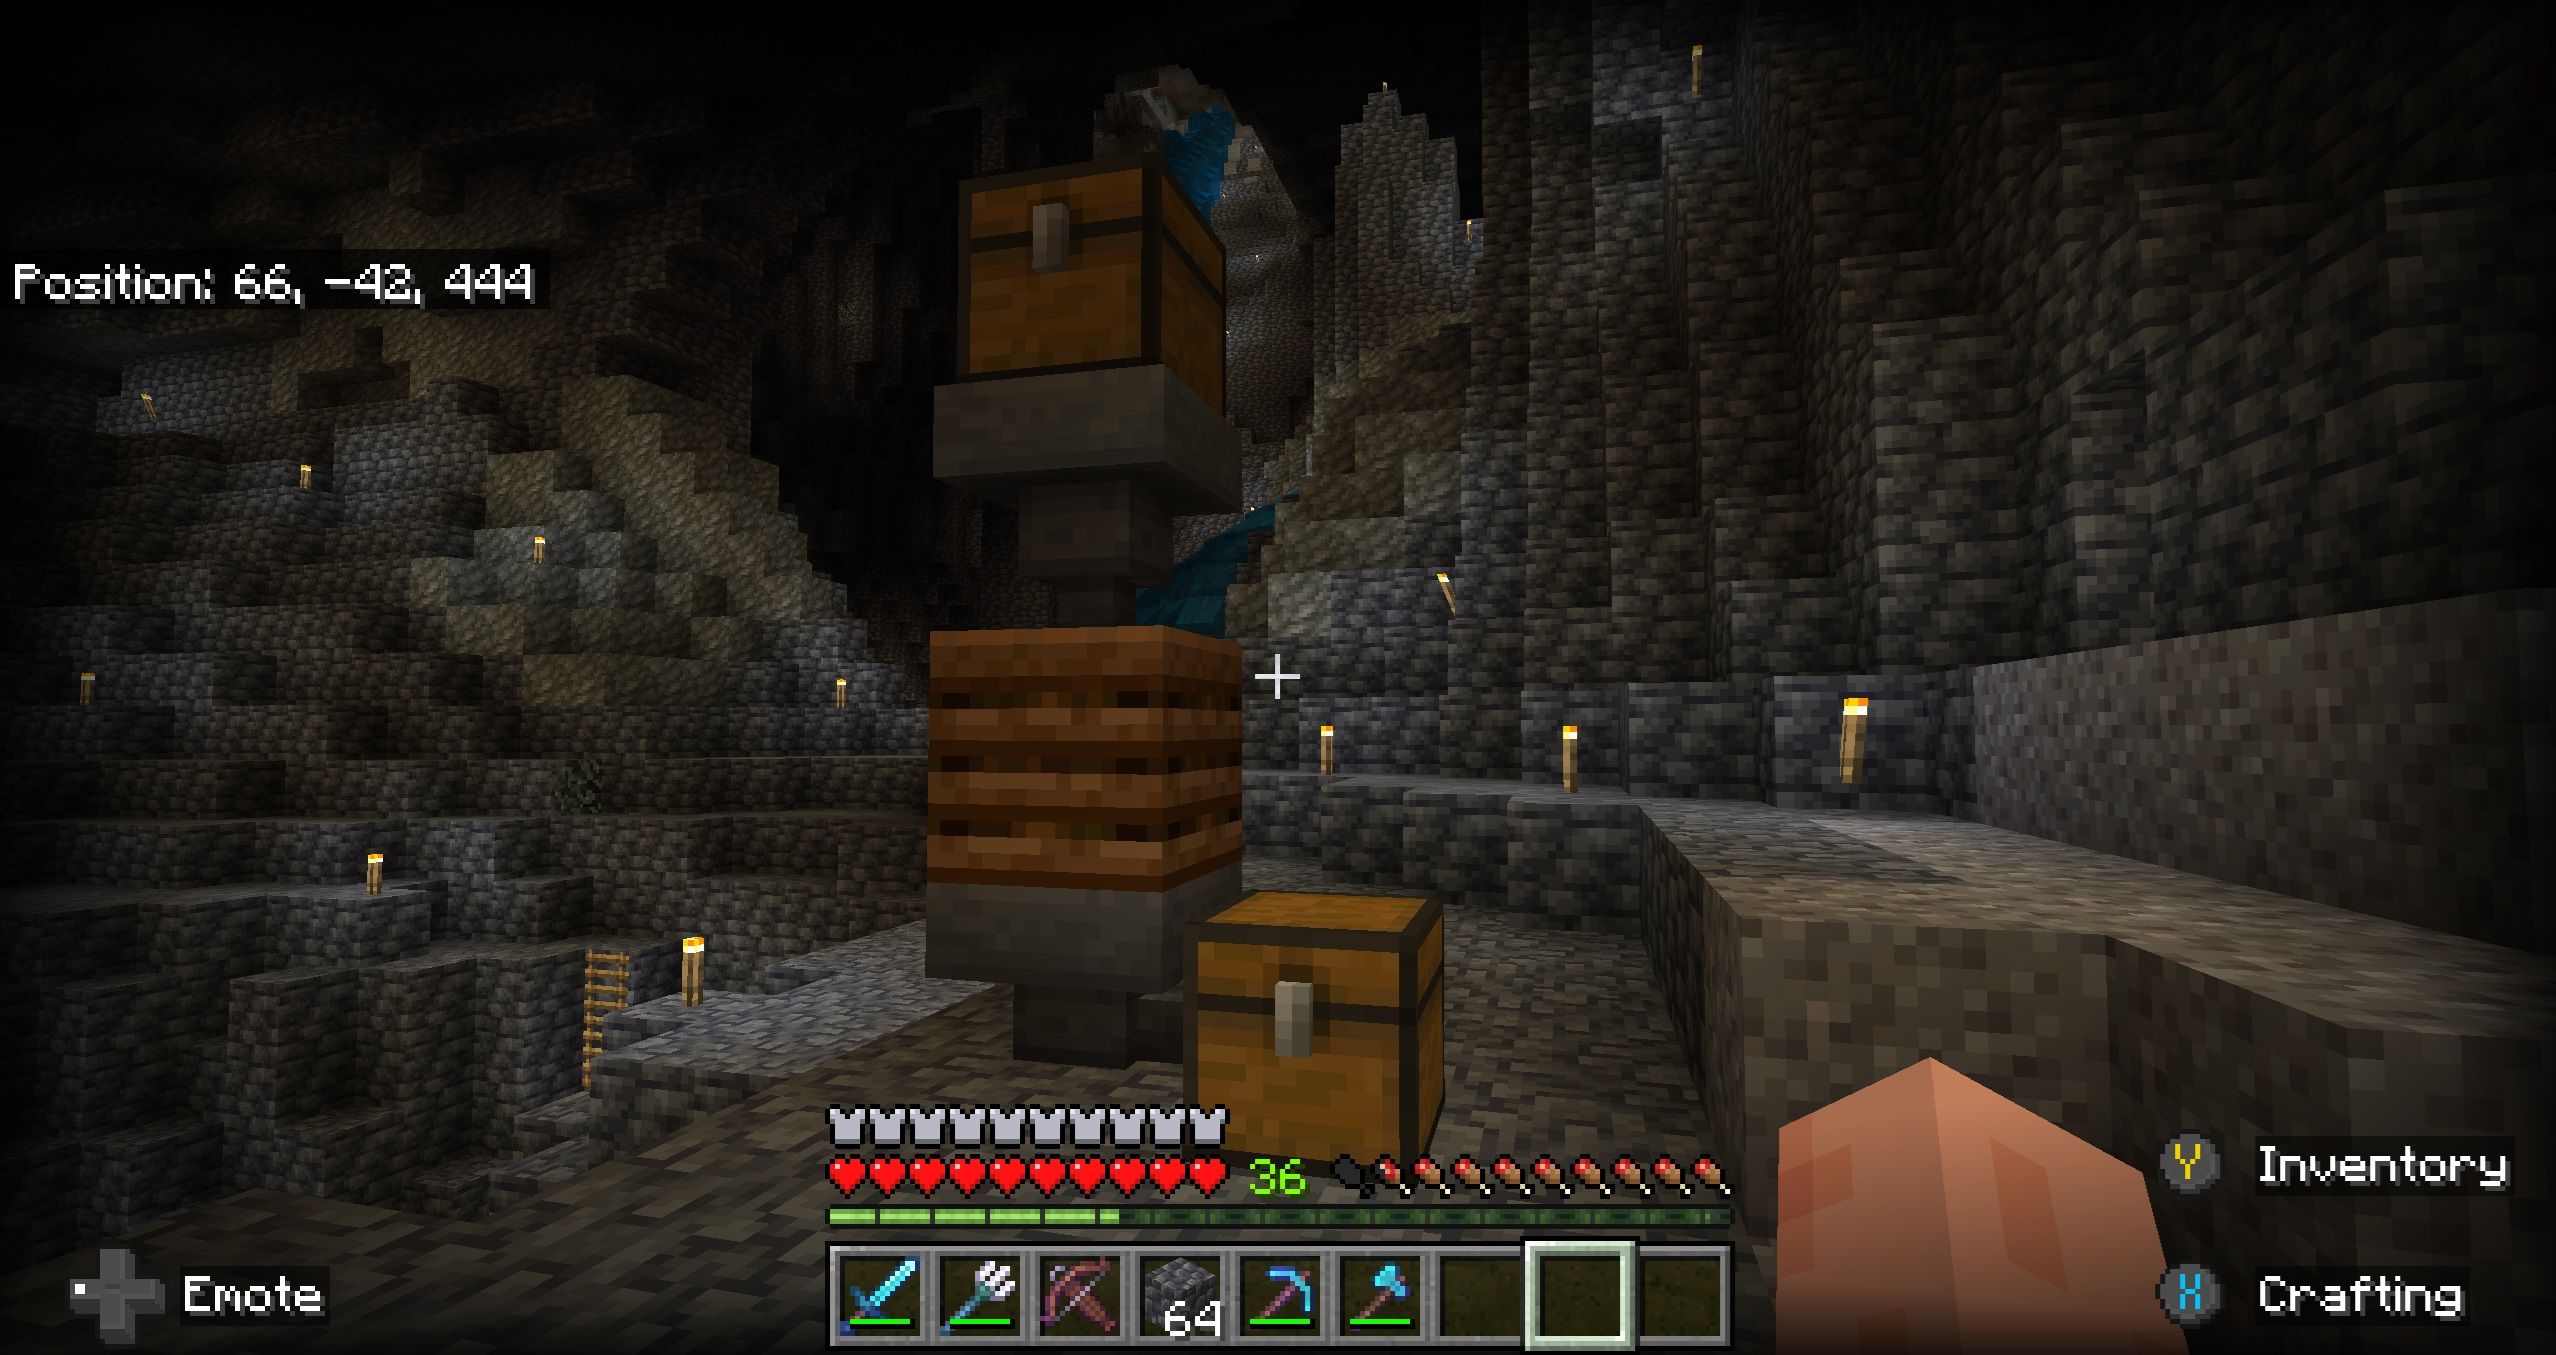
And now you have an auto-composter setup! Just input all plant matter and/or mushrooms you want to get rid of in the top chest, and the hopper will feed it into the composter and eventually the composter will generate bone meal. The bone meal can be collected at the bottom chest.
Ideally, you’ll want to place this near enough to your moss mine that you can return to it often to drop off the generated plant blocks, but it’s got few enough pieces that you can move it relatively quickly.
Related
Minecraft: How To Build A Fully Automated Cooked Chicken Farm
This incredibly cheap build is one of the most useful you can make, as it can ease your constant worry to make more food in Minecraft.
What About Pale Moss?
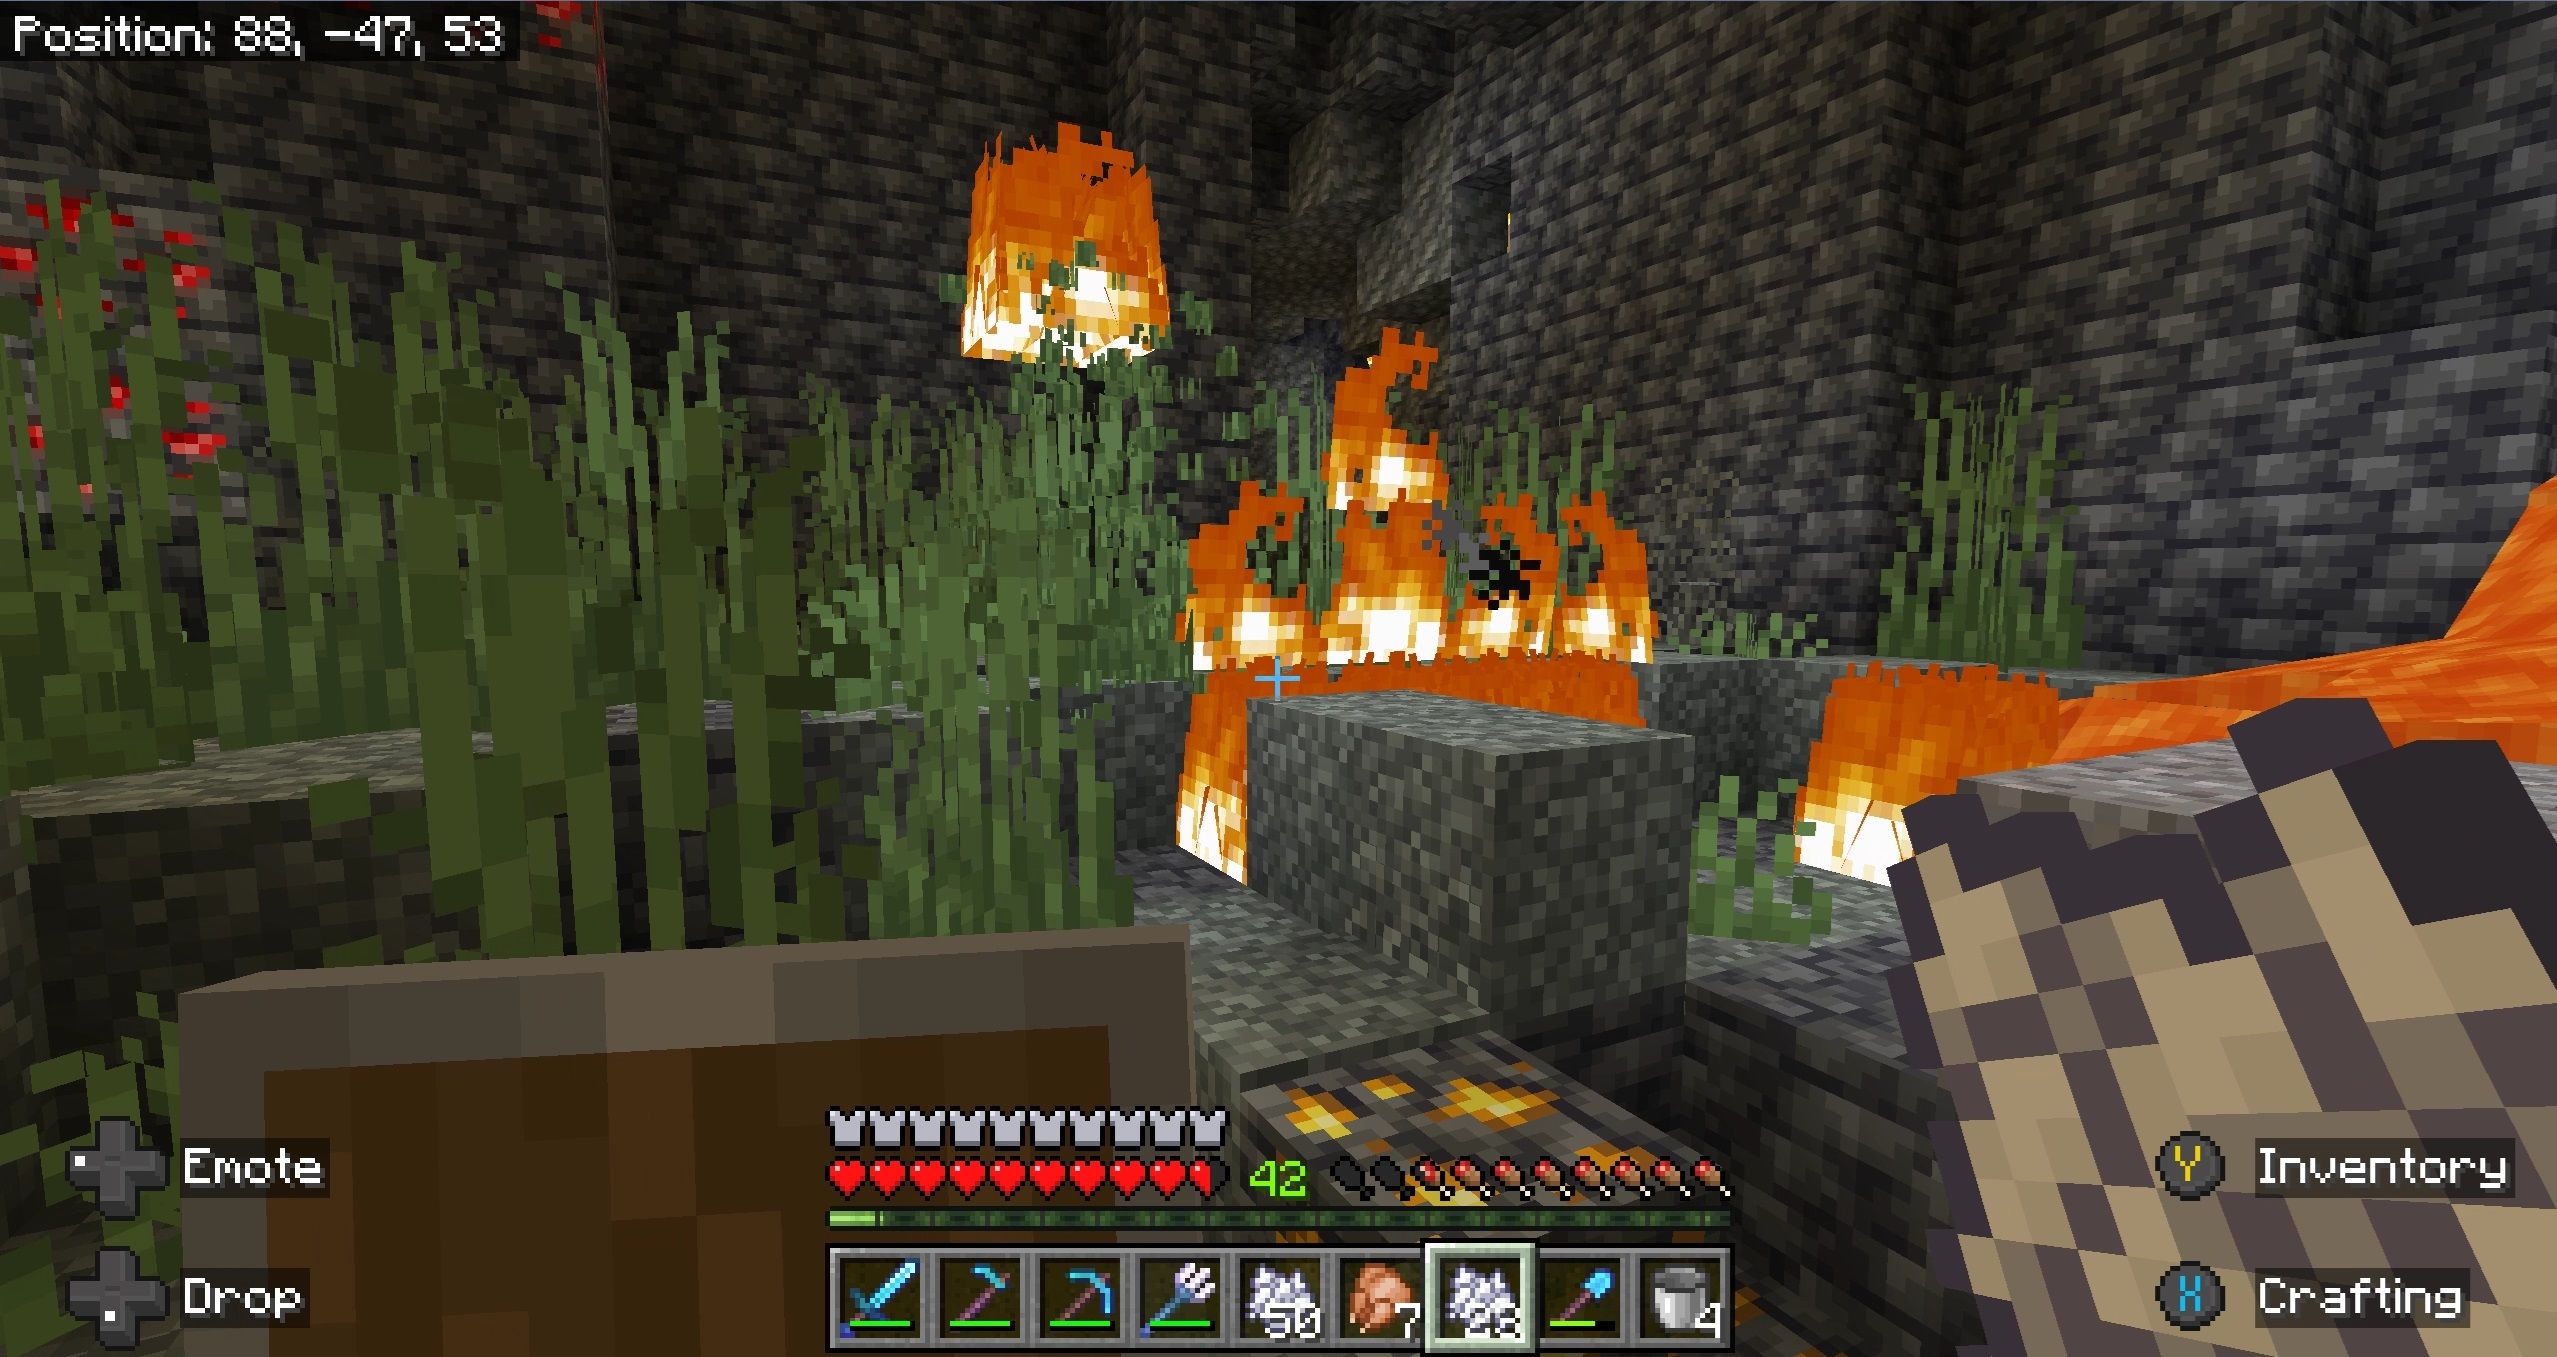
If you want to automate the process even further, you can use pale moss blocks instead of moss. It acts the same as the moss block, but is flammable so you can ignite it and the flames will spread. Just keep in mind that you’ll have to light it in a few places to get it going.
Using Pale Moss and fire is most effective in Hard mode, where fires last longer and have a greater chance to spread.
However, you get no plant matter to recycle when you do this and you’ll need to harvest at least one pale moss before you start burning things down to repeat the process. Pale moss is also more difficult to find if the wandering trader doesn’t have it, requiring you to find the rare and dangerous pale garden biome.
Next
Minecraft: How To Make An Auto-Sorter
Keep your chests organized with an auto-sorter. Here’s how to make one in Minecraft!

