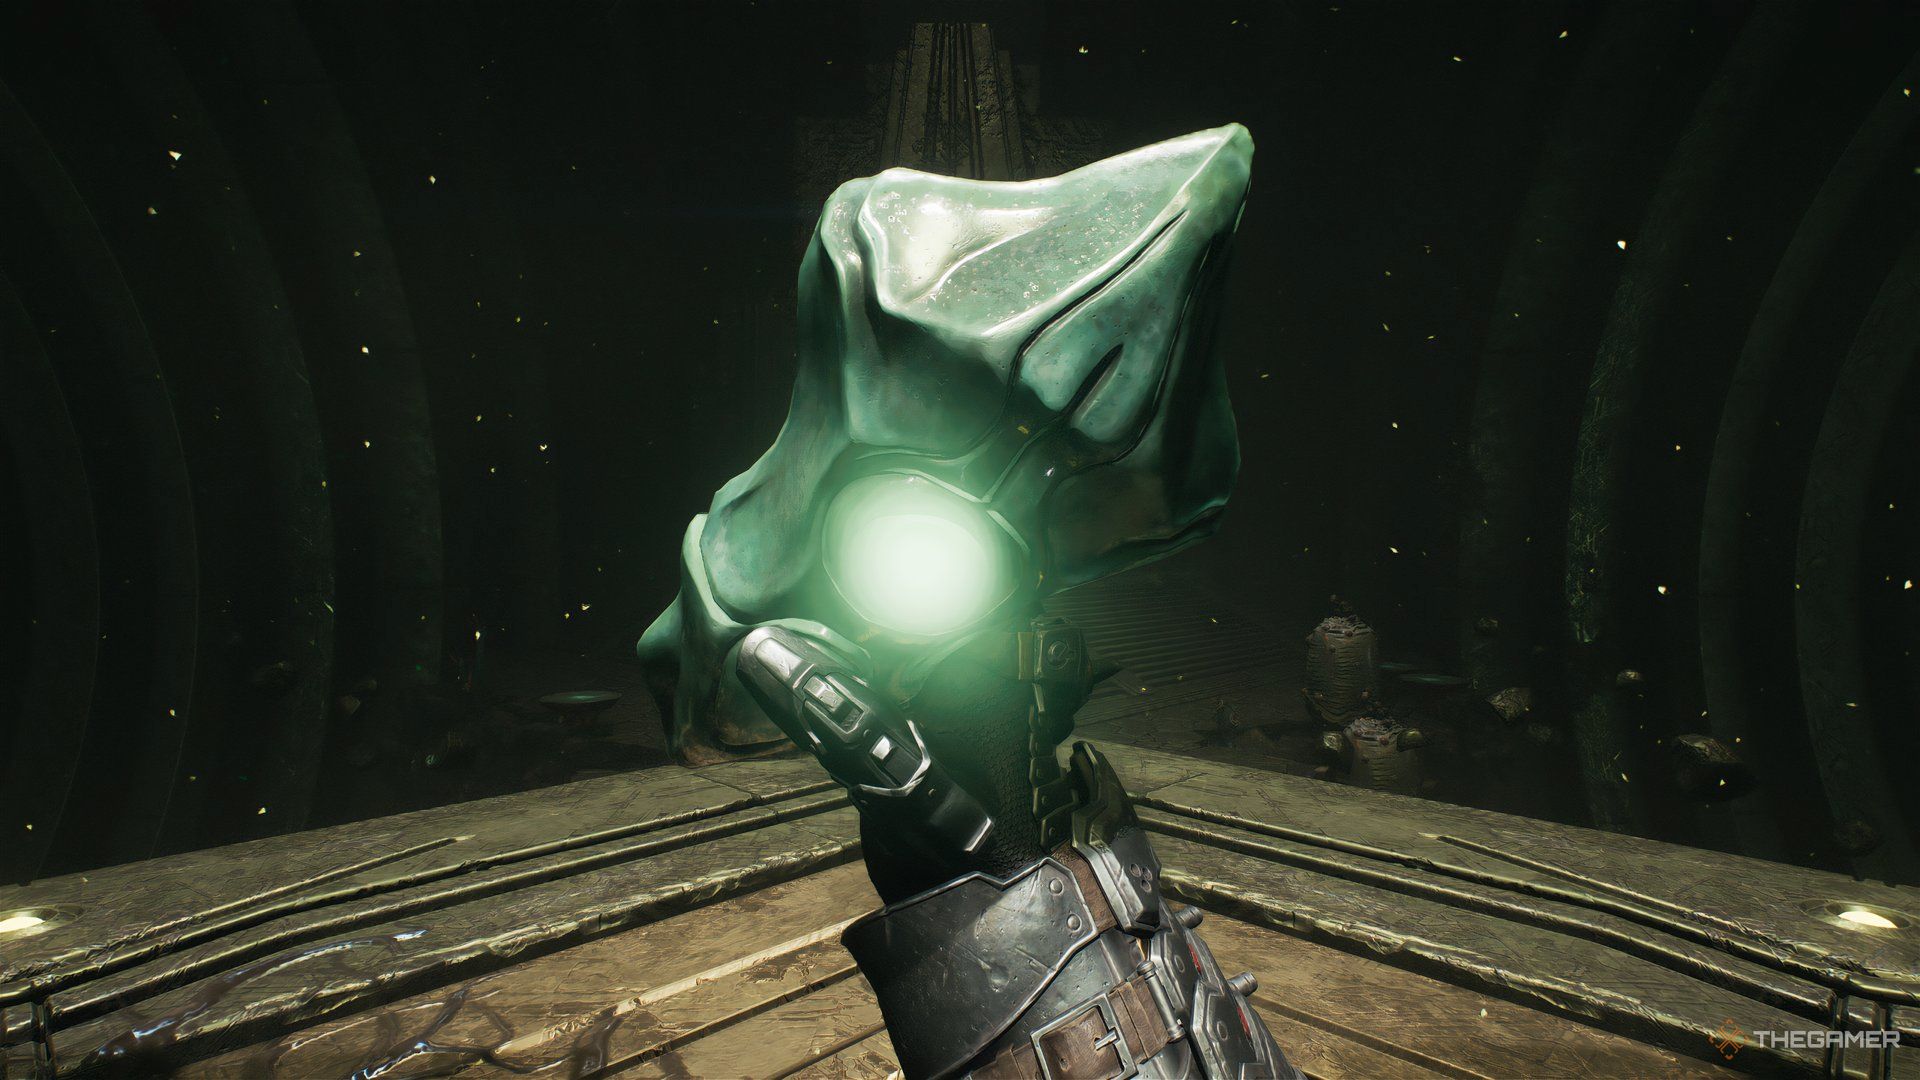
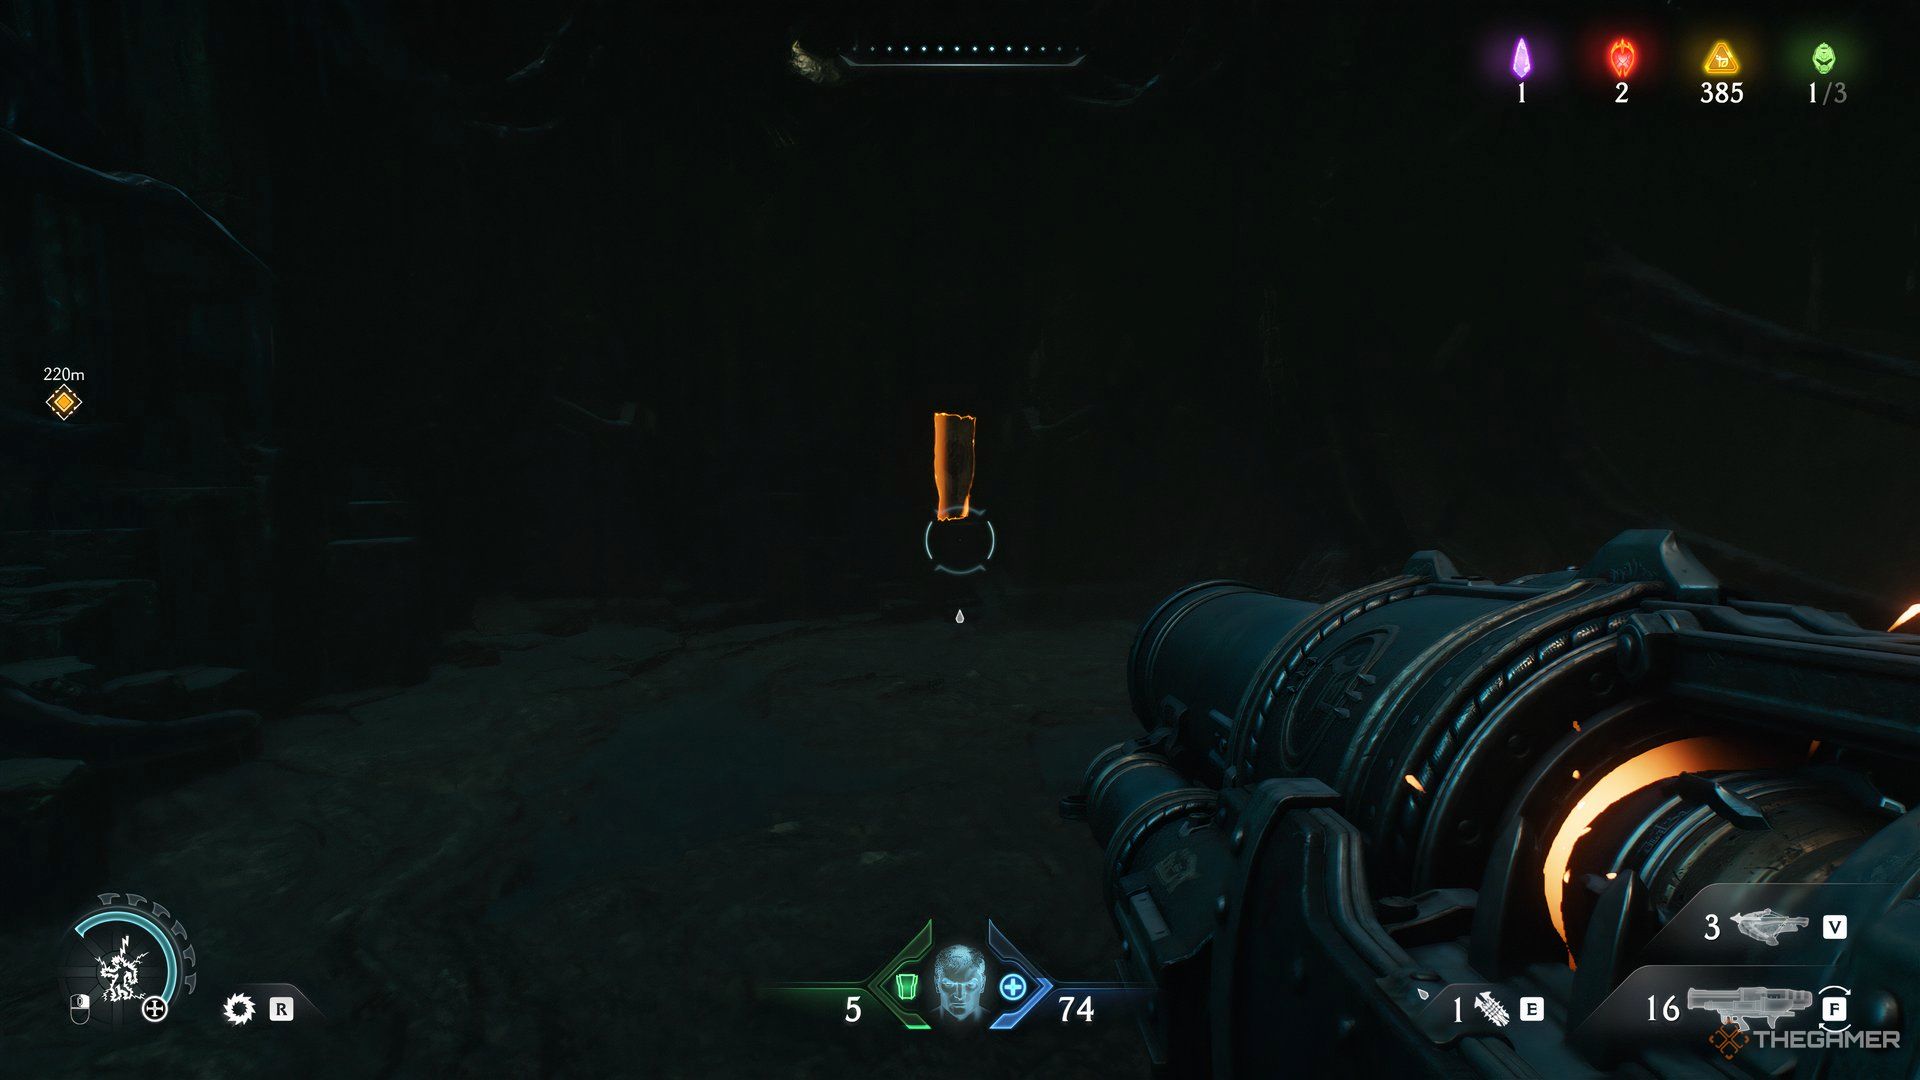
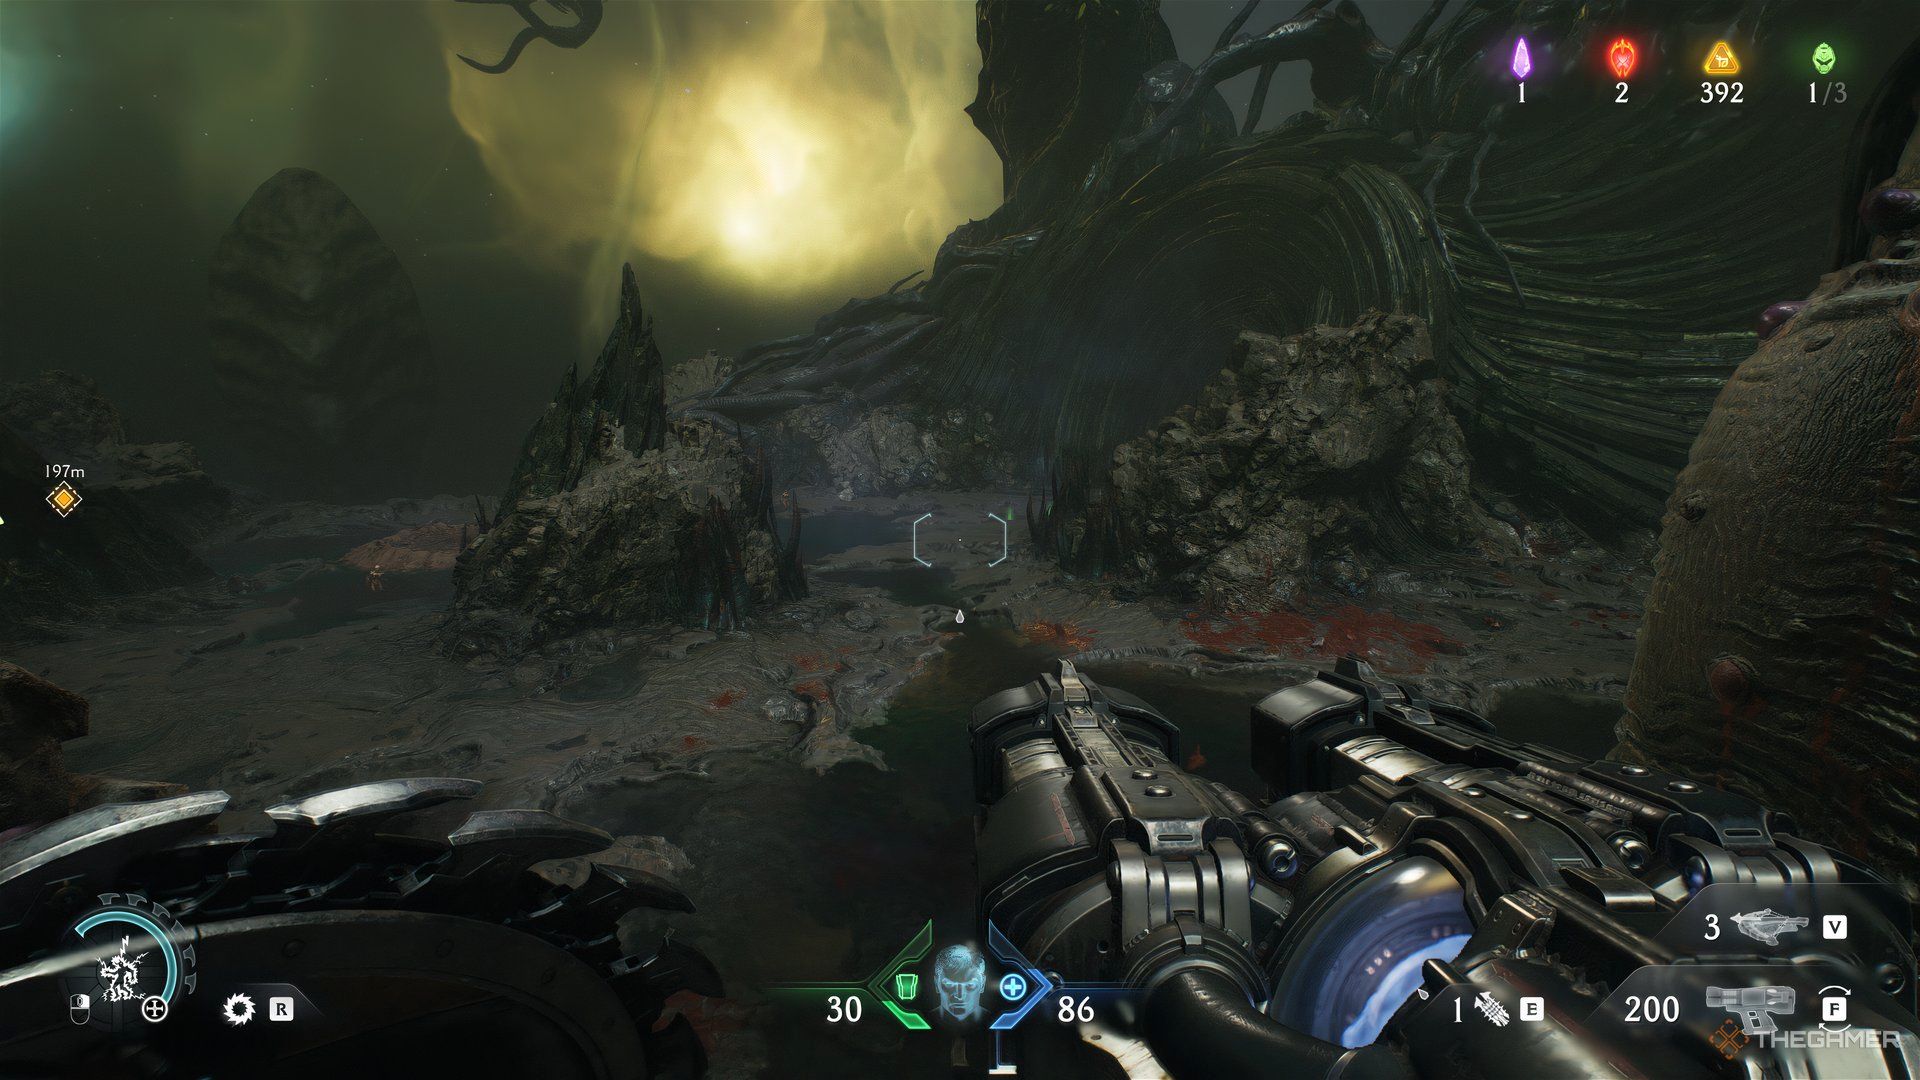
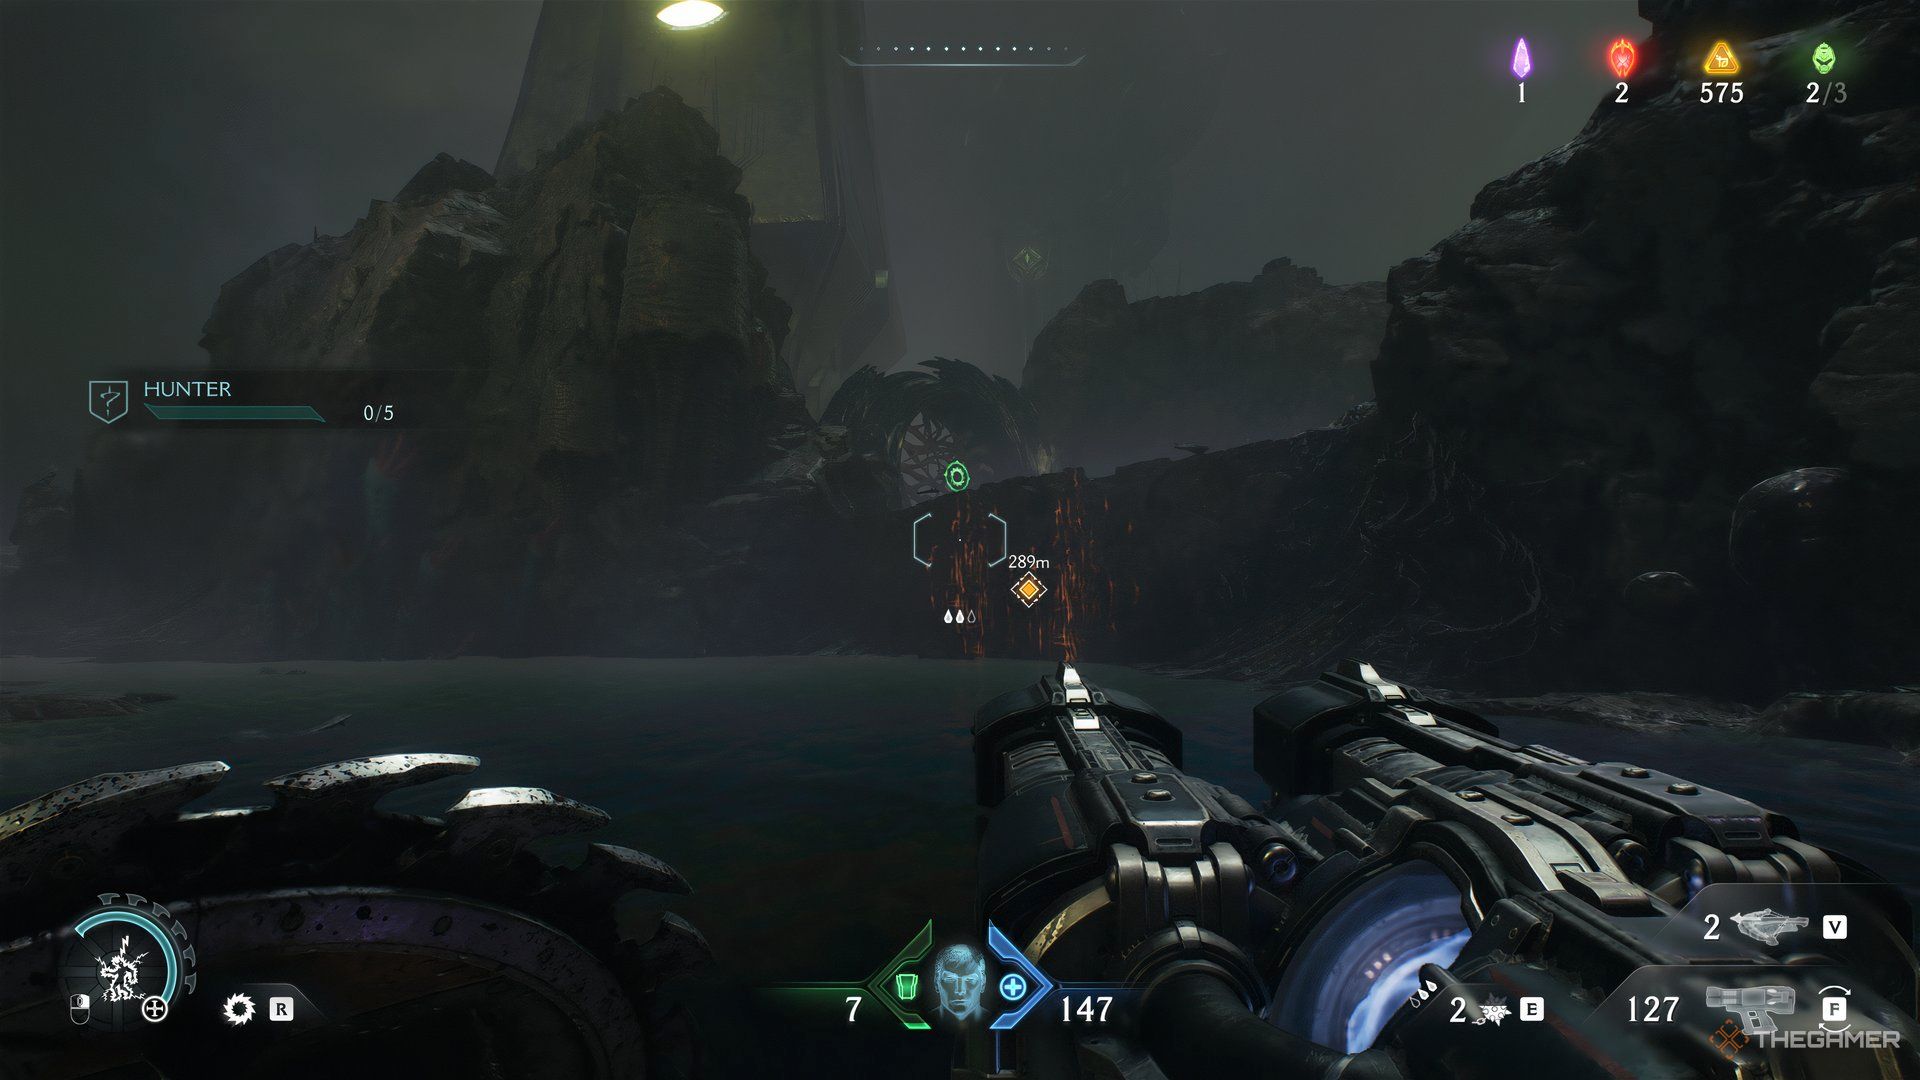
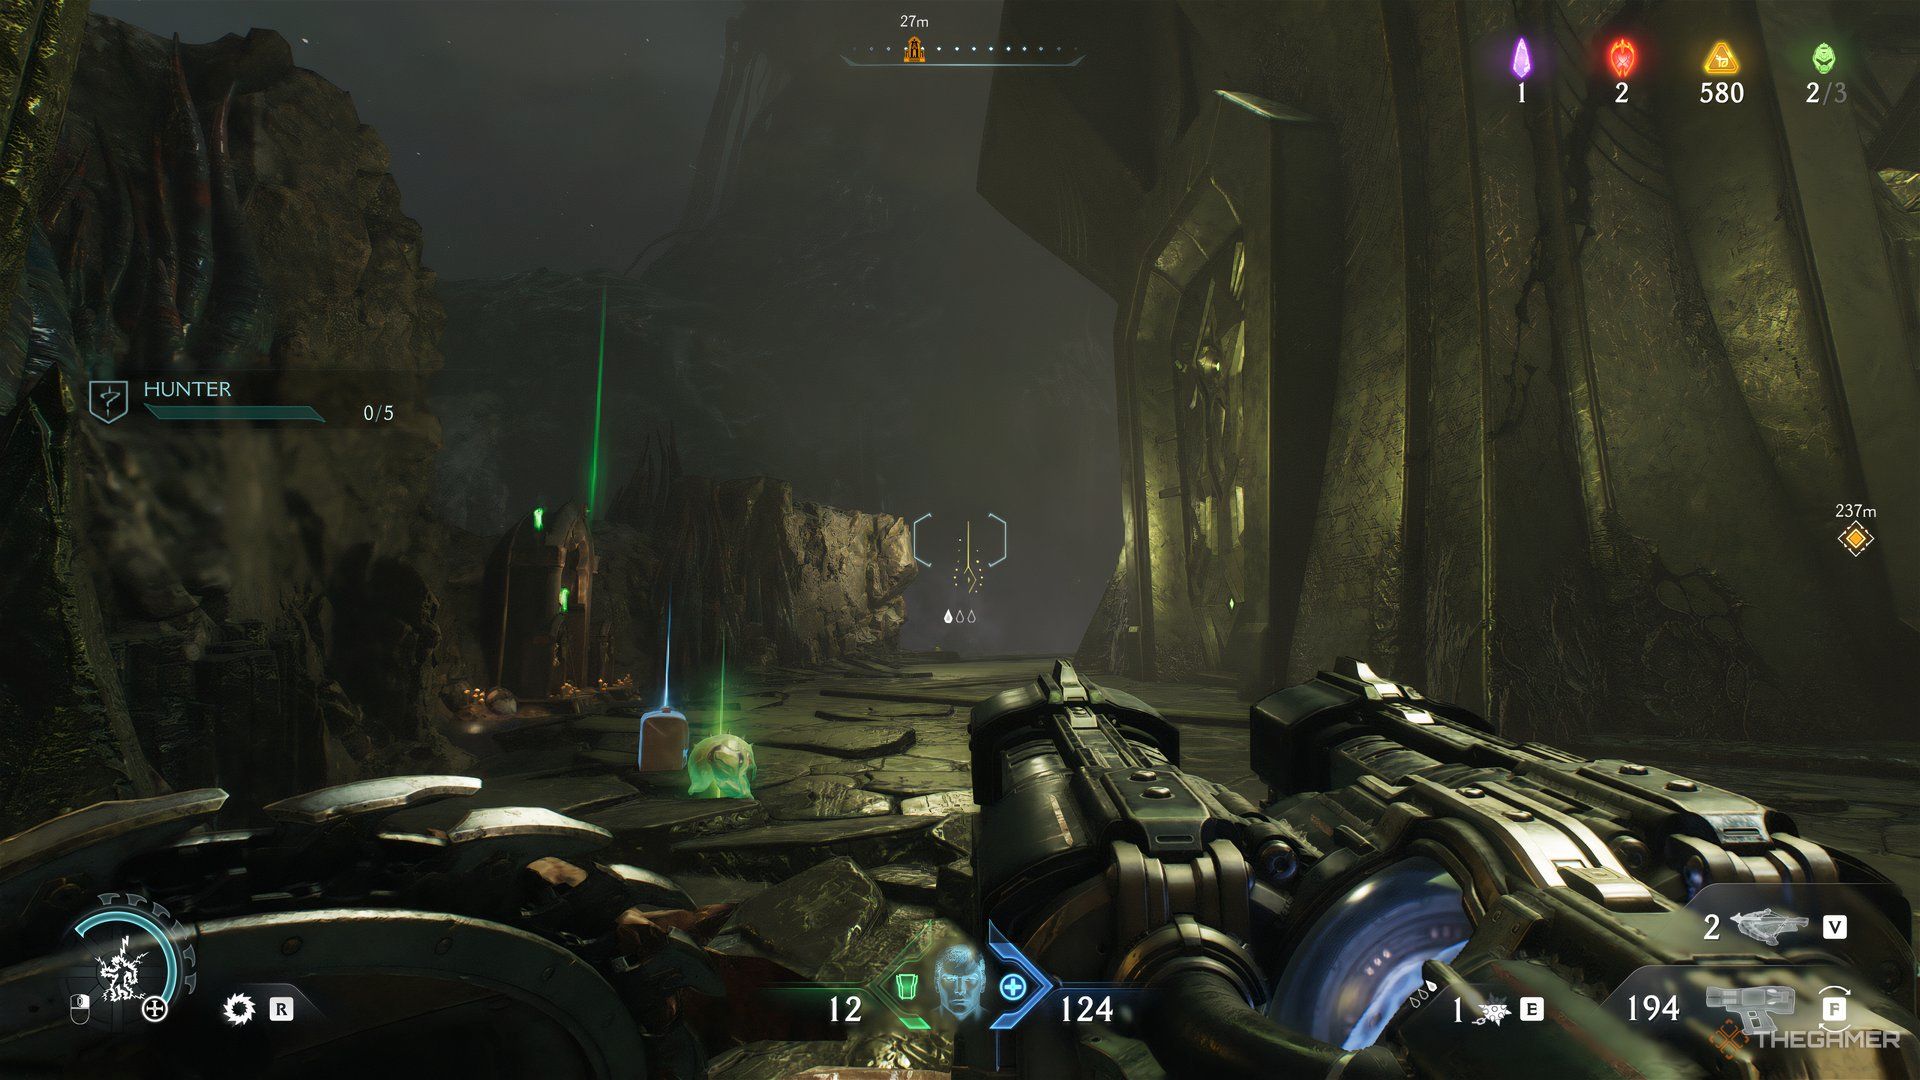
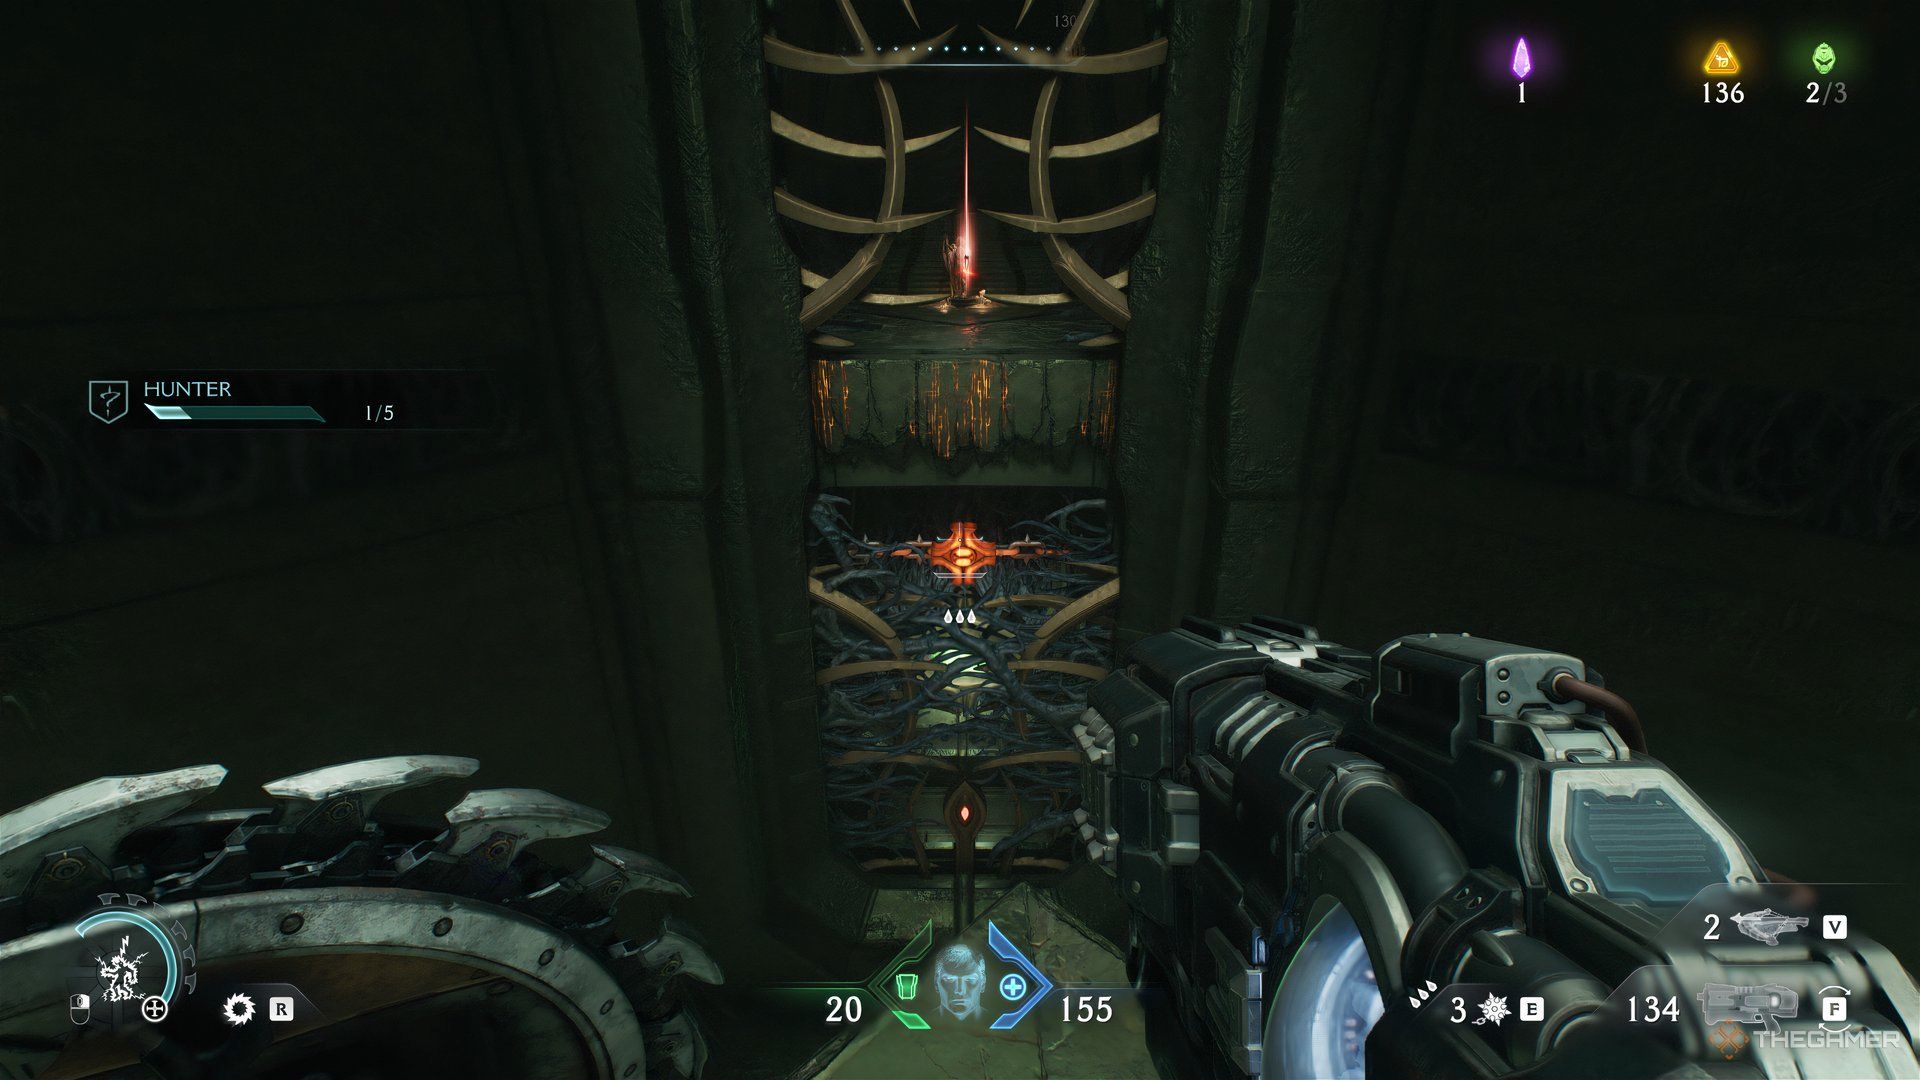
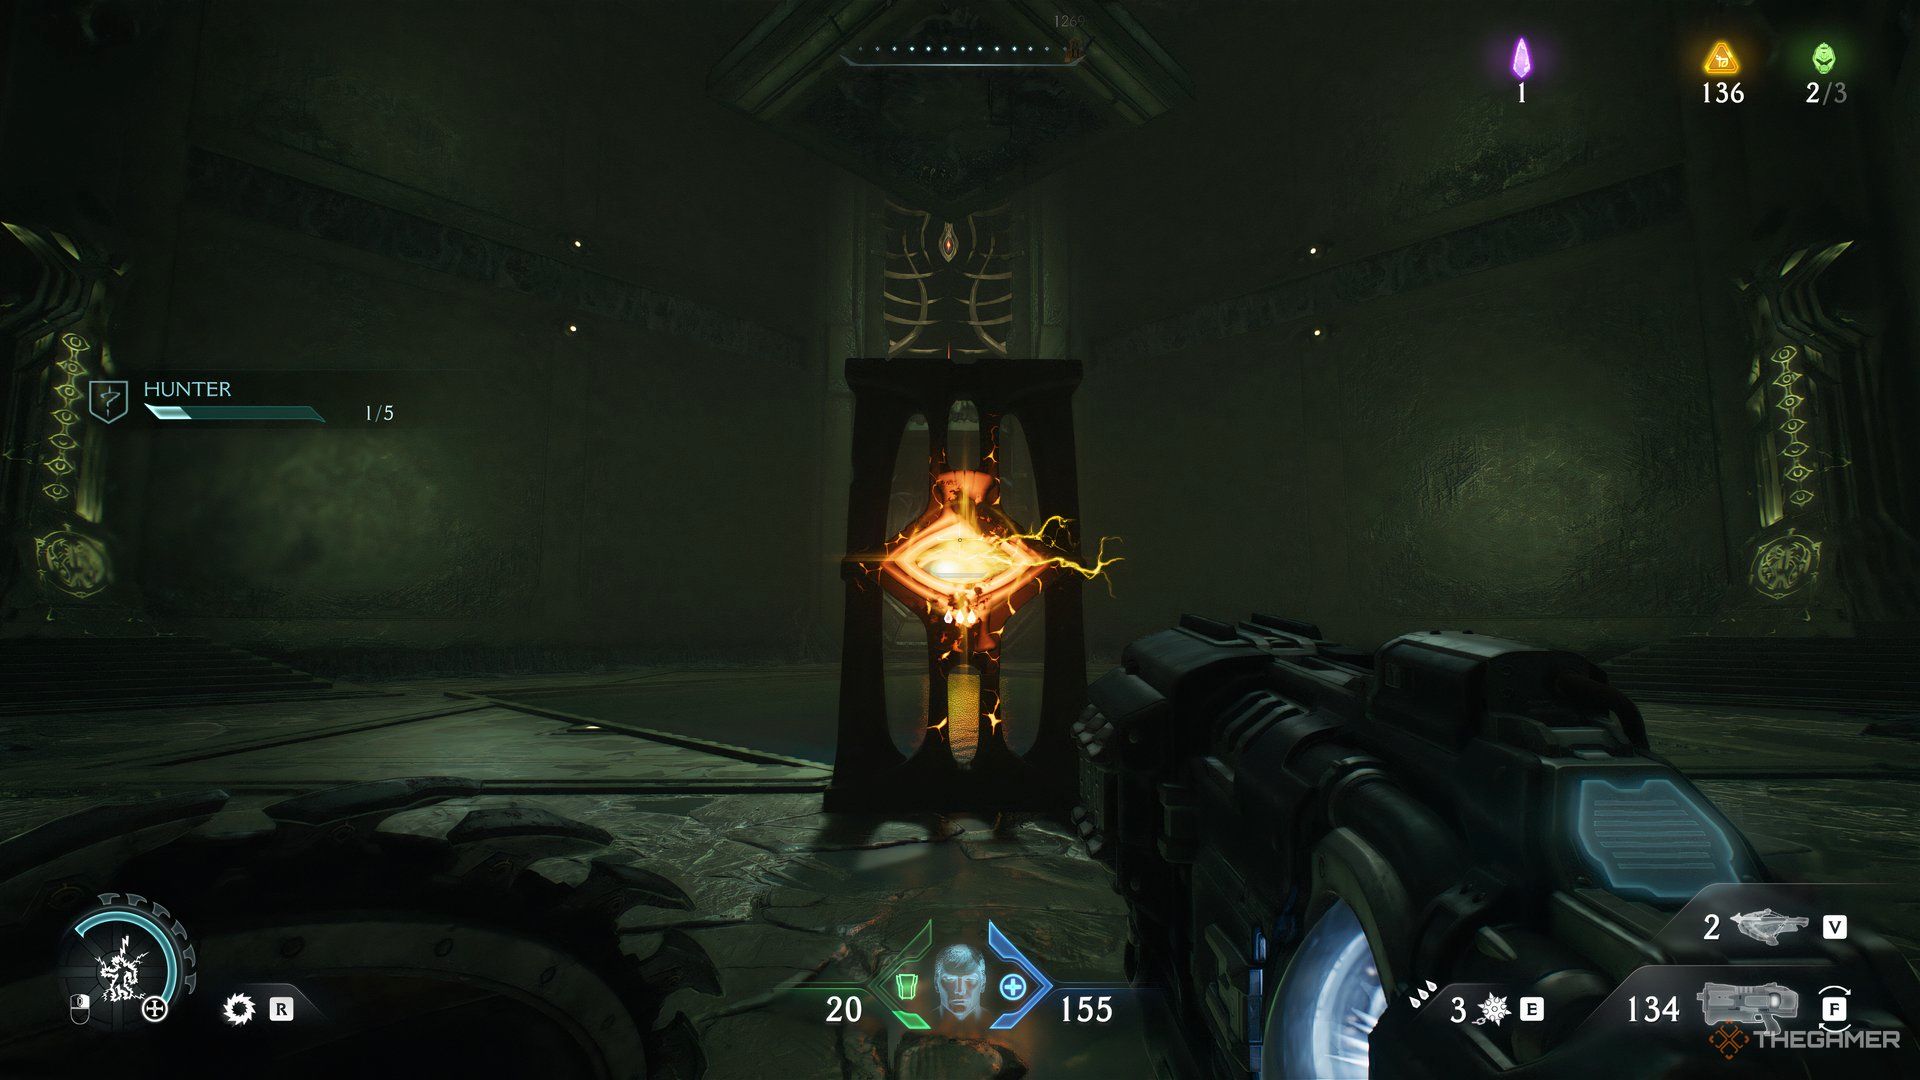
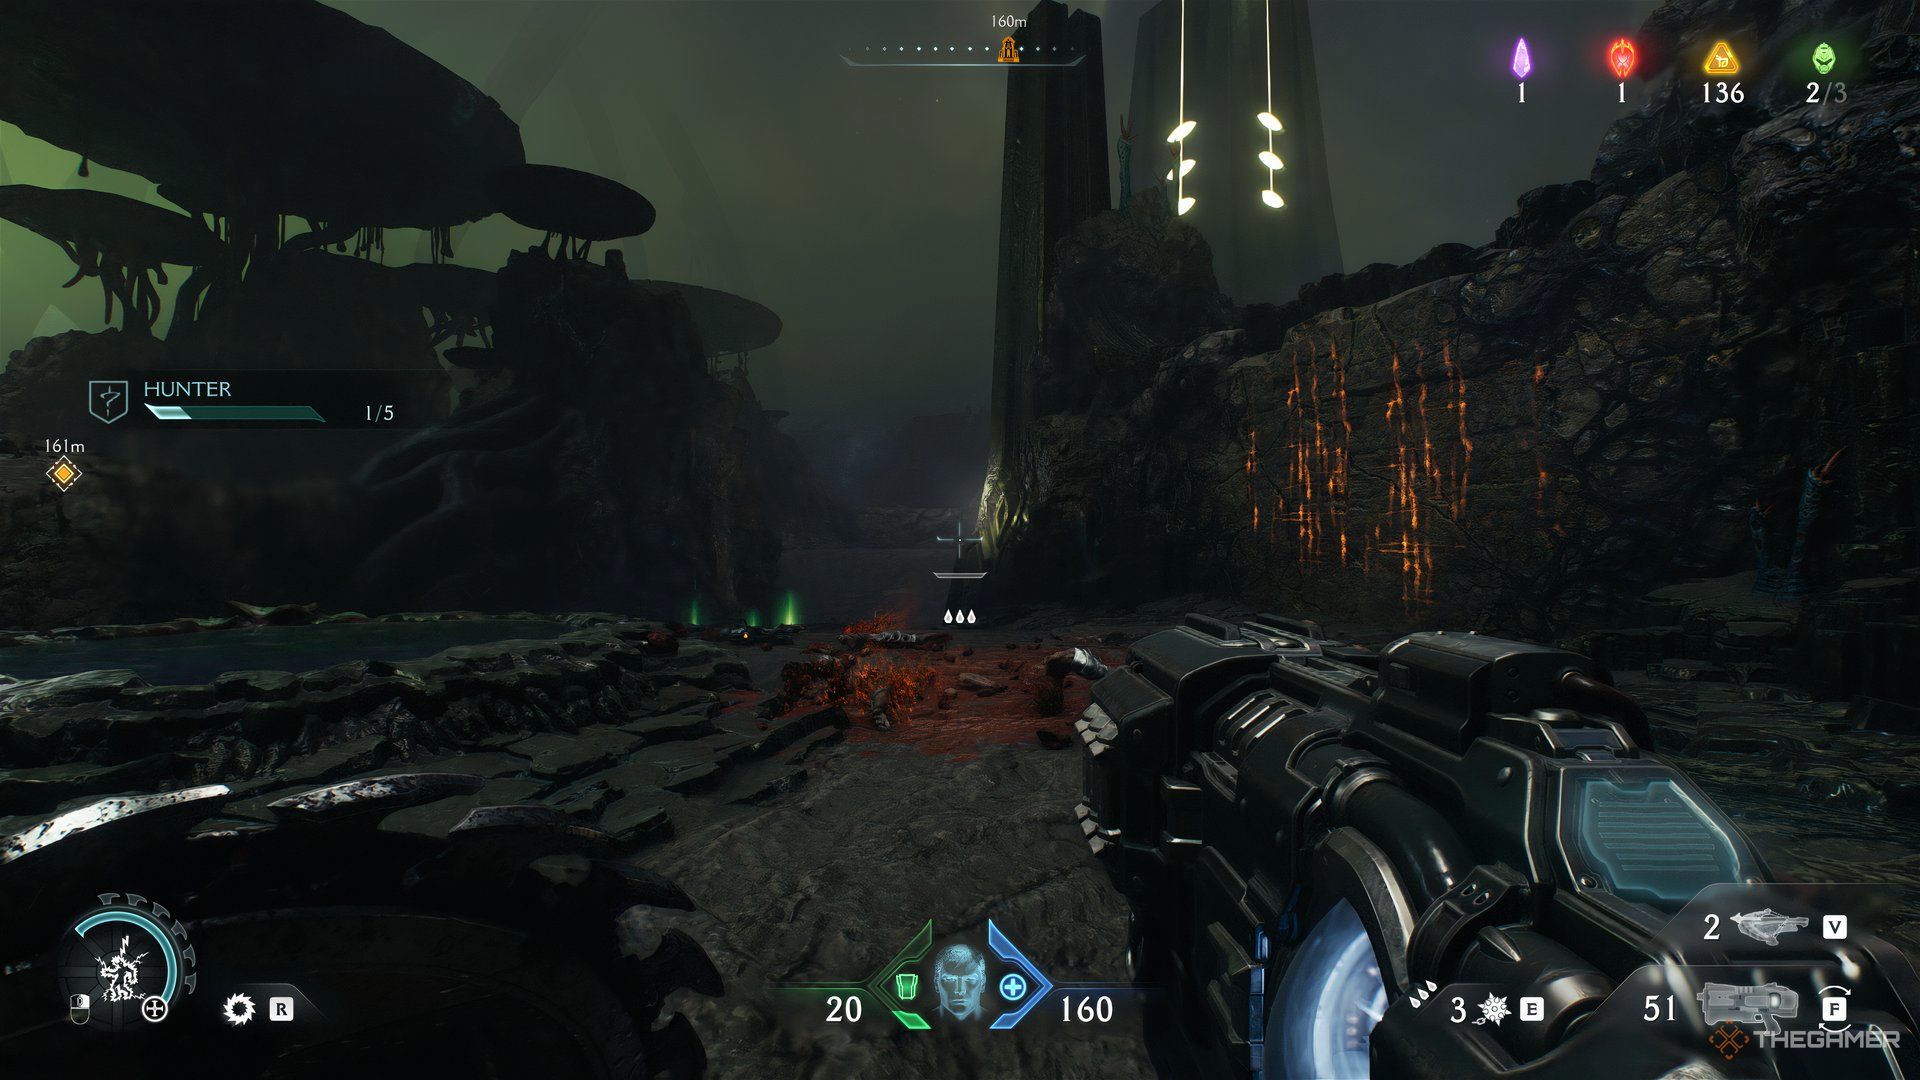
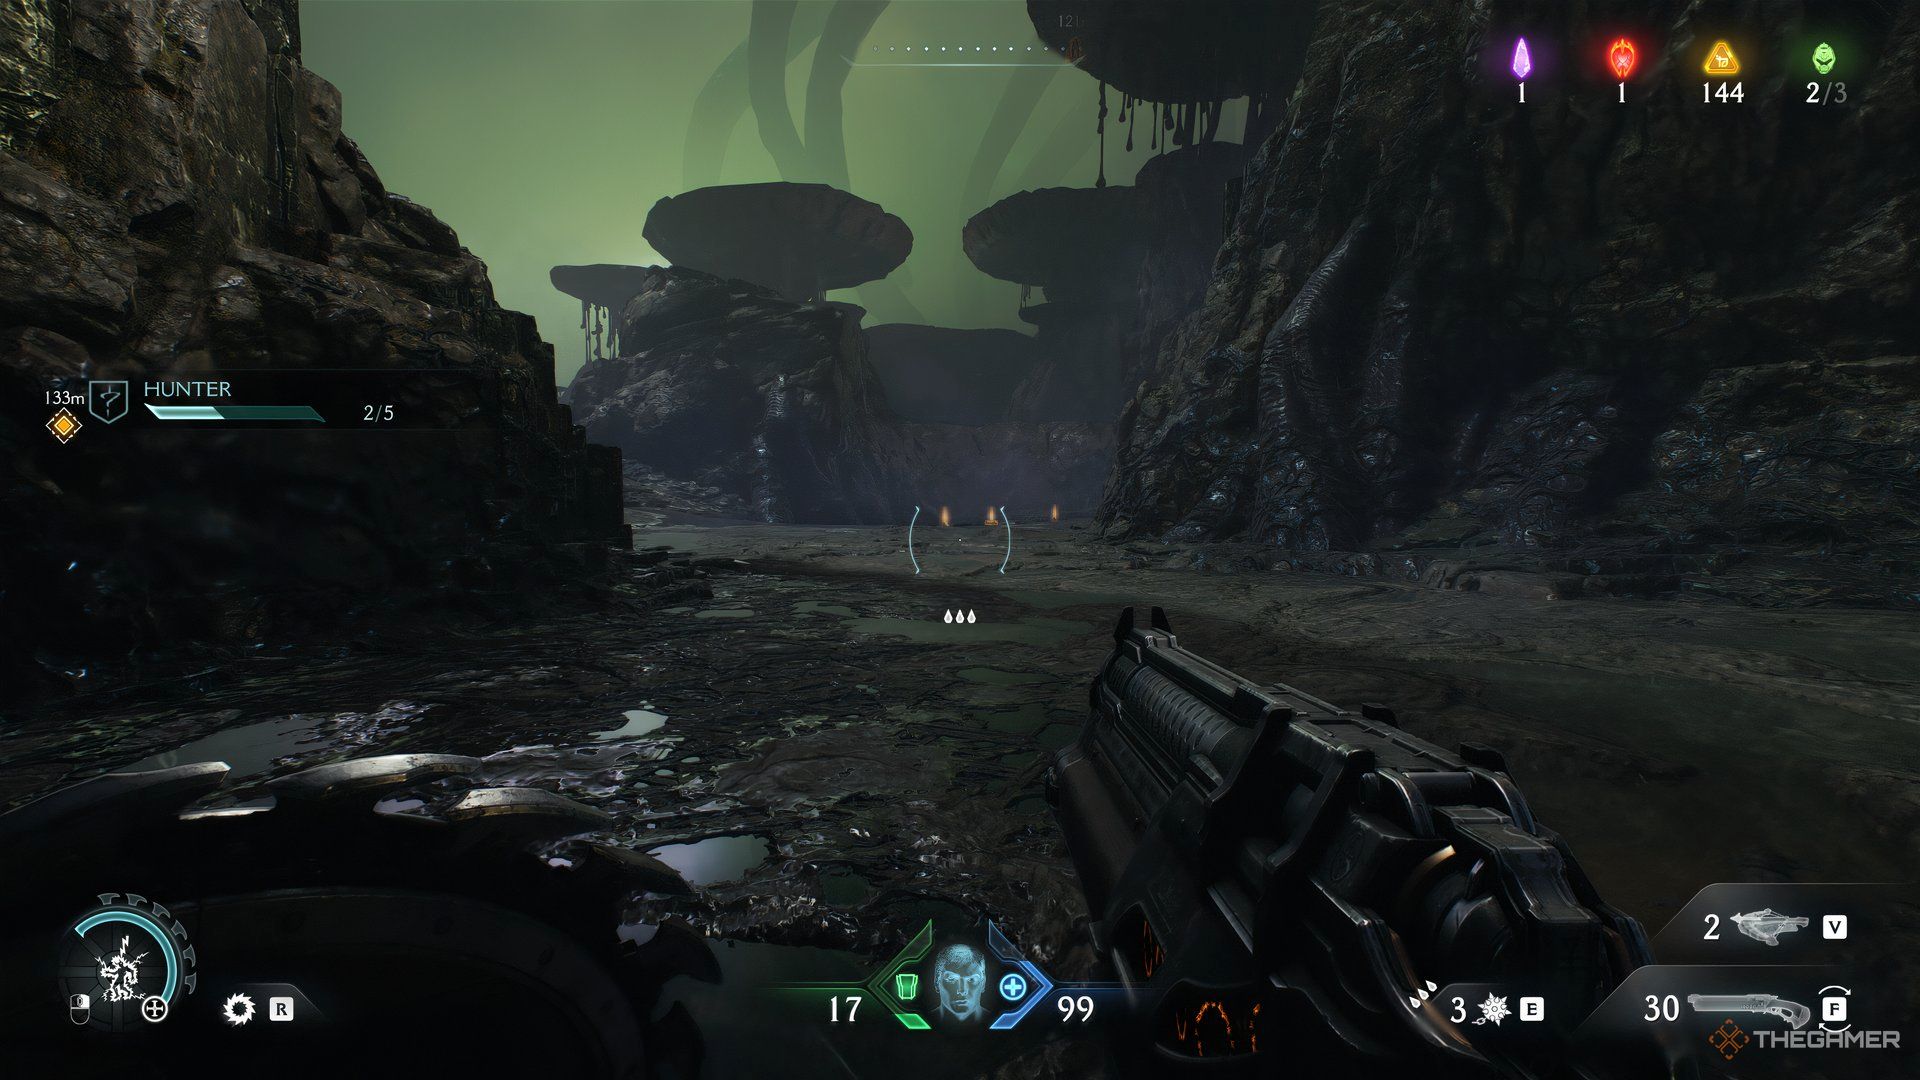
When you first get to The Kar’Thul Marshes in Doom: The Dark Ages, you’ll notice how odd the level is. This illusion-filled world has tons of open spaces, which could make locating all the collectibles and secrets easy to find. However, since the marshes aren’t what they appear to be at times, you’ll probably miss out on one or two collectibles.
Related
Doom: The Dark Ages – Prince Ahzrak And Witch Boss Guide
Two bosses, twice the pain.
You’ll also be hit with some mind-boggling puzzles for a shooter. Additionally, to get everything in this level, you must complete certain prerequisites first. So, even though there’s a lot of space on this map, how it’s laid out will make things more difficult. To have an easier time finding all the collectibles, consider using this guide.
All Secrets And Collectibles
The goal of this mission is to get two relic fragments that will create a Relic Key; this is fairly straightforward – it’ll be the collectibles that give you a hard time.
Below, you can find what will be in the level.
- 188 Gold
- One Ruby
- One Wraithstone
- One Demonic Armor Essence
- One Demonic Ammo Essence
- One Codex
- One Toy
- One Life Sigil
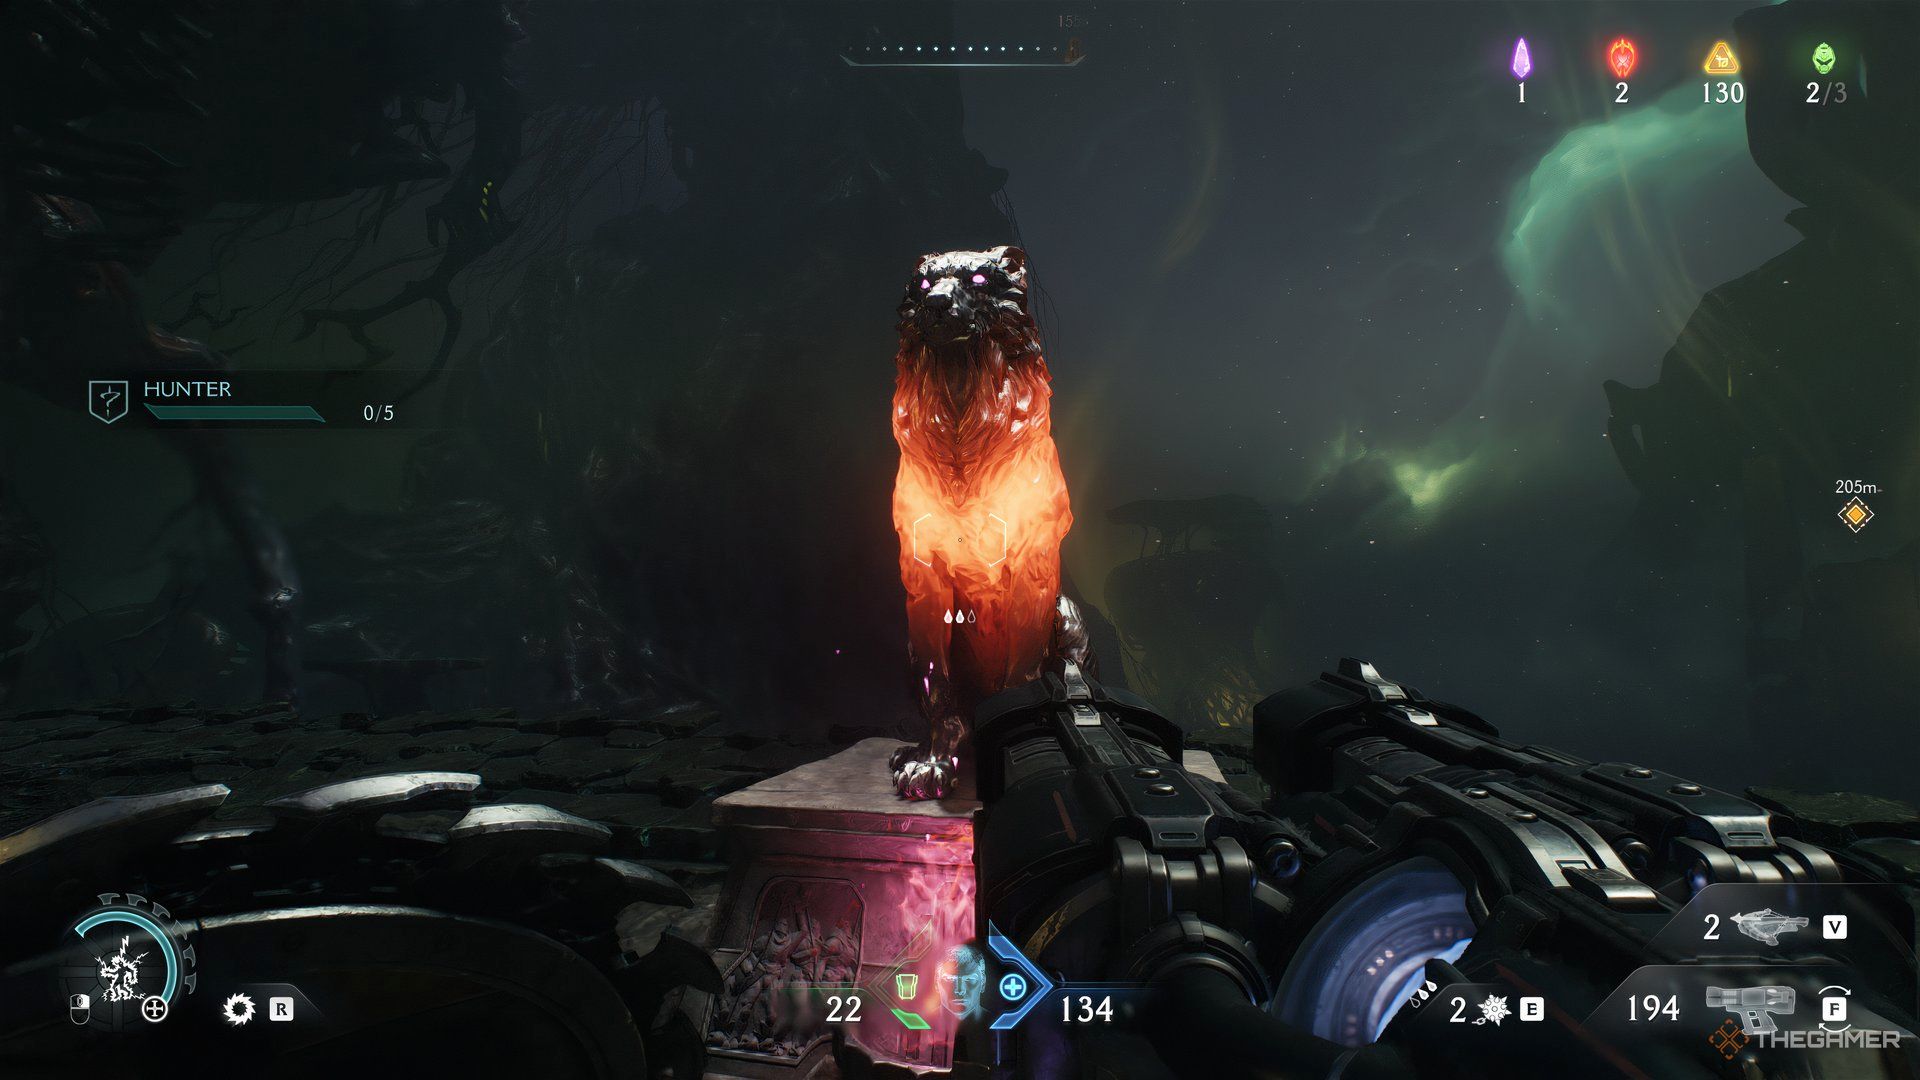
- Five Wolf Status. You need this for a challenge. So this guide will cover their locations.
Mission Challenges
Hunter
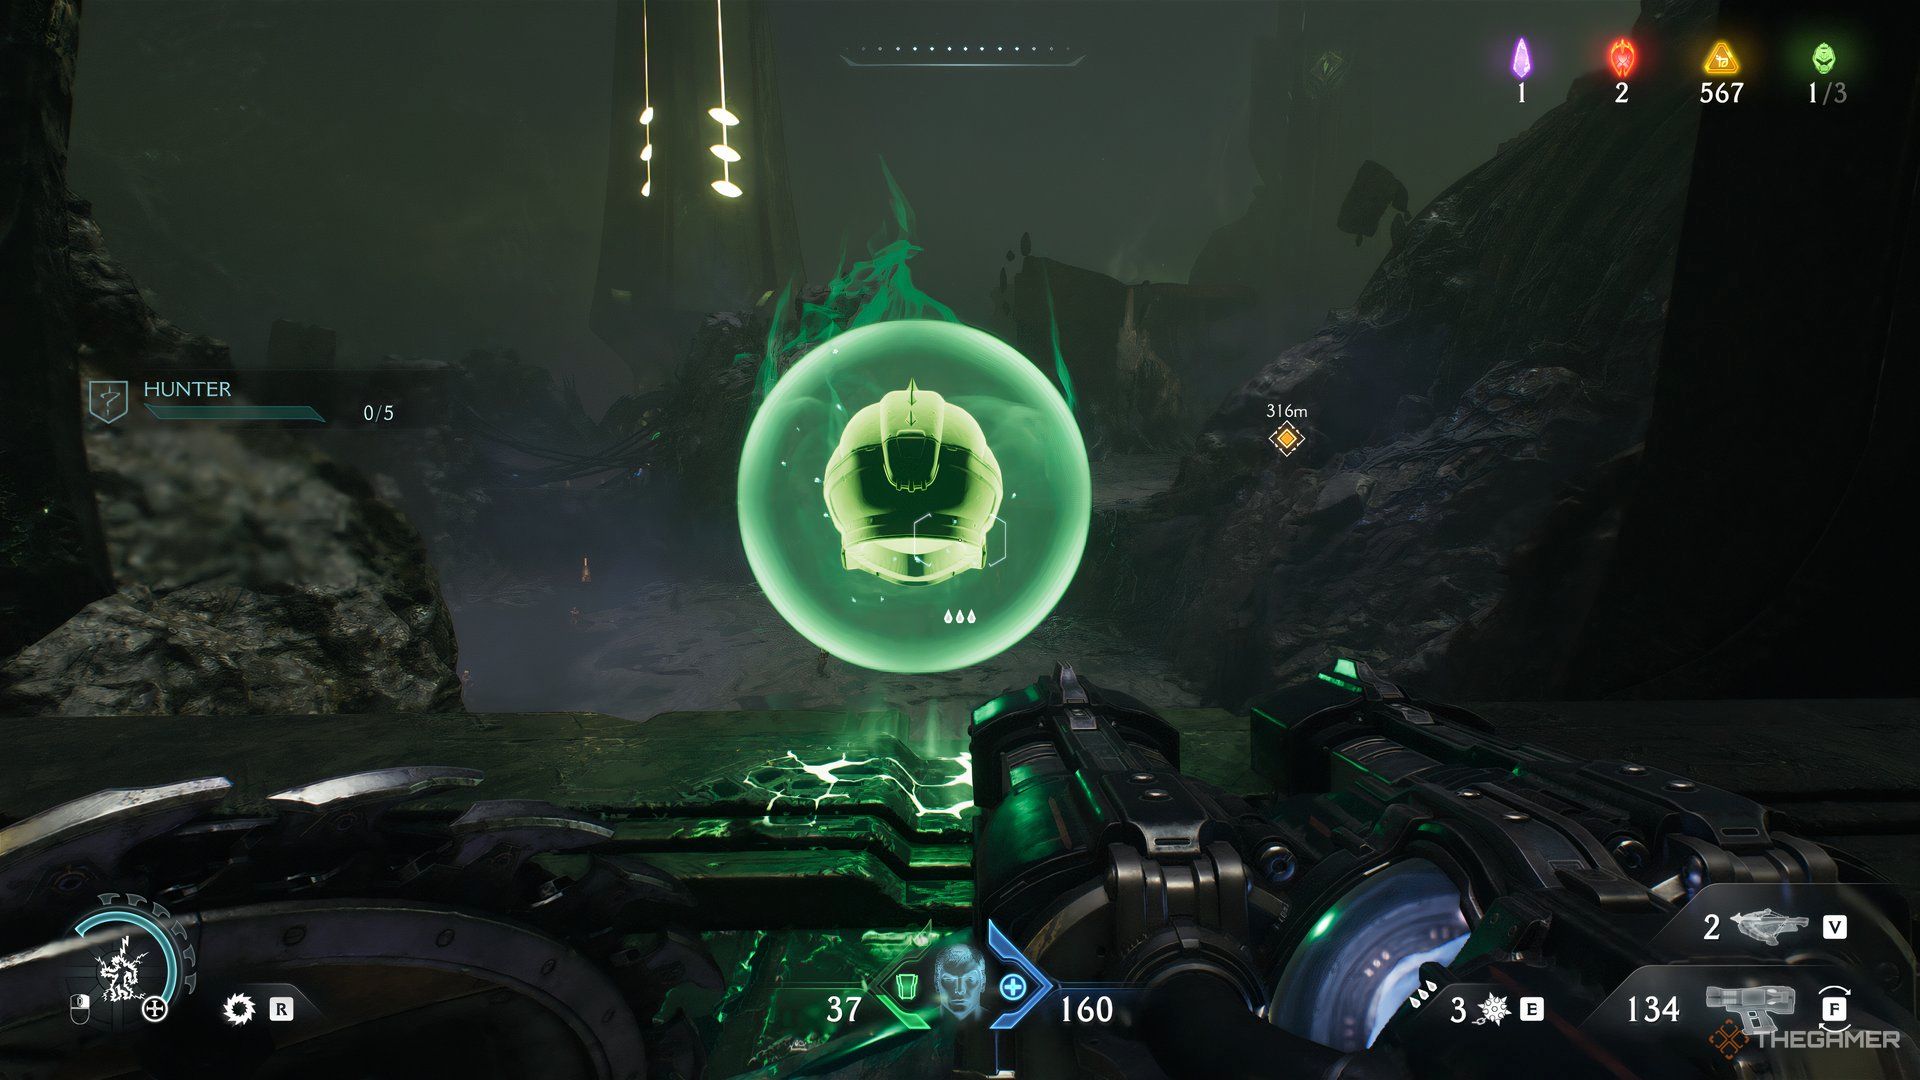
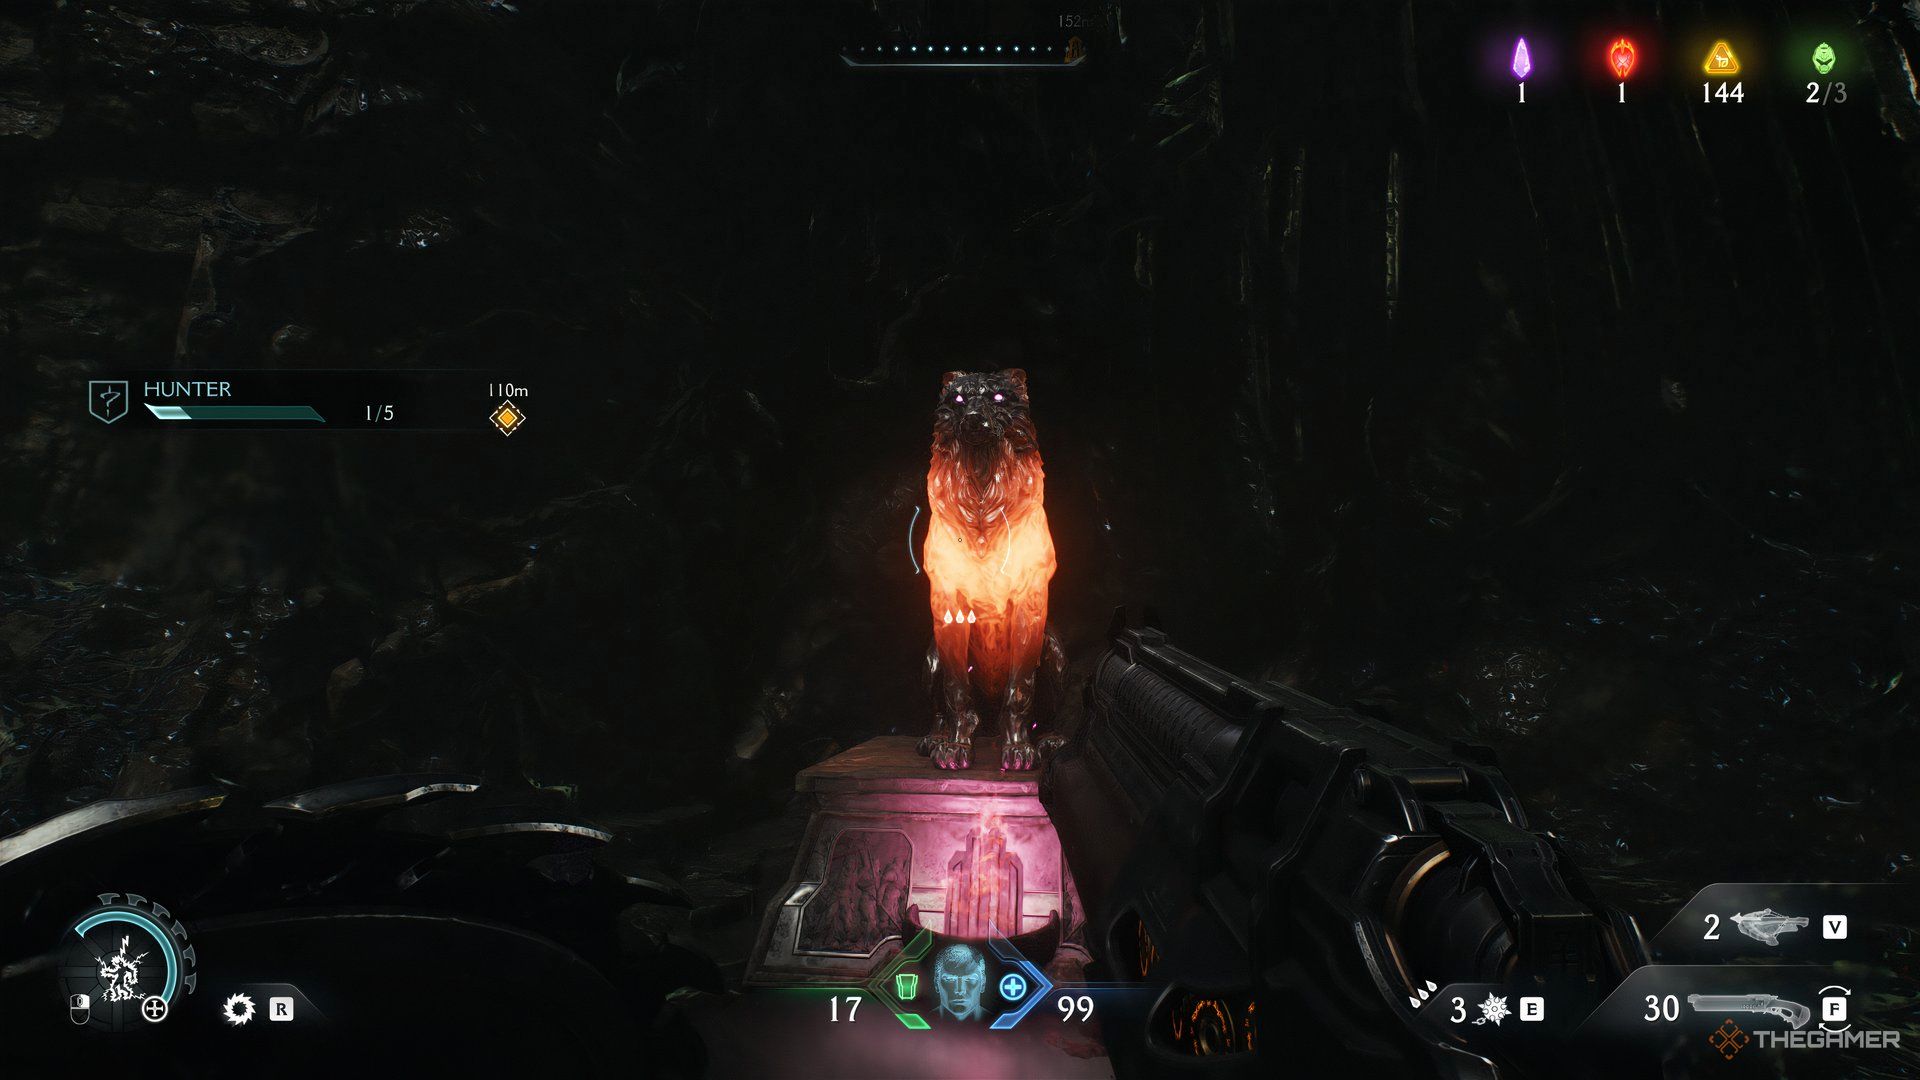
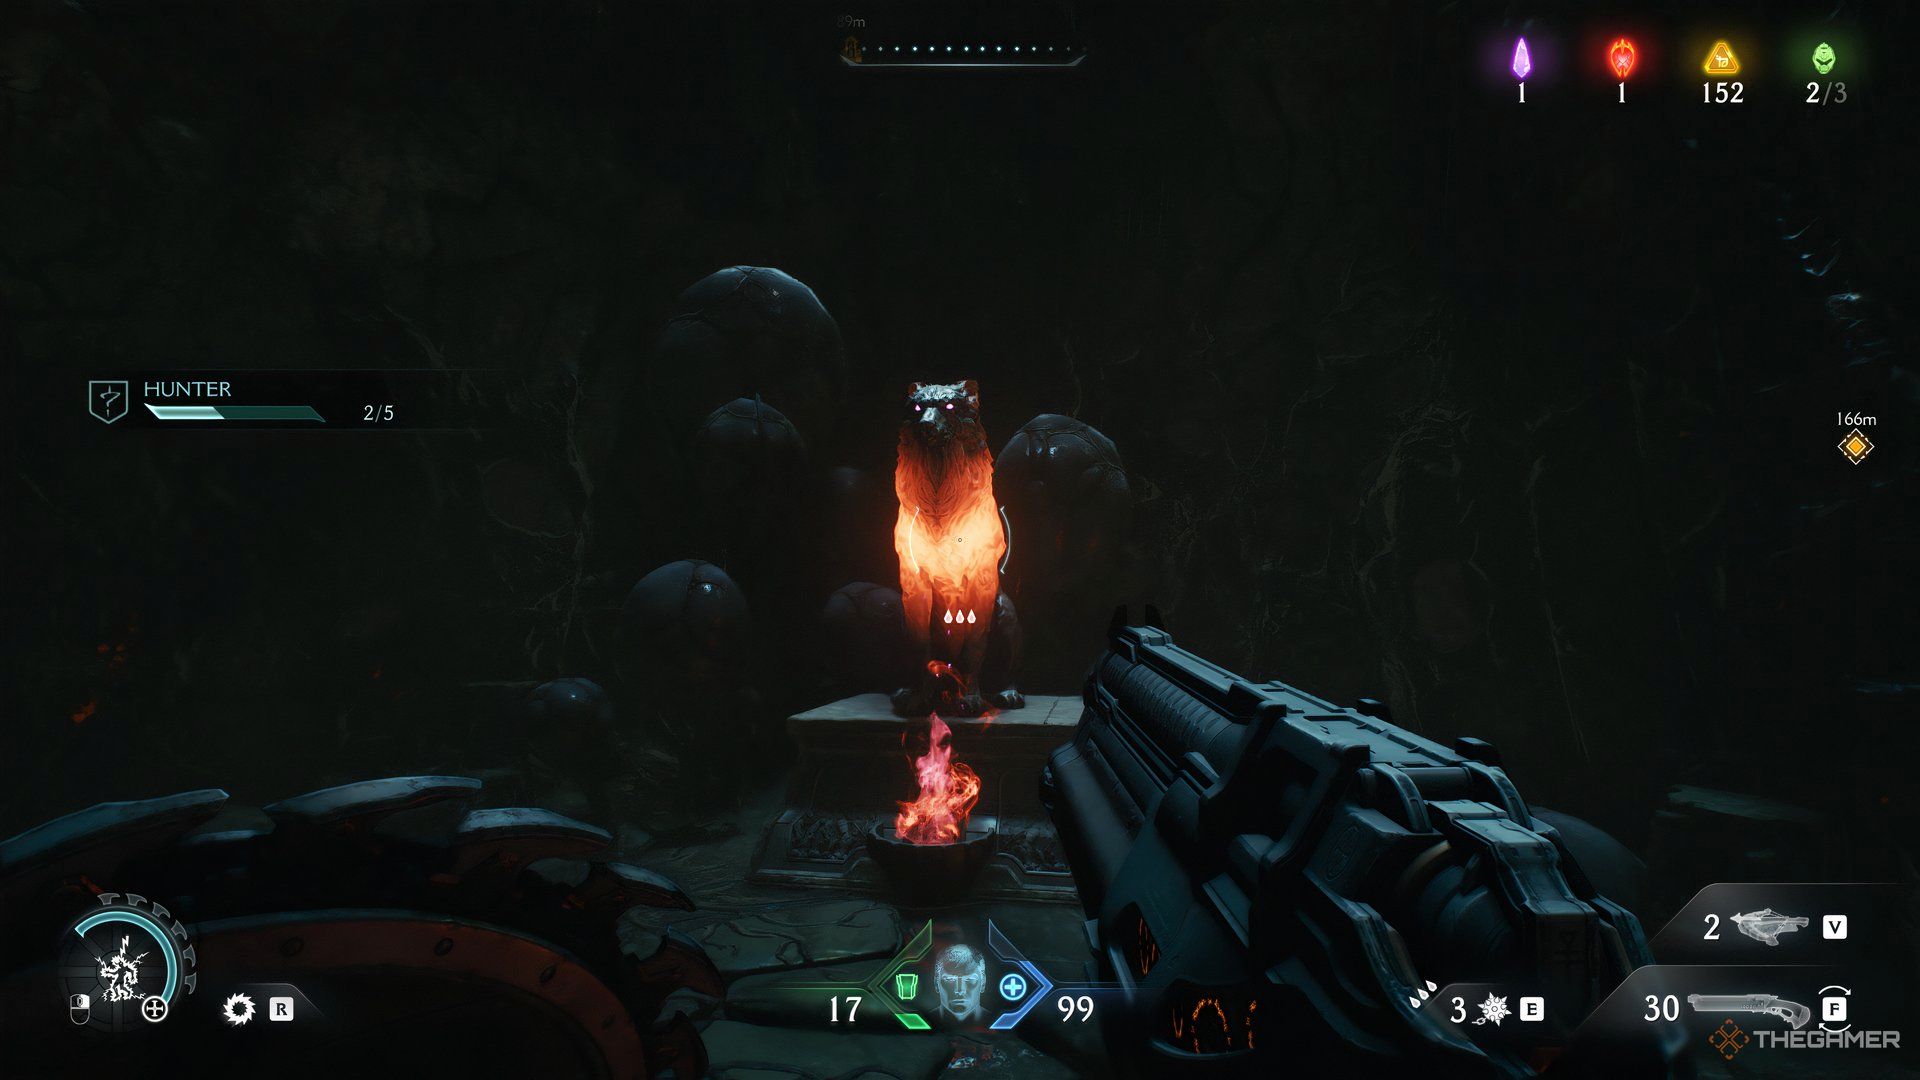
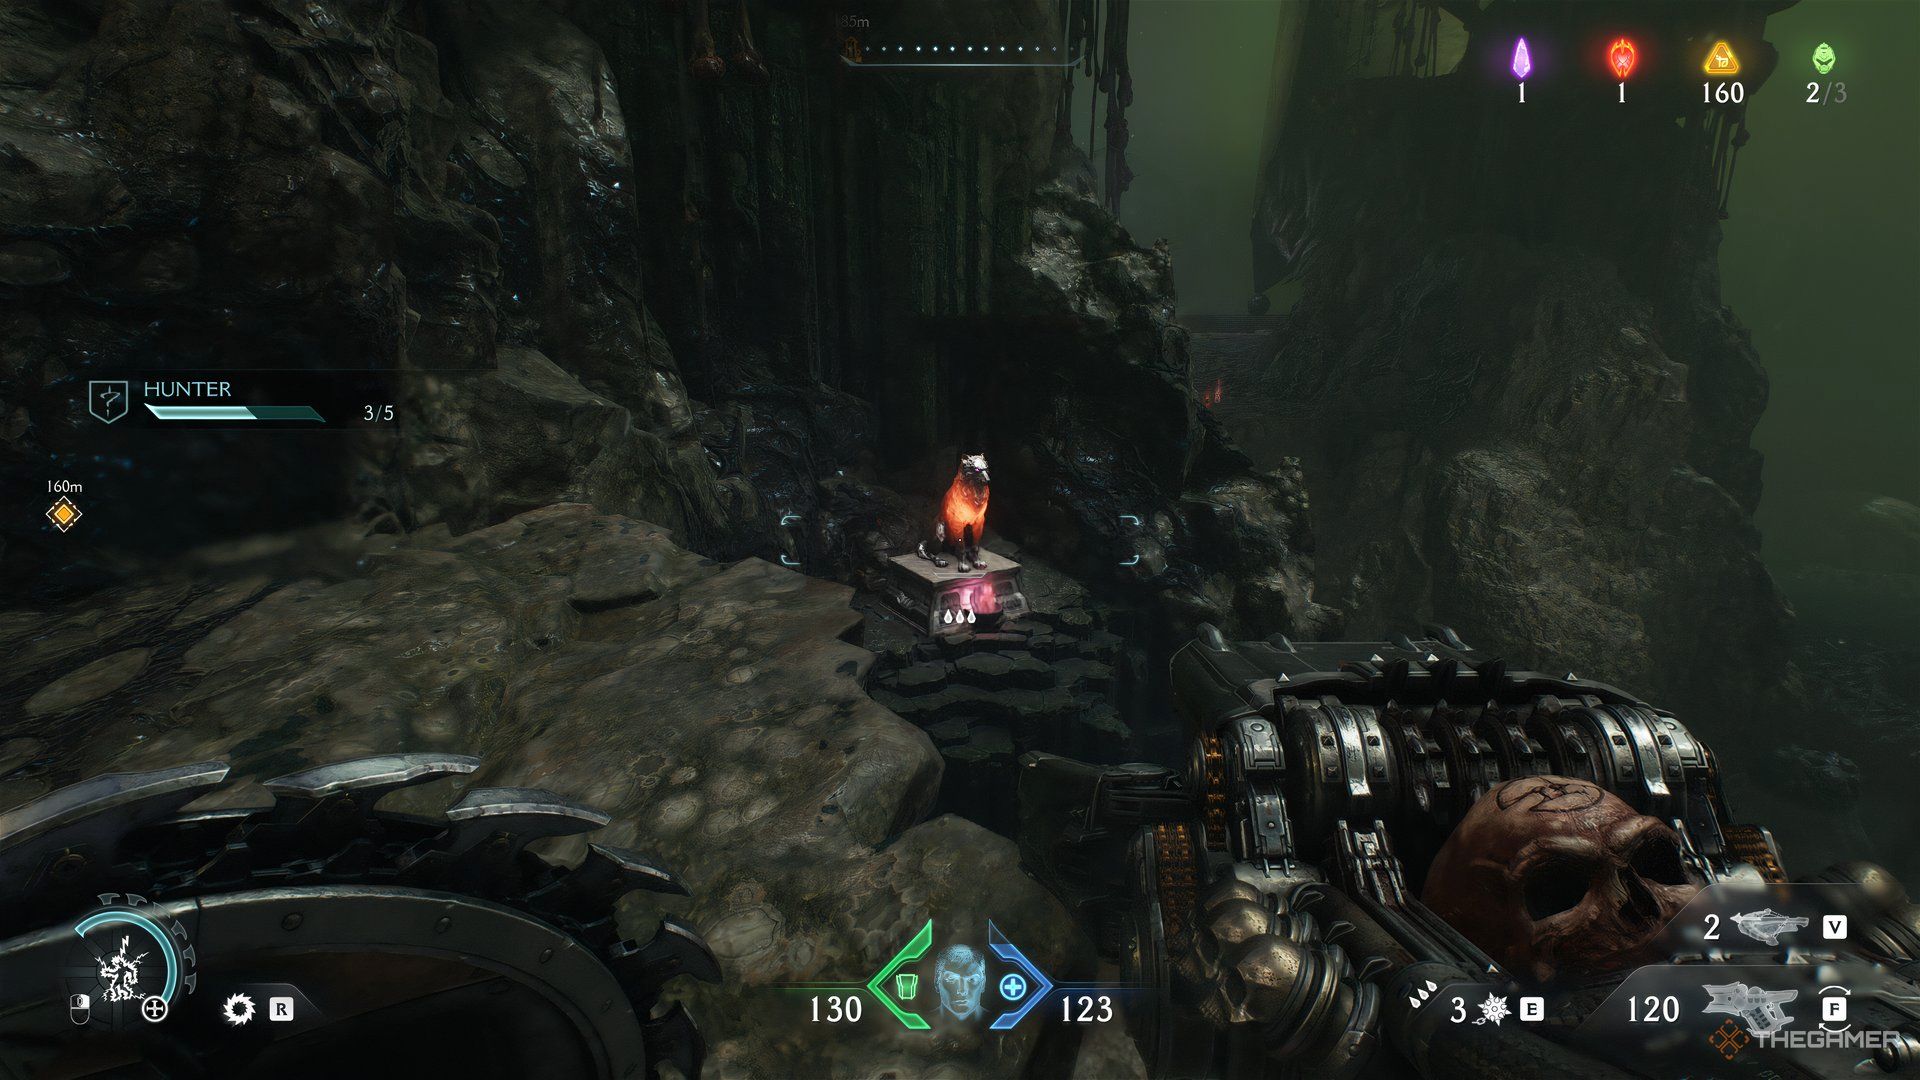
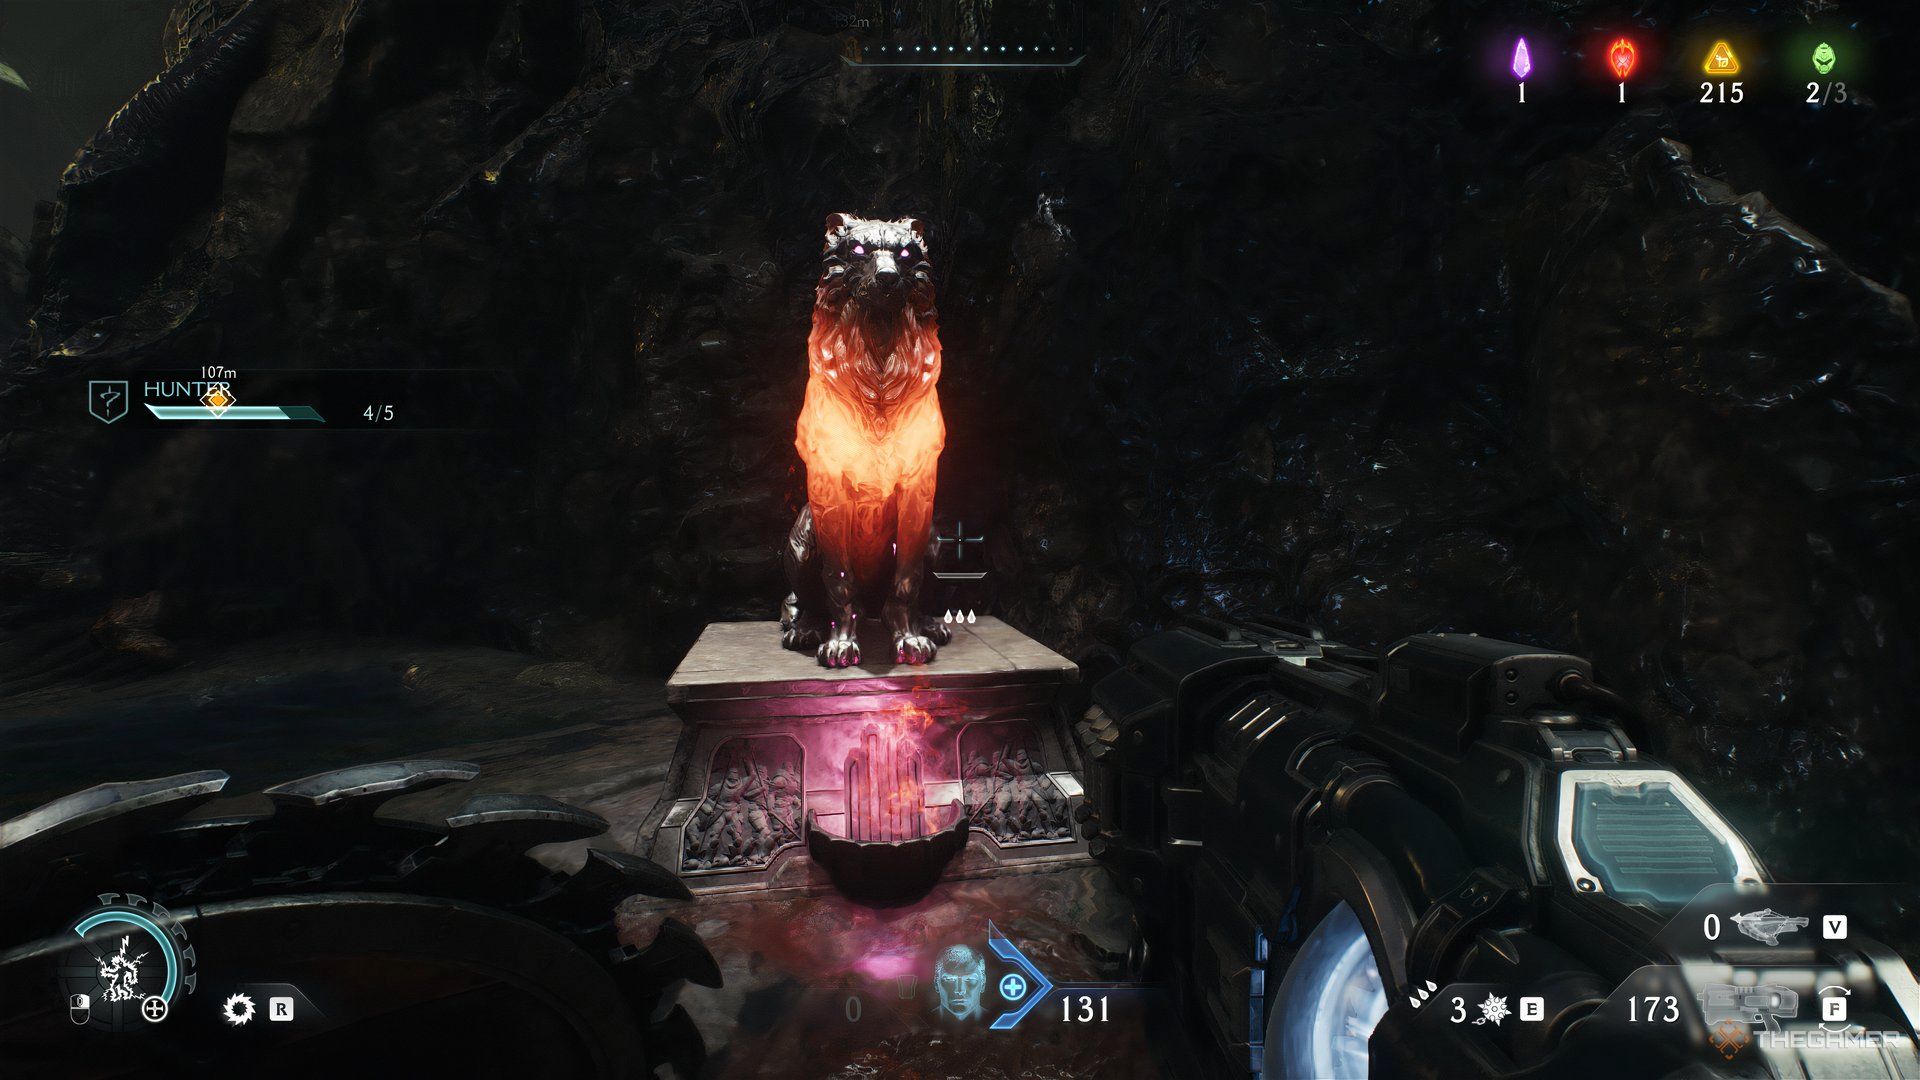
You need to find and break five Wolf Statues. Doing this challenge is one of the most important aspects of the level. If you don’t get all five, you won’t be able to get the Wraithstone. When you complete this challenge, you’ll earn the Reverent skin for the Super Shotgun.
Roundup
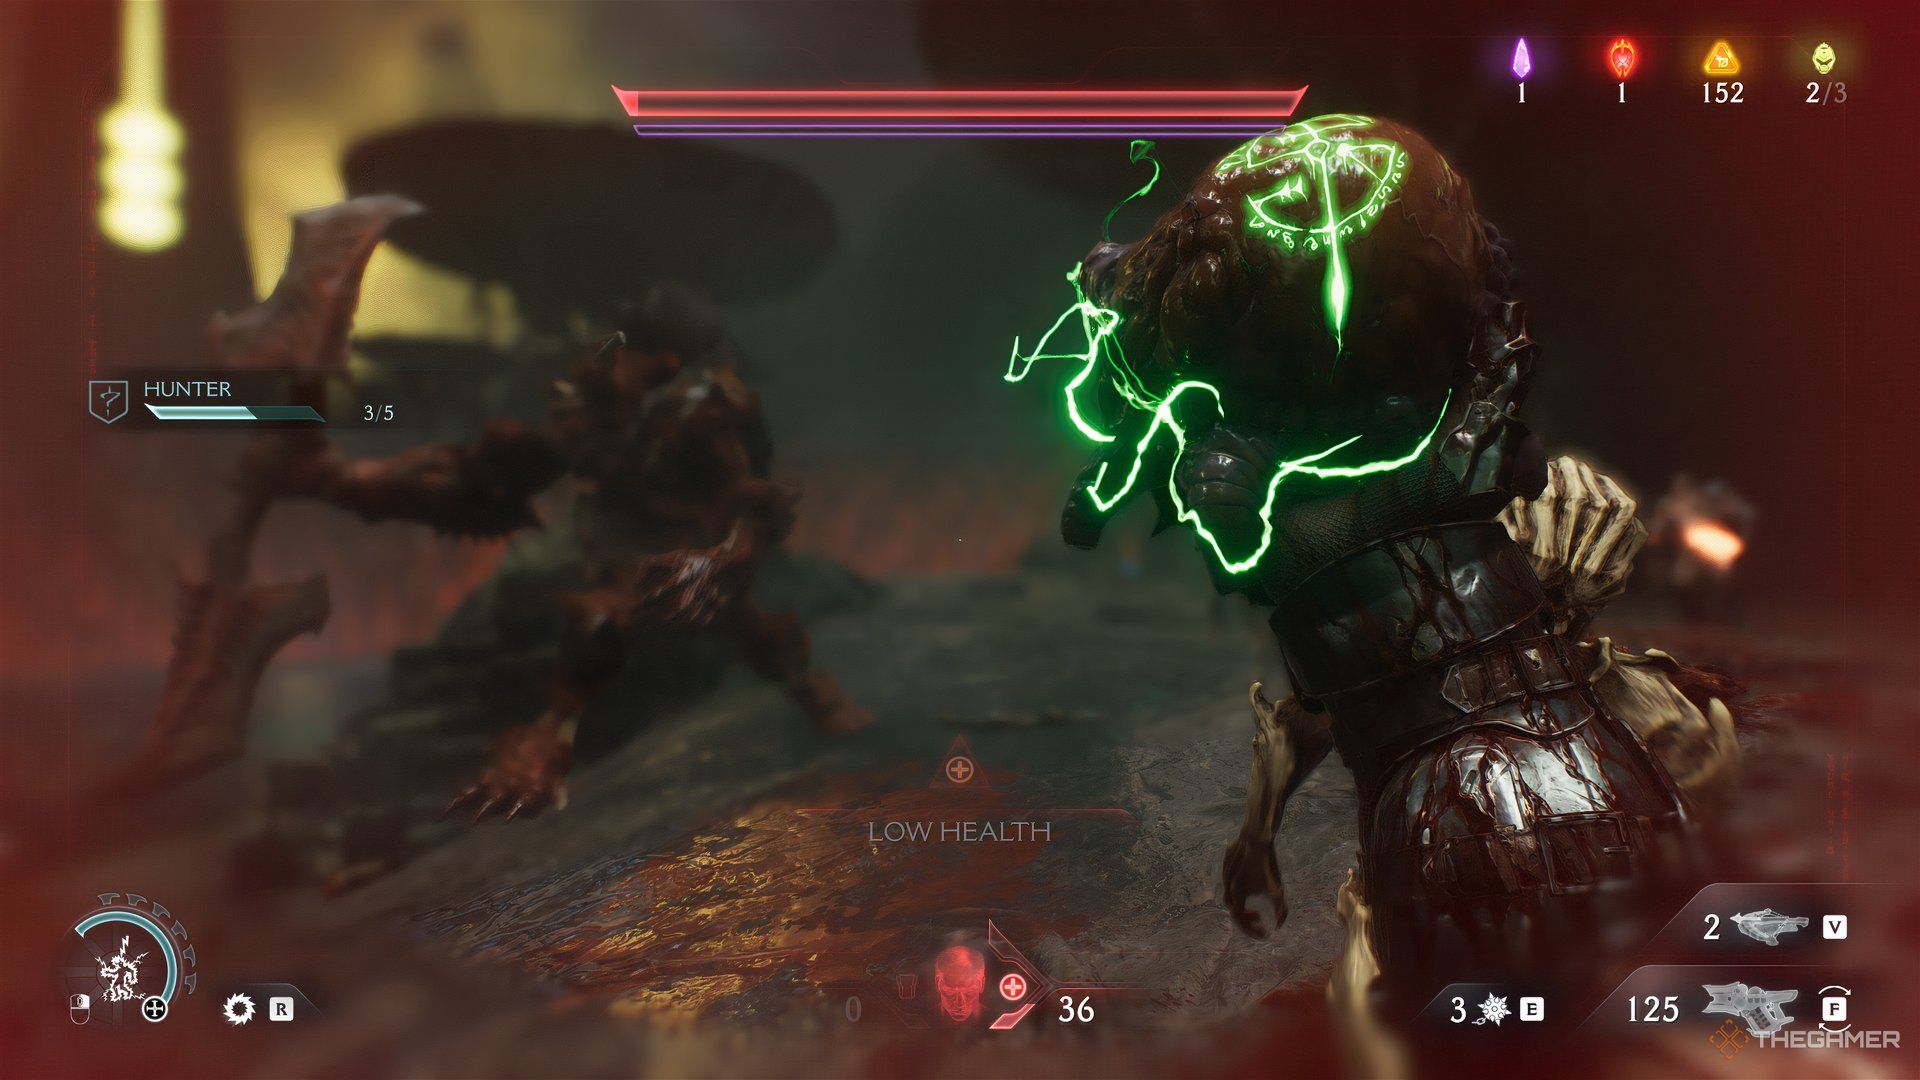
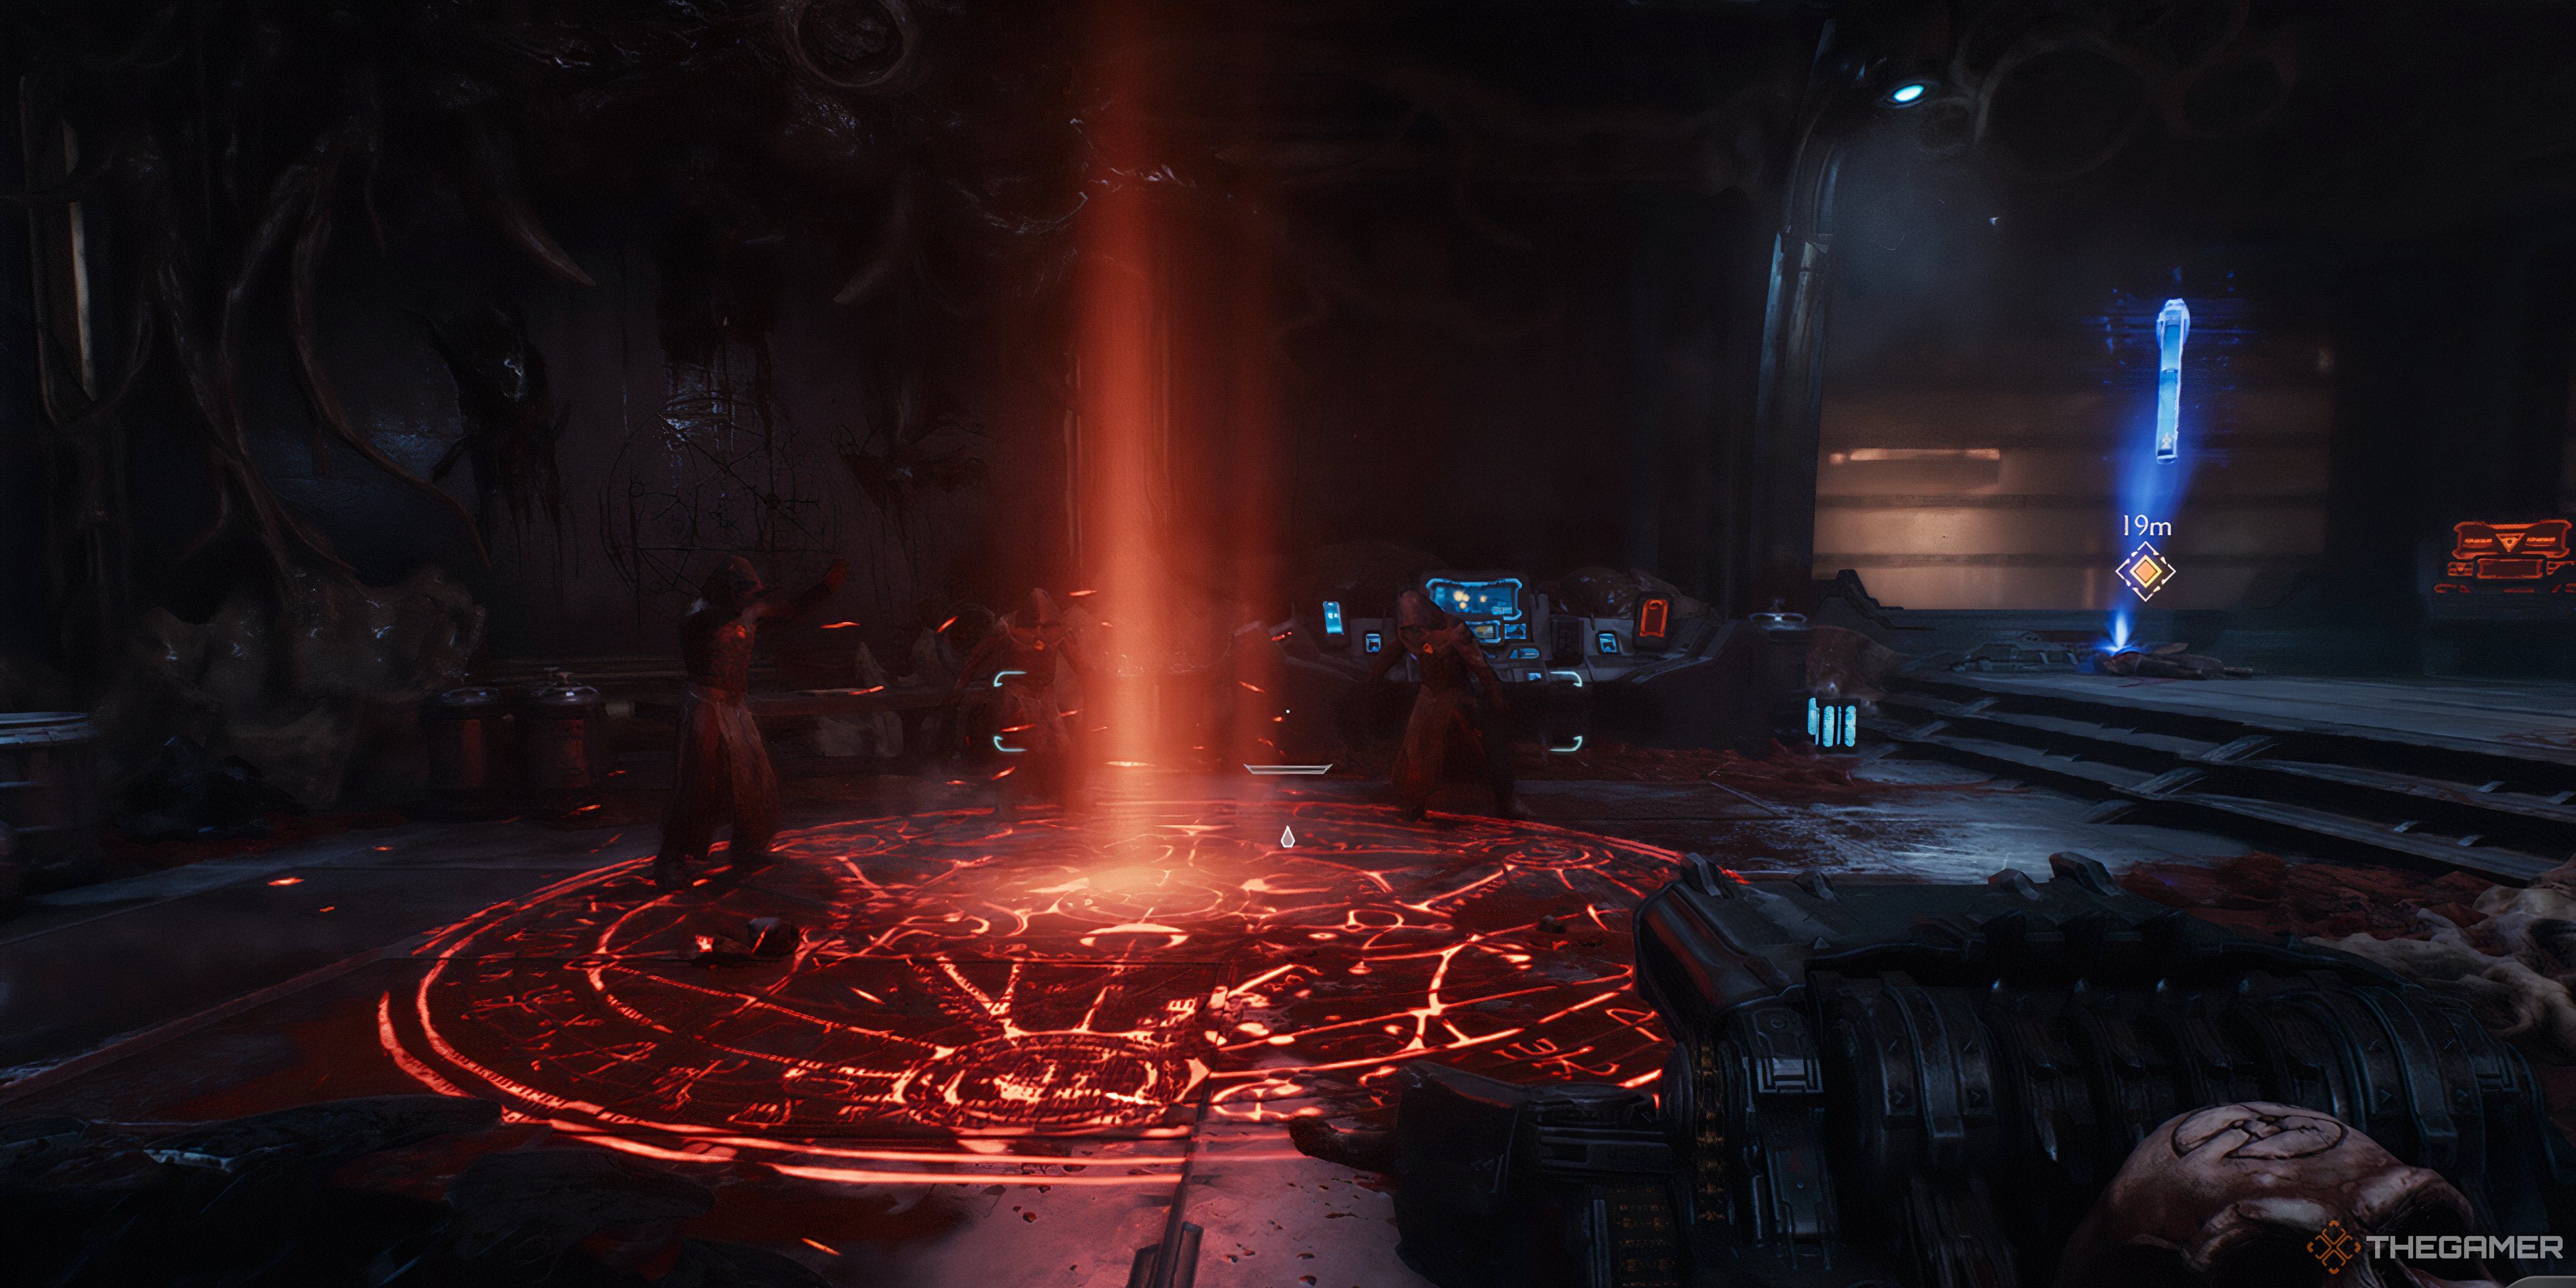
Use the BTC to slay 20 or more demons with a single shot. Sadly, there are only a few times when a large swarm of enemies spawns on you, so this challenge may be the harder of the two. Completing this gives you about 100 gold.
Codex
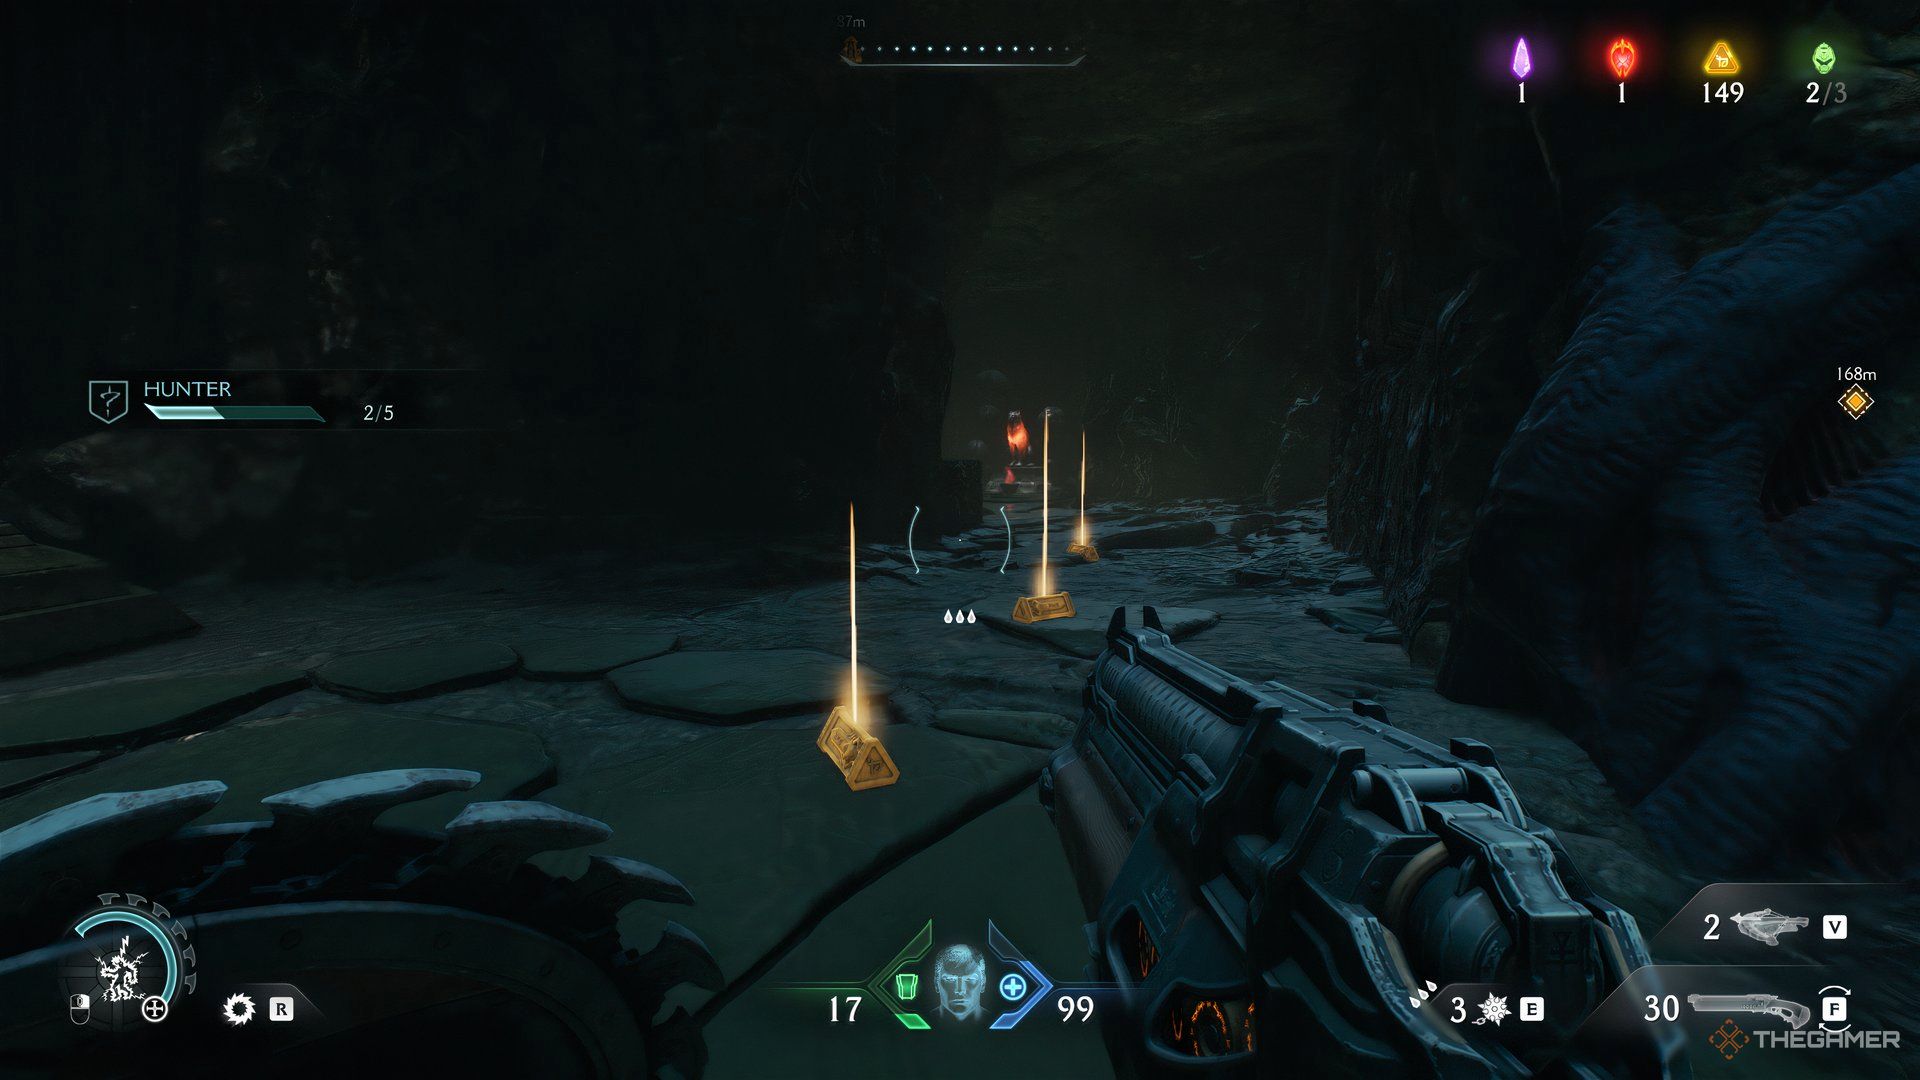
When you start the level and get to the large open space, look to your right. You should see a path with armor pick-ups on the ground. Head up the path, but don’t go all the way.
As you reach the mid-section of the path, turn to your left, and there will be a hole in the wall where you can throw your shield. When that’s done, turn around and go back to the starting area.
Enemies will spawn; however, make sure you don’t use the shield and keep it in the shield trigger point. If you take out the shield, enemies will disappear, forcing you to do it all over again.
Once that’s done, and you’re in the starting area, walk along the wall on the left. You should see a door with a pile of gold behind it. Walk up to the door, and it should open.
Make sure the shield is still in the trigger point, otherwise, the door won’t open.
After you get the gold, you can keep walking straight to acquire the Codex.
Demonic Ammo Essence
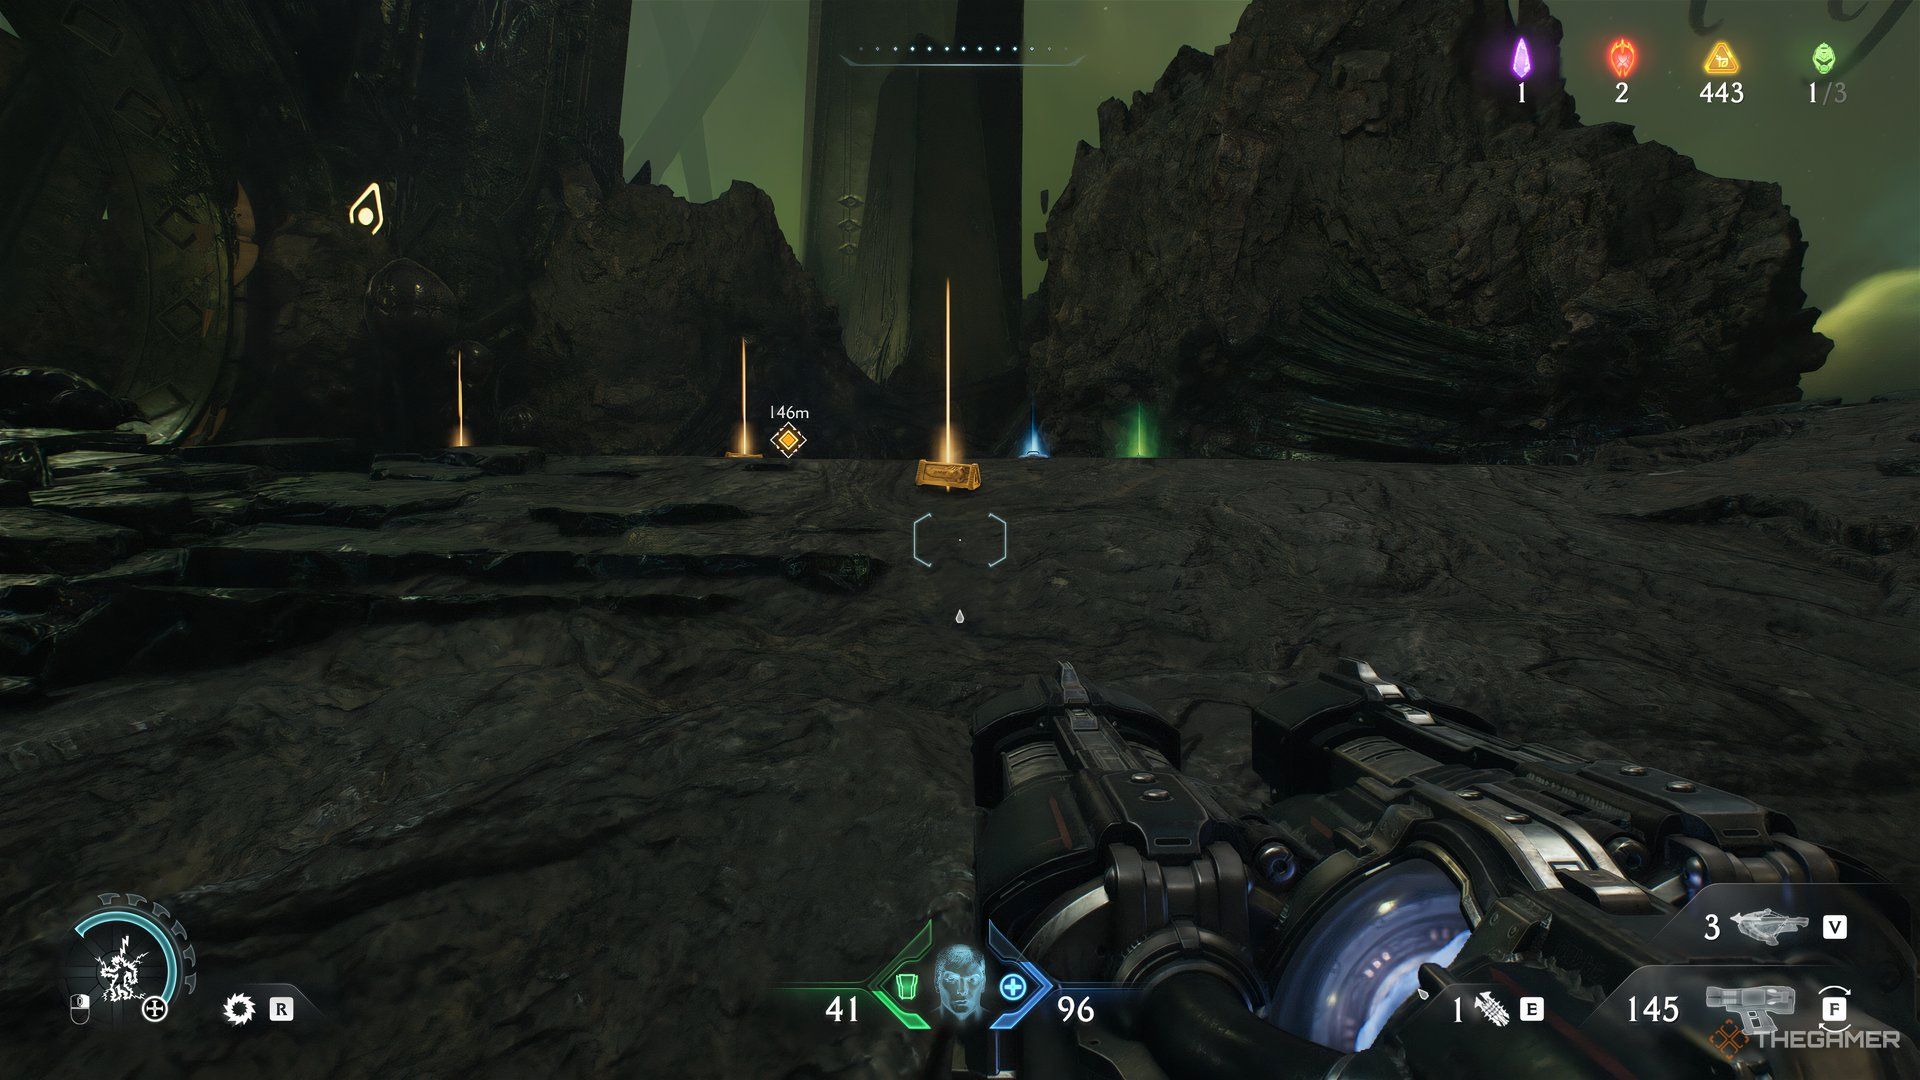
Once you exit the cave, head back towards that same path with the armor pick-ups. When you go across, look to your left to see health jars leading to the top of a platform. Follow this path, and you’ll find a few more gold pieces with a medium armor pick-up at the end.
Afterwards, turn around, jump down, and head straight from the platform you were just on. If you make it far enough, there should be a large circular door on the right. Walk up to it and enter.
You will reach a narrow corridor that goes in a circular route. However, only walk for a few steps as the corridor never ends. When you’ve made some progress, turn around and keep following the corridor backwards. After a short walk, you’ll find a Gold Chest in an opening.
When you grab the chest, the door behind it will open, taking you back to the entrance.
Now, ahead of you, there will be a rock formation. Go slightly left of it till you see a red barrier. Walk up to it, and turn right. Look up, and you’ll see another shield trigger point.
Head back towards the entrance with the Gold Chest, and turn left onto a climbable wall. There will be a jump pad in front of it as well. Head up to the platform and collect all the gold pieces. You’ll also find BFC ammo at the end of the path.
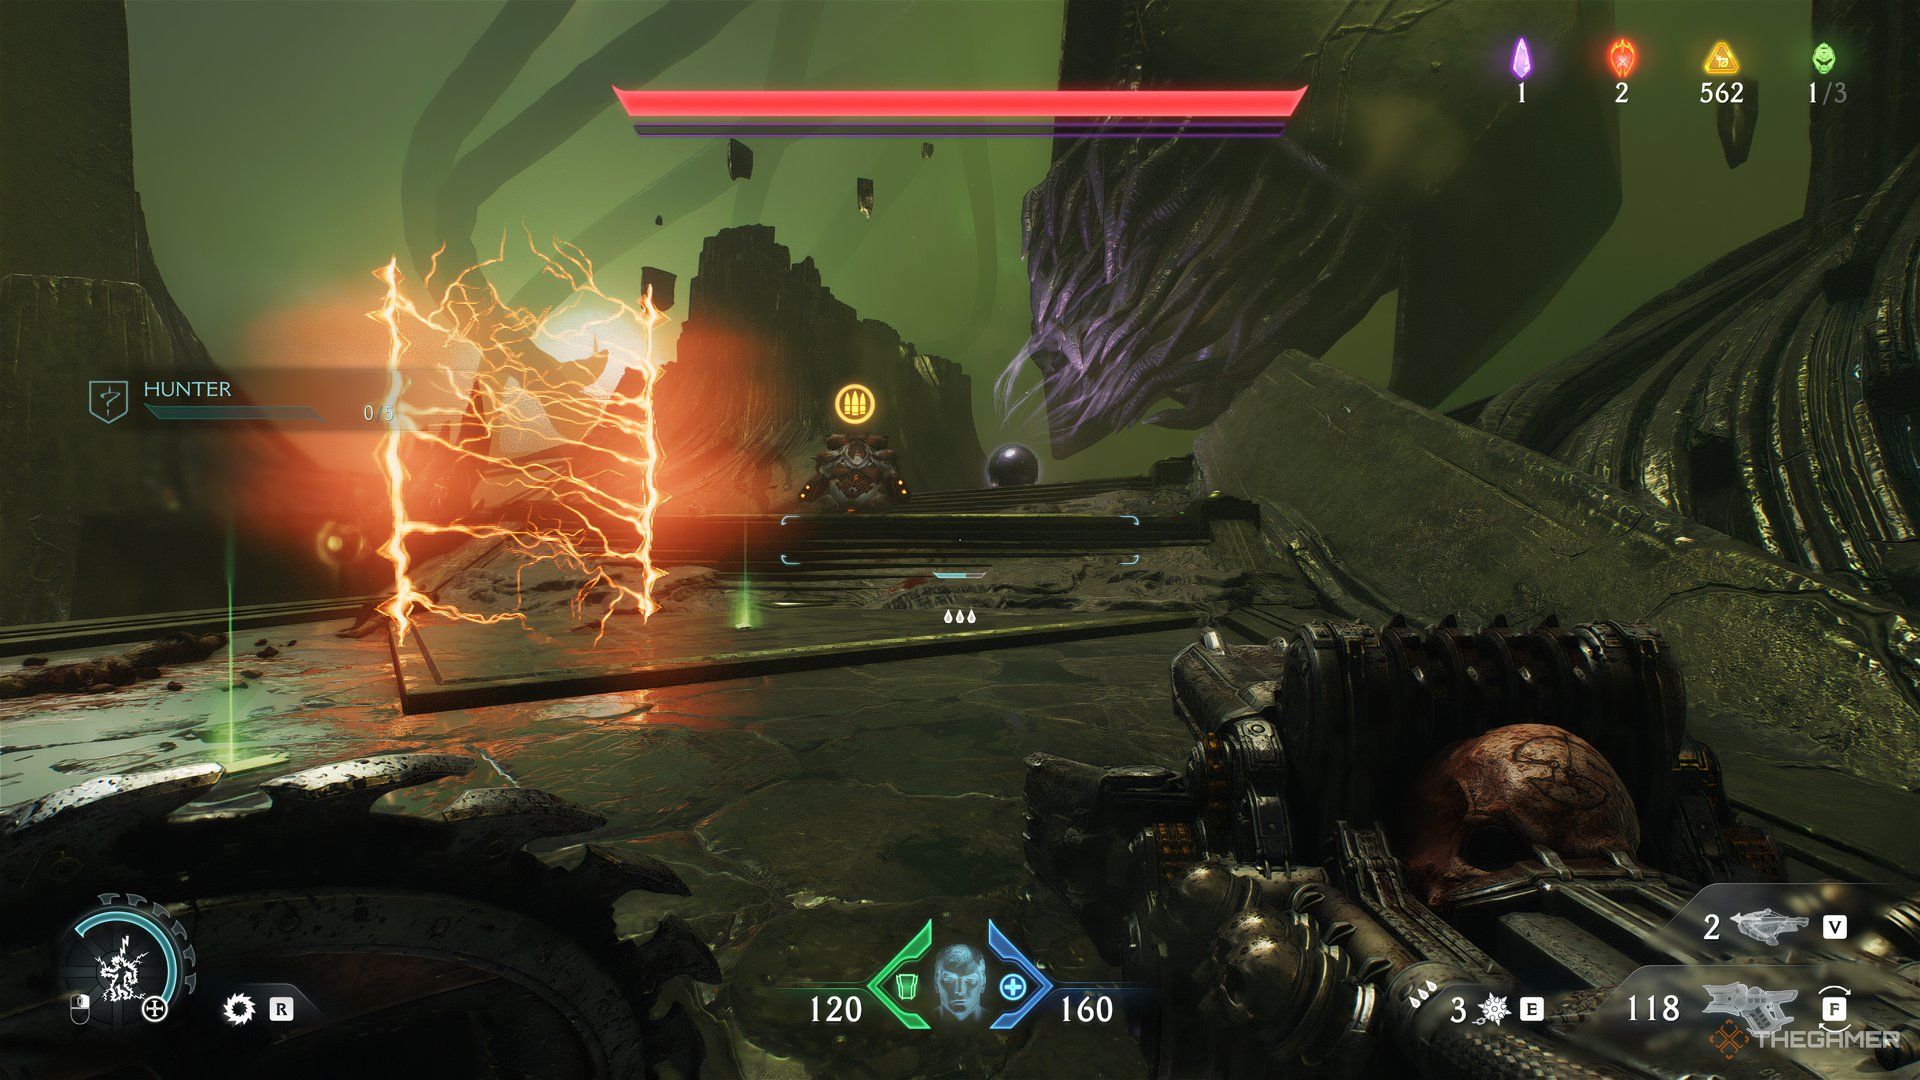
Once that’s done, jump down and walk straight from the platform. Follow the path hugging the red barriers, and you’ll be in a large open space. Here is one of the spots where you can attempt the Roundup challenge.
Lure the enemies to the back of the section since there’s a small pocket where you can group them and easily get the challenge.
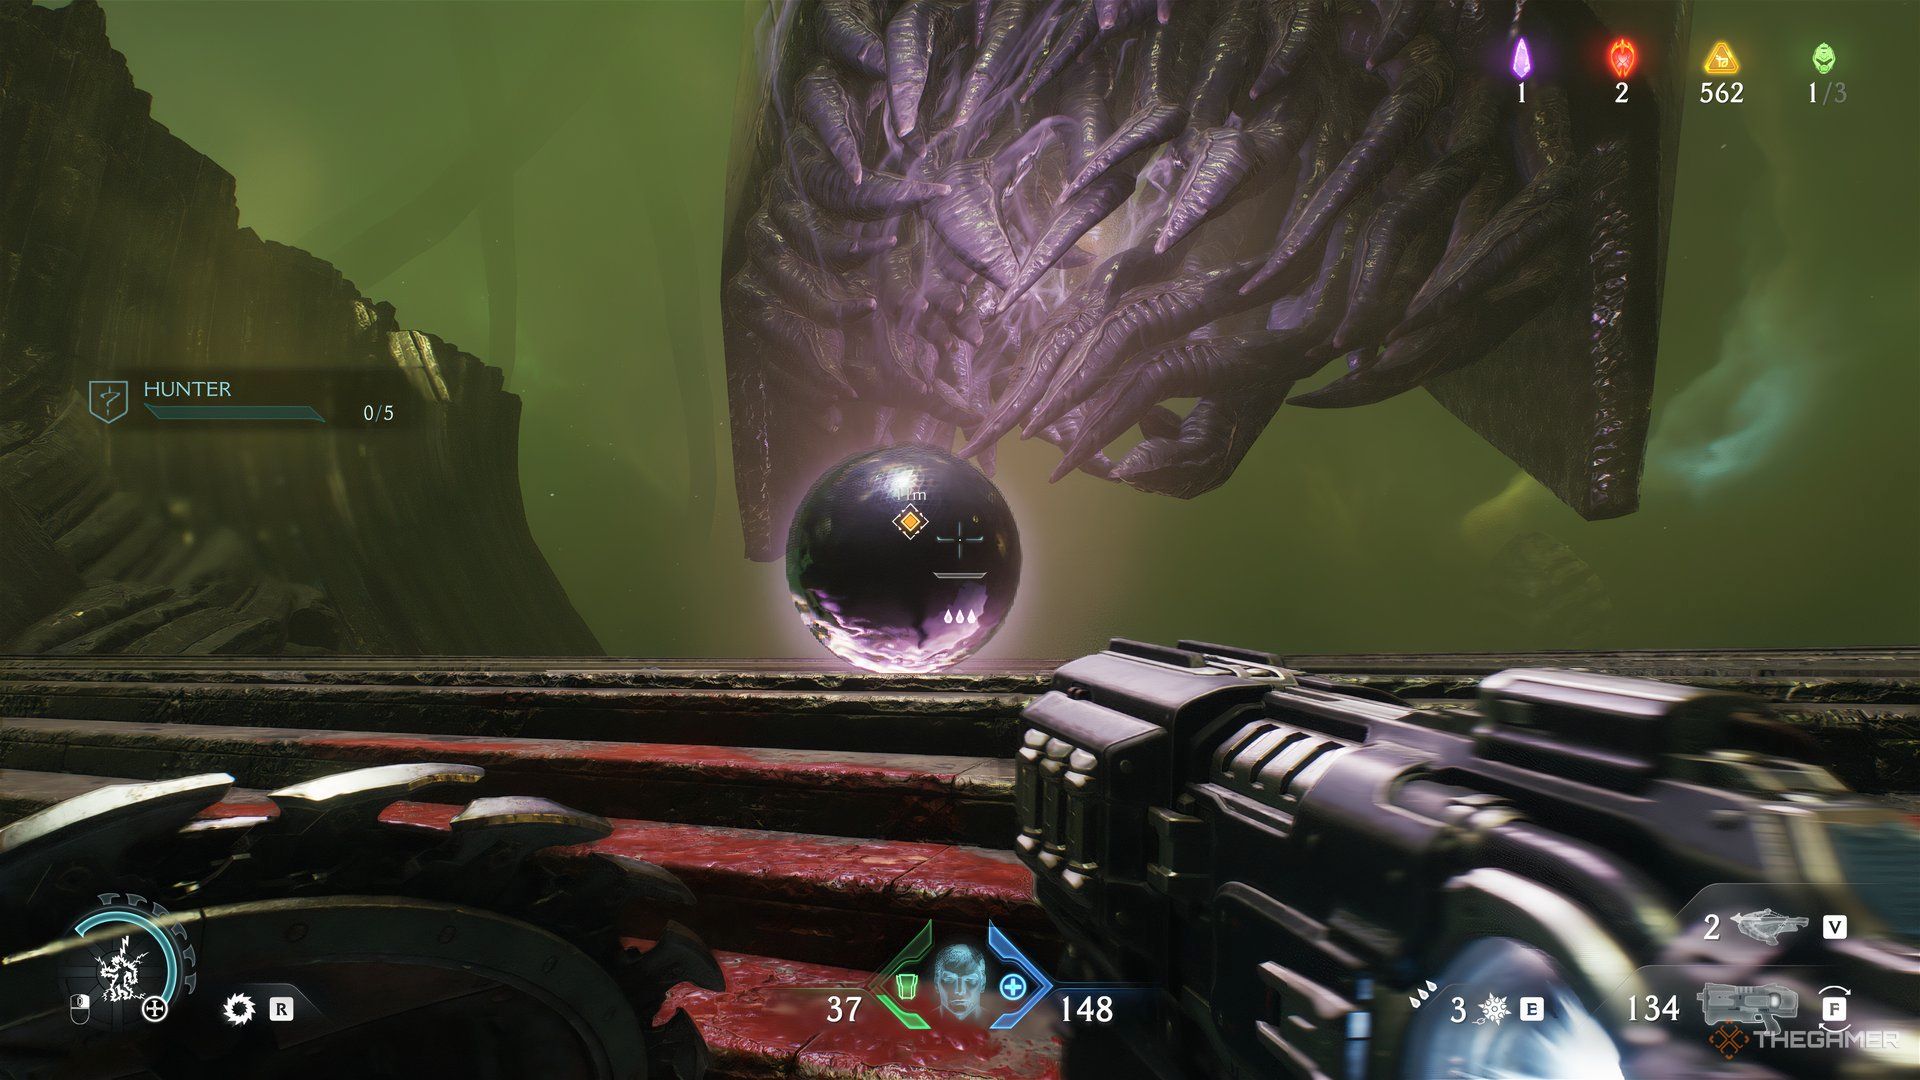
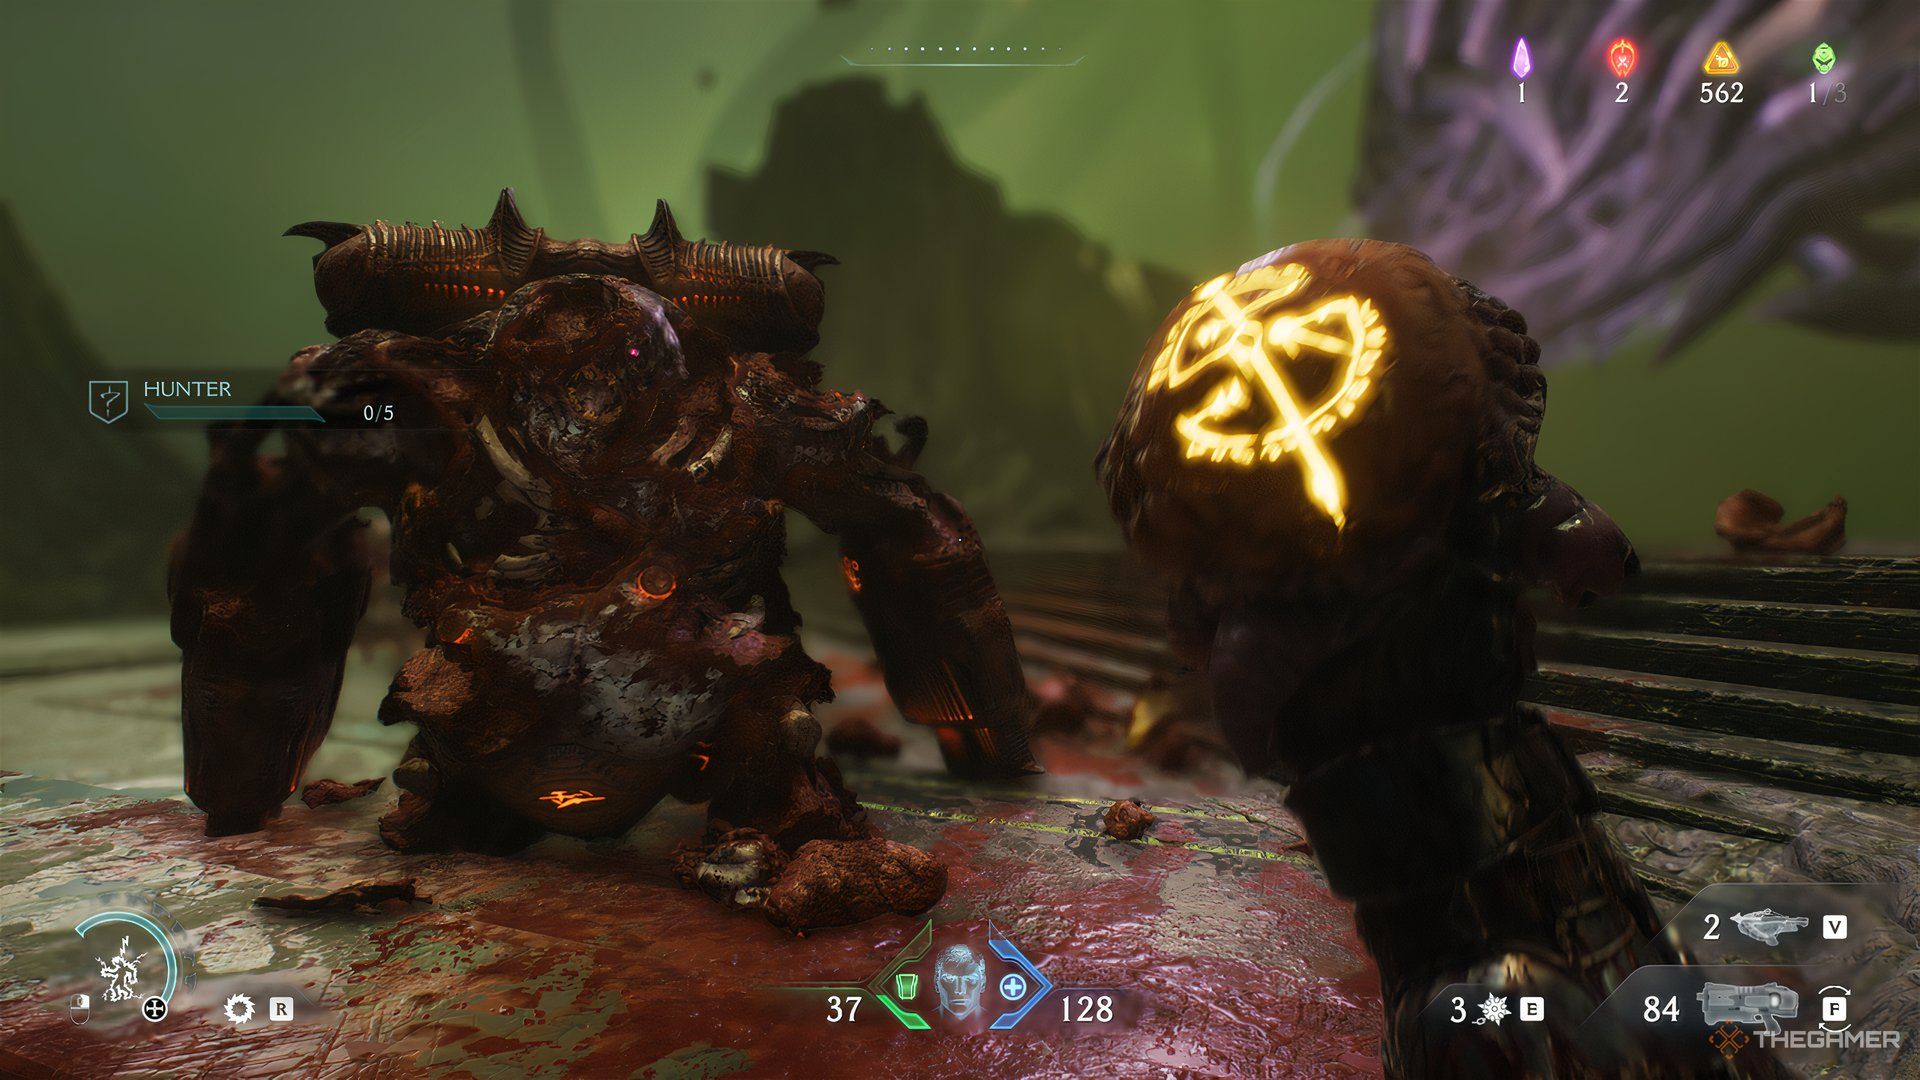
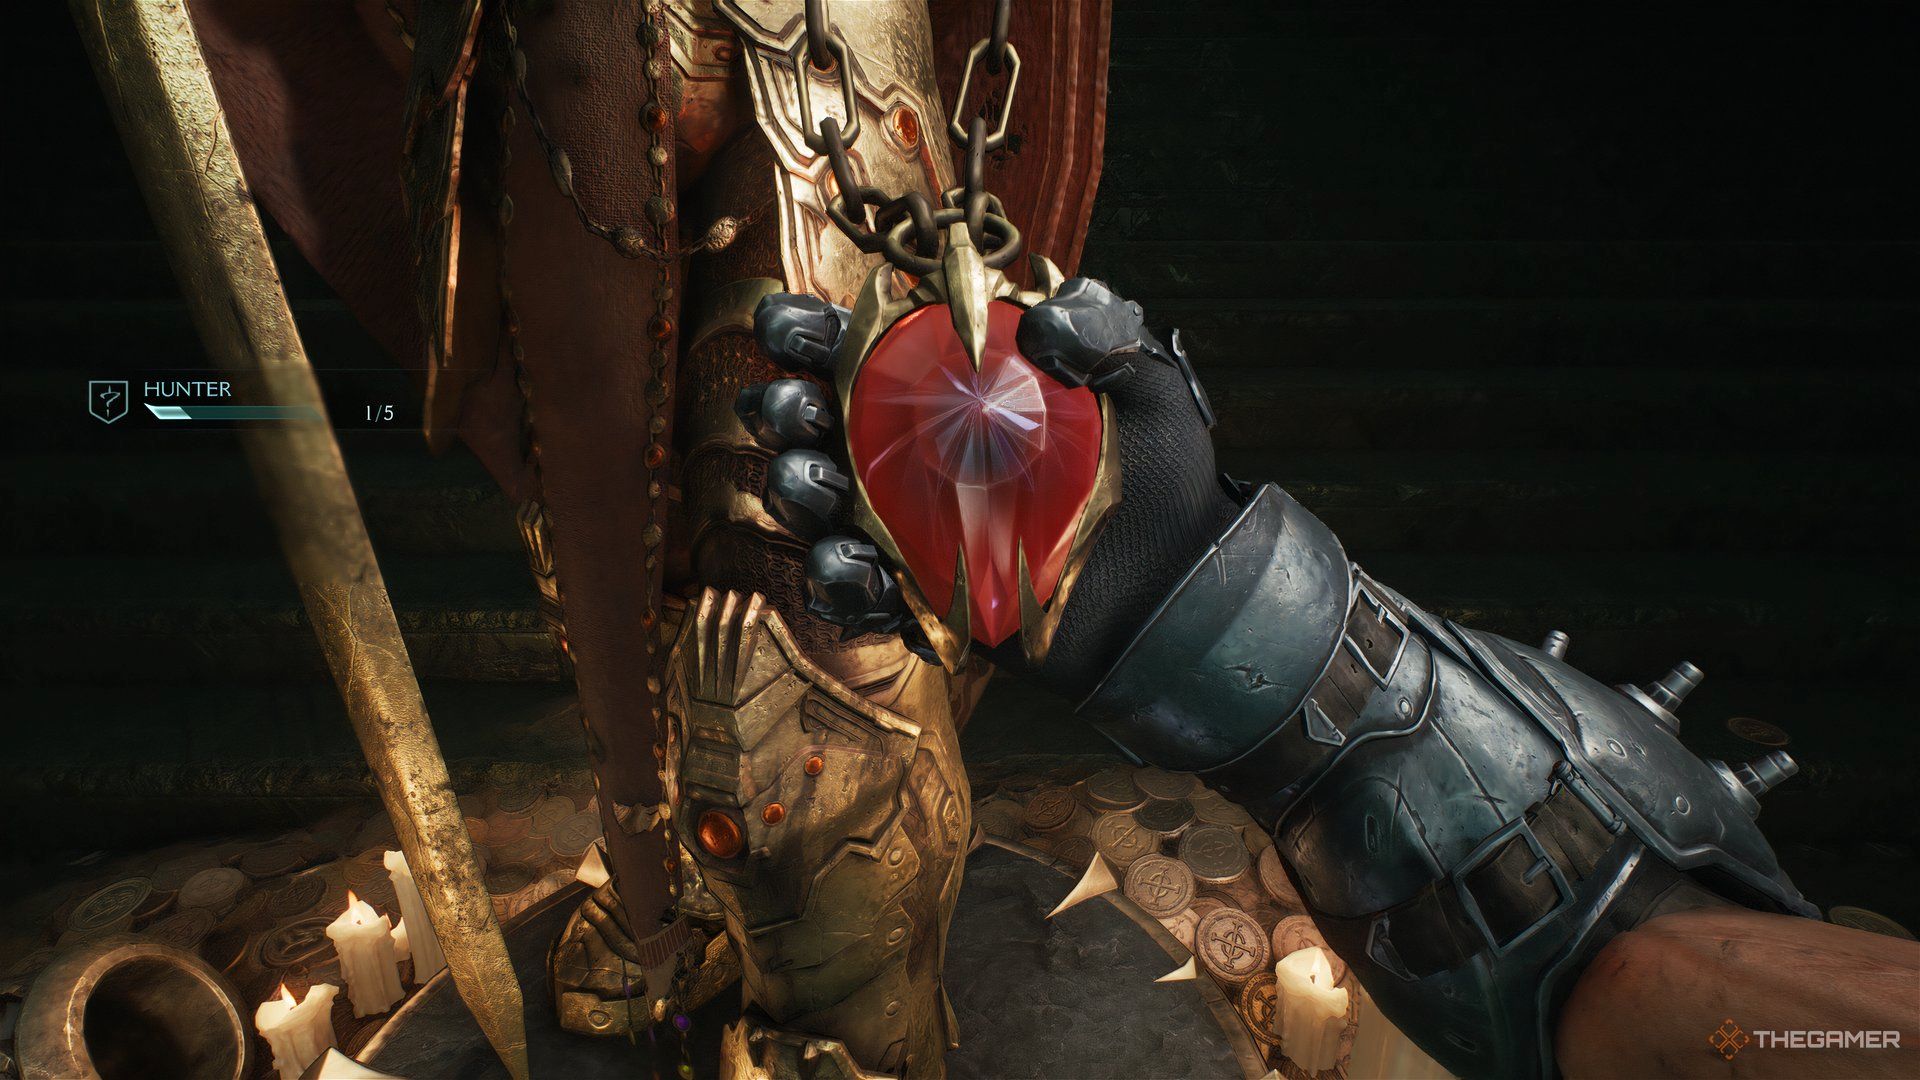
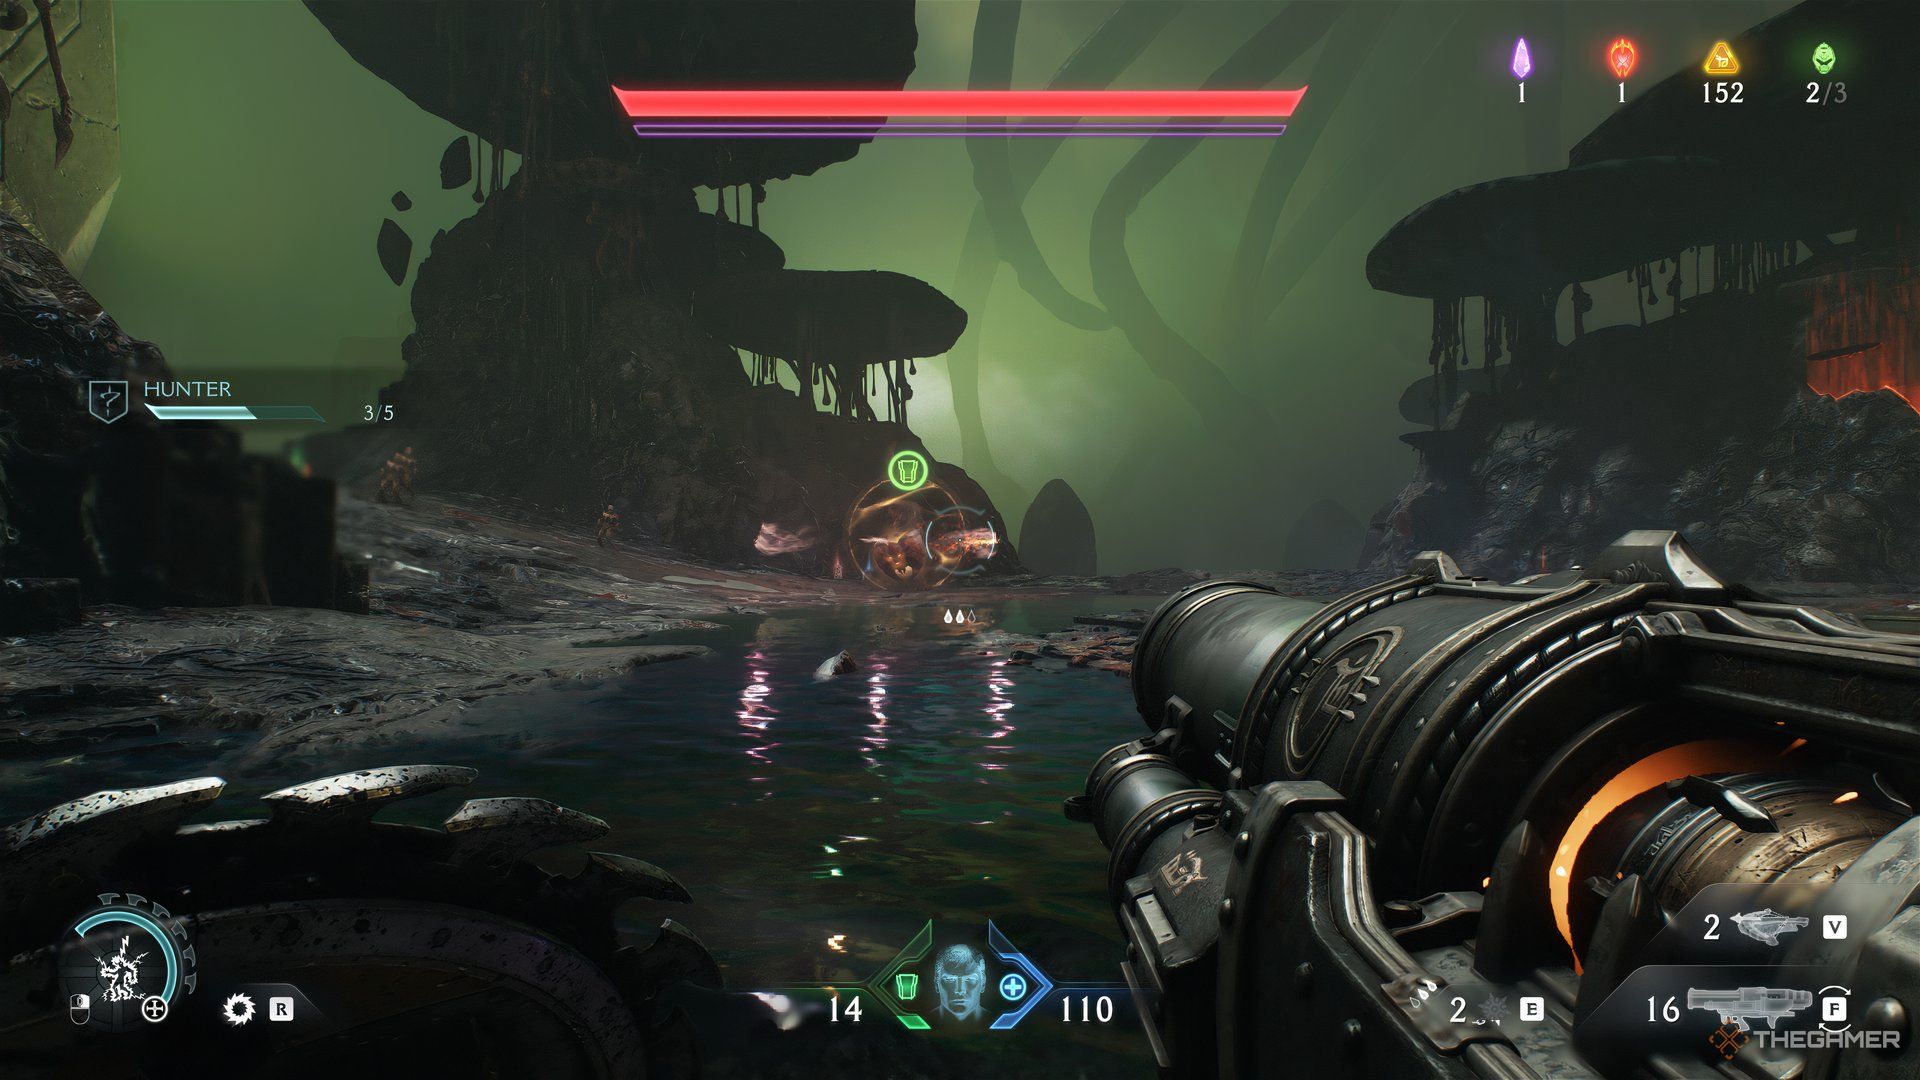
As you’re fighting enemies, you’ll also need to deal with the Leader enemy, who drops the ammo essence. Once you get the ammo enhancements, follow the story marker to interact with the black ball. This gives you the first key fragment.
Related
Doom: The Dark Ages – Every Secret And Collectible In The Spire Of Nerathul
Your next big dragon stage in Doom: The Dark Ages is just as filled with secrets as the last. We’ll show you where they all are.
Life Sigil
At the black ball, head towards the story marker. However, take the rightmost path and continue following it. At the end, you’ll reach a cliff to look from. While staying on the ledge, turn right; there will be gold with a Life Sigil nearby.
Drop down and collect them all.
Wolf Statue 1
From where the Life Sigil is, drop into the shallow canyon. Directly across from the ledge will be a pile of gold to collect. However, when you take it, a Whiplash and several smaller enemies spawn.
By hugging the wall where you saw the pile of gold, go right till you reach the other side. There will be a ledge with a gate that can be opened with the shield dash just beyond it. Climb up the wall and fight off the enemies.
Afterward, collect the gold in front of the gate and then shield dash through it.
When you make it past the gate, a large structure will be in front of you. On the left, you should see a Sentinel Shrine as well.
If you walk to the shrine and turn in the opposite direction from it, you can see the first Wolf Statue in the distance. For the Wolf Statue to count, you must break it by throwing your shield at the statue. Once that’s done, you get the first wolf.
Ruby
By looking behind the statue, you will see an area to drop into. When you land, collect all the gold and then turn around. By doing this, there will be an entrance to walk into. As you enter, you’ll find a statue on the other side of the room.
Walk up to it, and you’ll get teleported into a large room with a monolith in one corner and an eye in the other. Between them will be a pool of water.
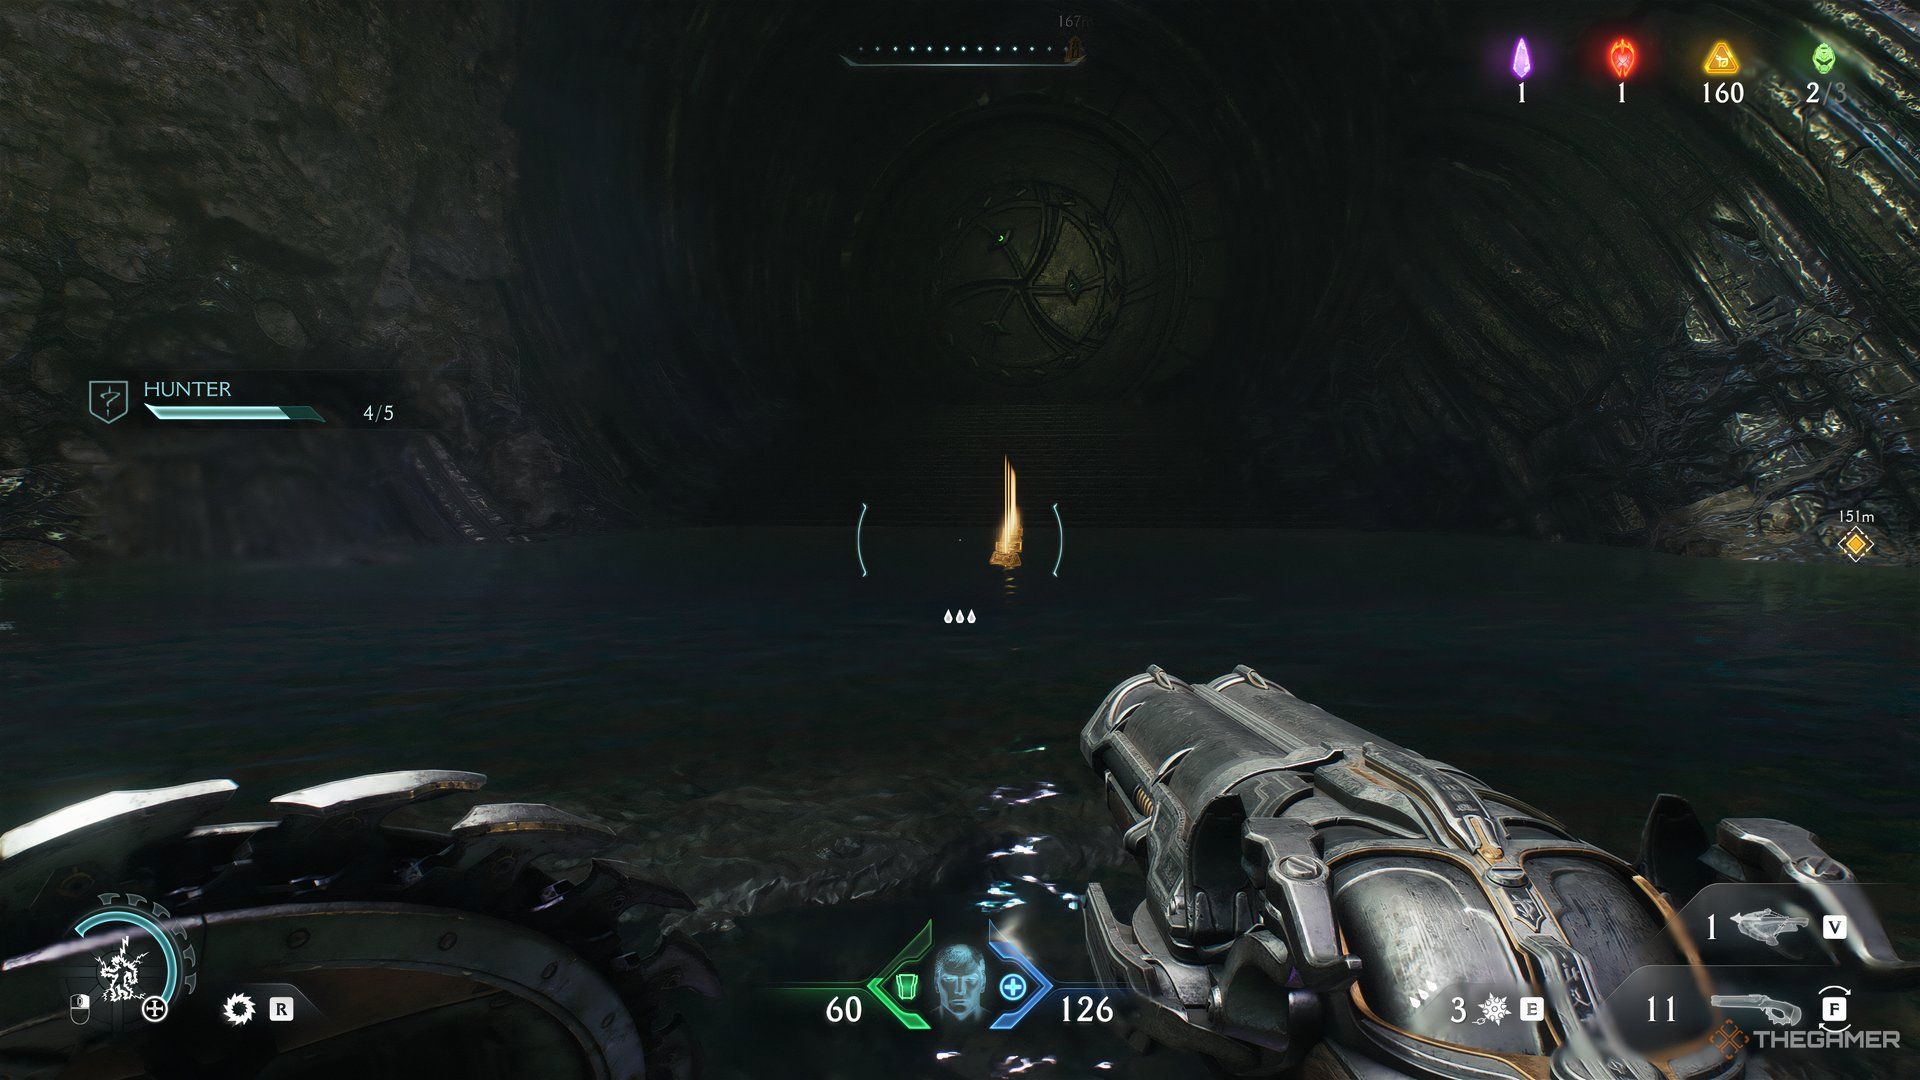
Dive into the pool of water and swim down to get out. You’ll go back to the same room you were just in, only this time, you’ll end up on top of a large cube structure, which was initially above you.
When you land, you’ll see the ruby in front. Walk towards the corner, and look down. Launch your shield at the Superheated Metal point to open up a gate that’s blocking an eye.
Once that’s done, drop and head to the monolith to line up the eye with the large eye you just unlocked. The gate with the ruby should open. Jump into the water and exit the same way you did before.
Upon landing on the block, run and jump across to obtain the ruby. Once that’s done, a gateway leading out will open up behind the statue holding the ruby.
Related
Doom: The Dark Ages – Best PC Graphics Settings To Use
Slay demons and frame drops.
Toy
Now that you’re back outside and at the entrance, follow the path upwards till you reach an opening with a climbable wall on the right. Go up those walls. Be very careful when you reach the top, there will be a Mancubus waiting for you.
After you beat it, you’ll see a switch on the ground to walk on. As you walk on the switch, directly in front, a Superheated Metal latch will appear. Throw your shield at it.
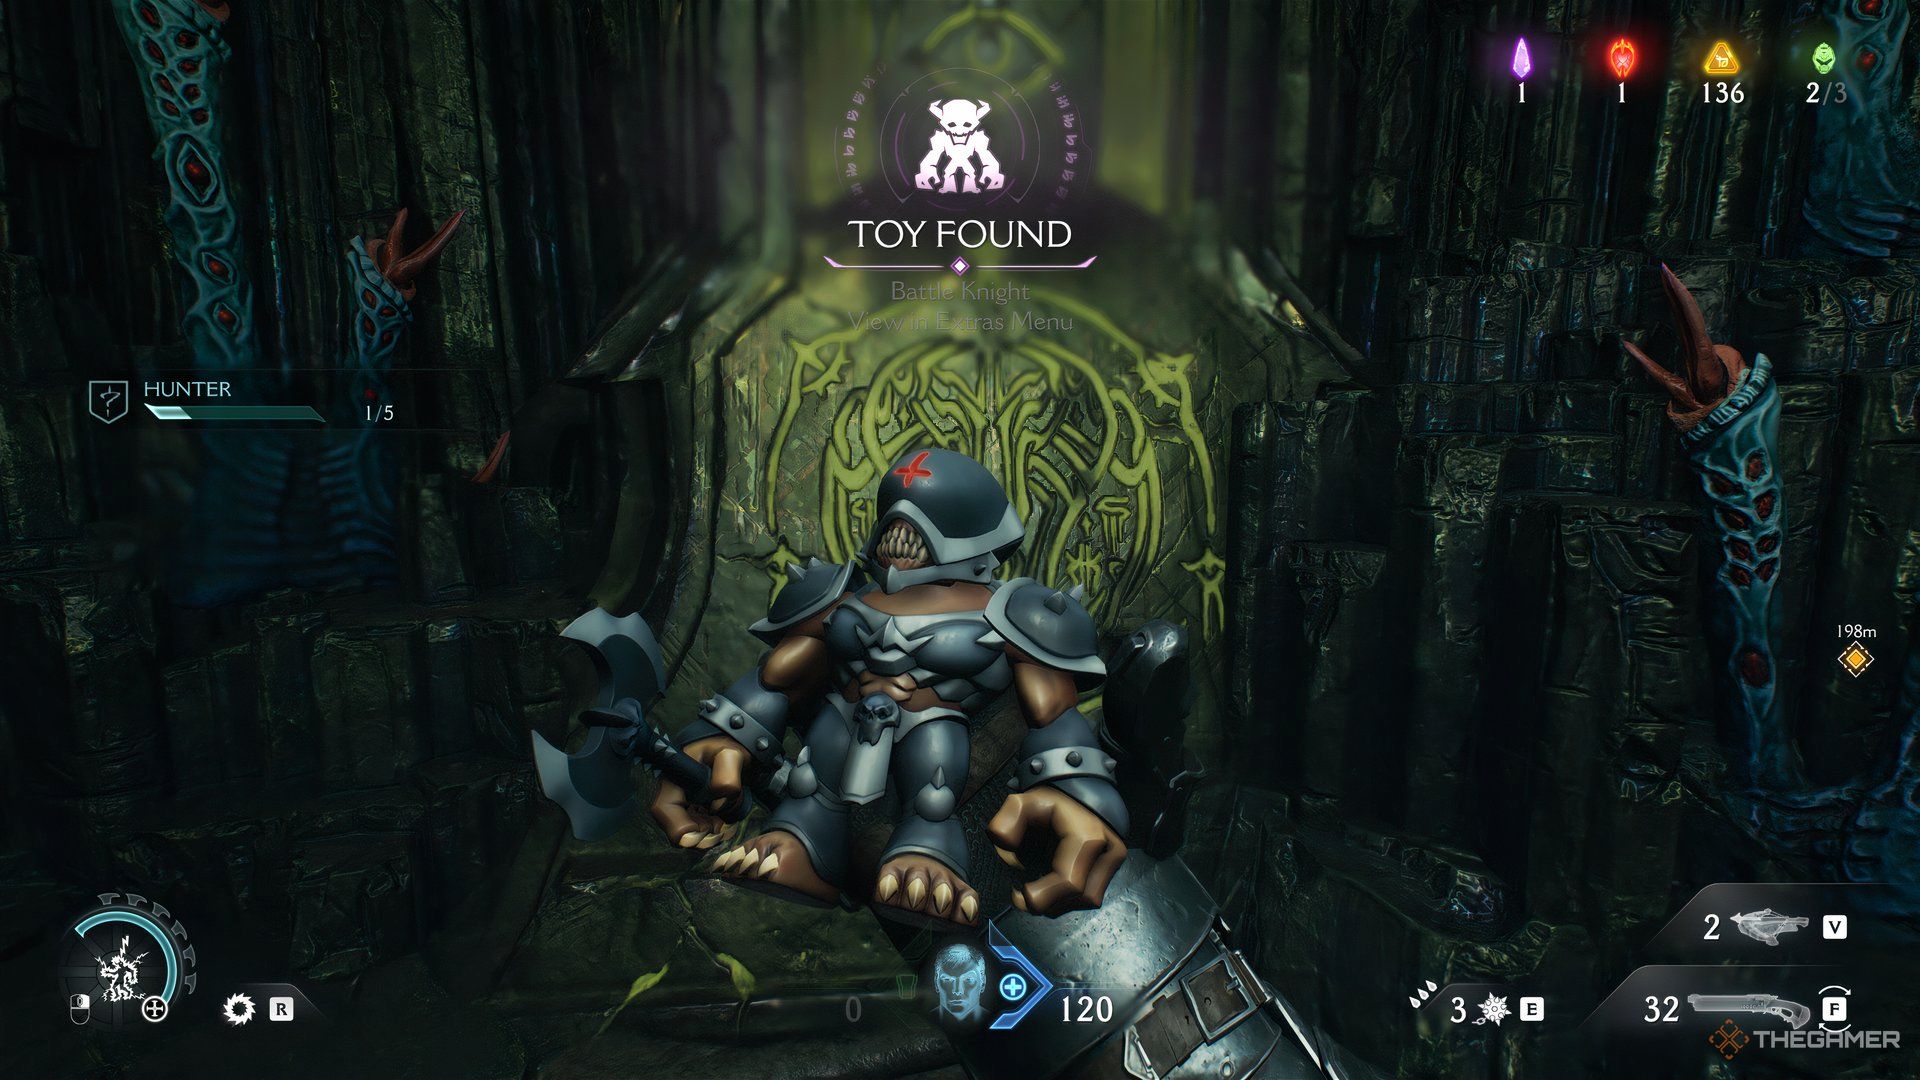
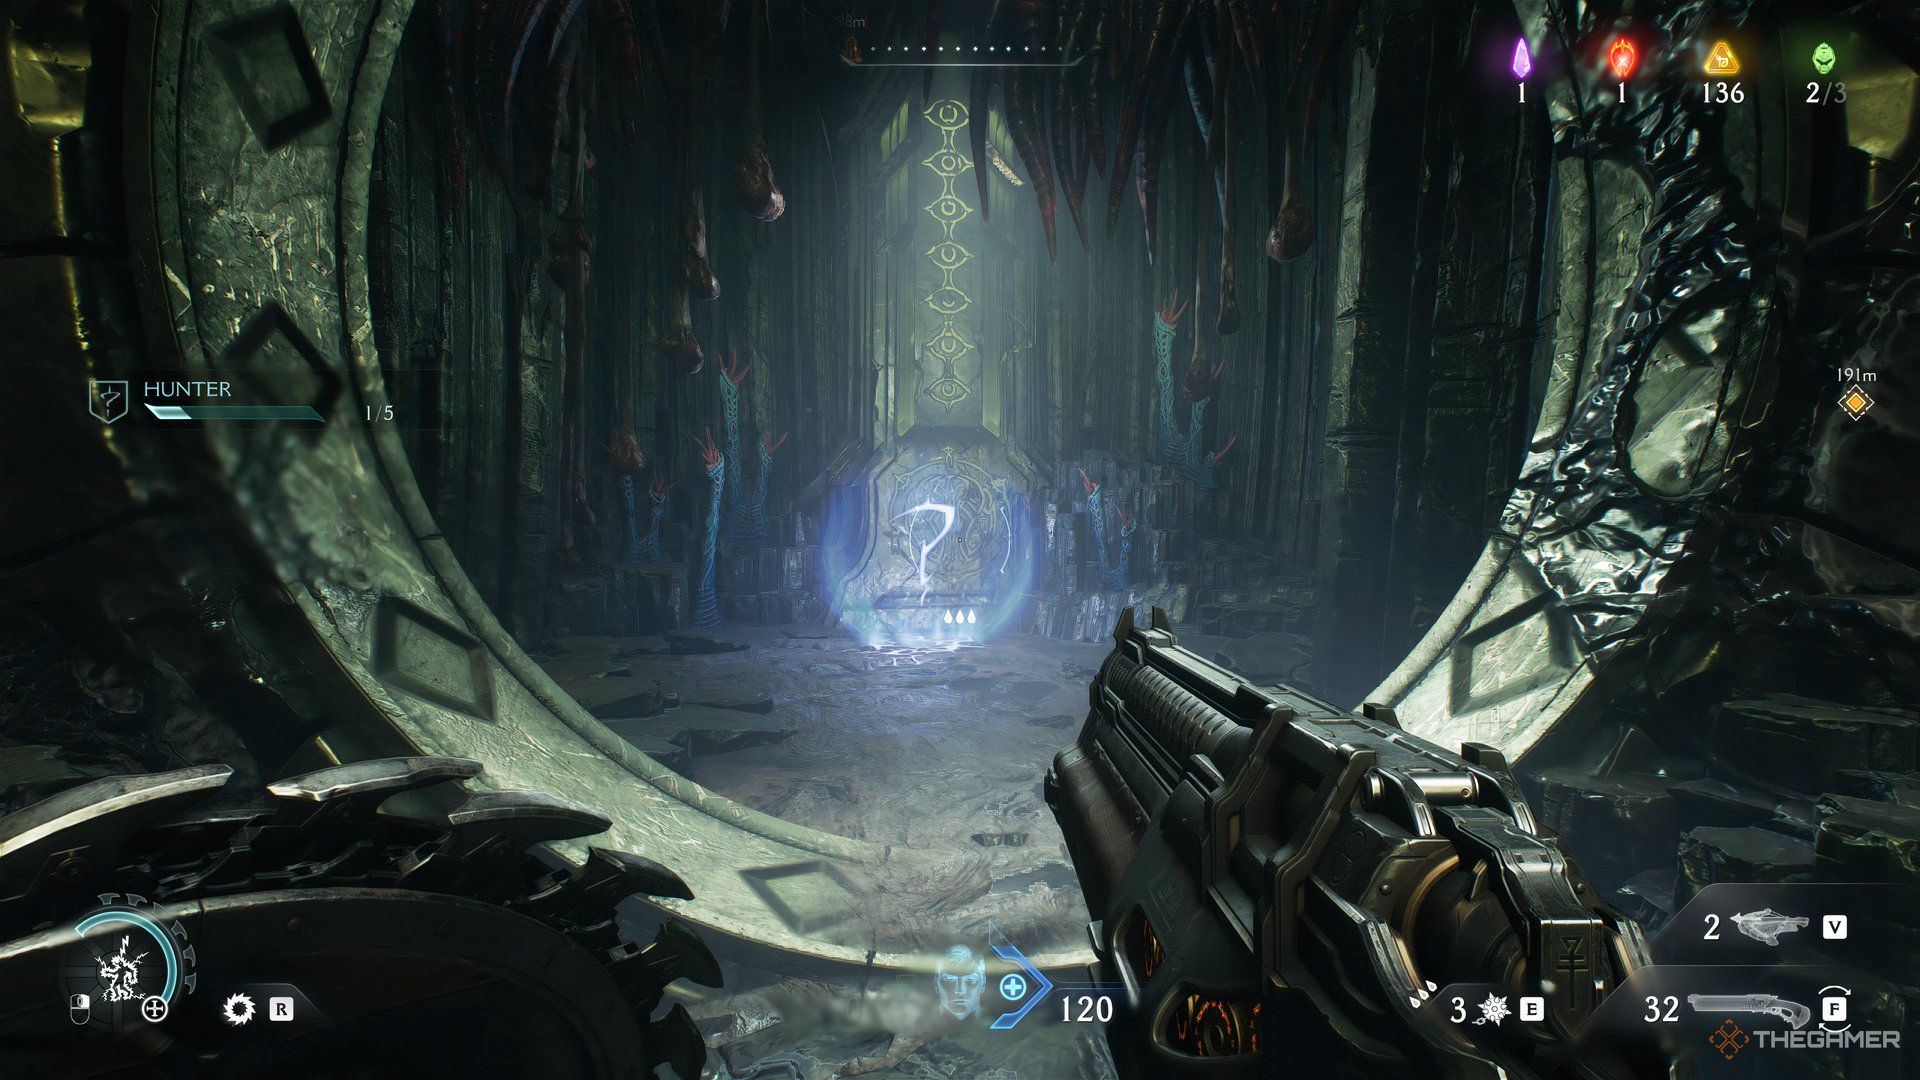
Drop to the area below and head left. In the middle of the wall, you’ll find an opening that has a large question mark in it.
Walk into it, and you’ll collect the Battle Knight Toy.
Wolf Statue 2
When you collect the toy, a real armored Battle Knight will spawn. After you beat it, walk straight from where the question mark was. You should be able to see a pile of gold.
Just behind the pile, when you look down, there will be another statue. Drop and then break it. You can go back up using the climbable walls behind you.
Wolf Statue 3
After you reach the top, head left. By moving in that direction, you’ll find some gold pick-ups leading to an entrance. There will also be enemies on the left. For the time being, ignore them.
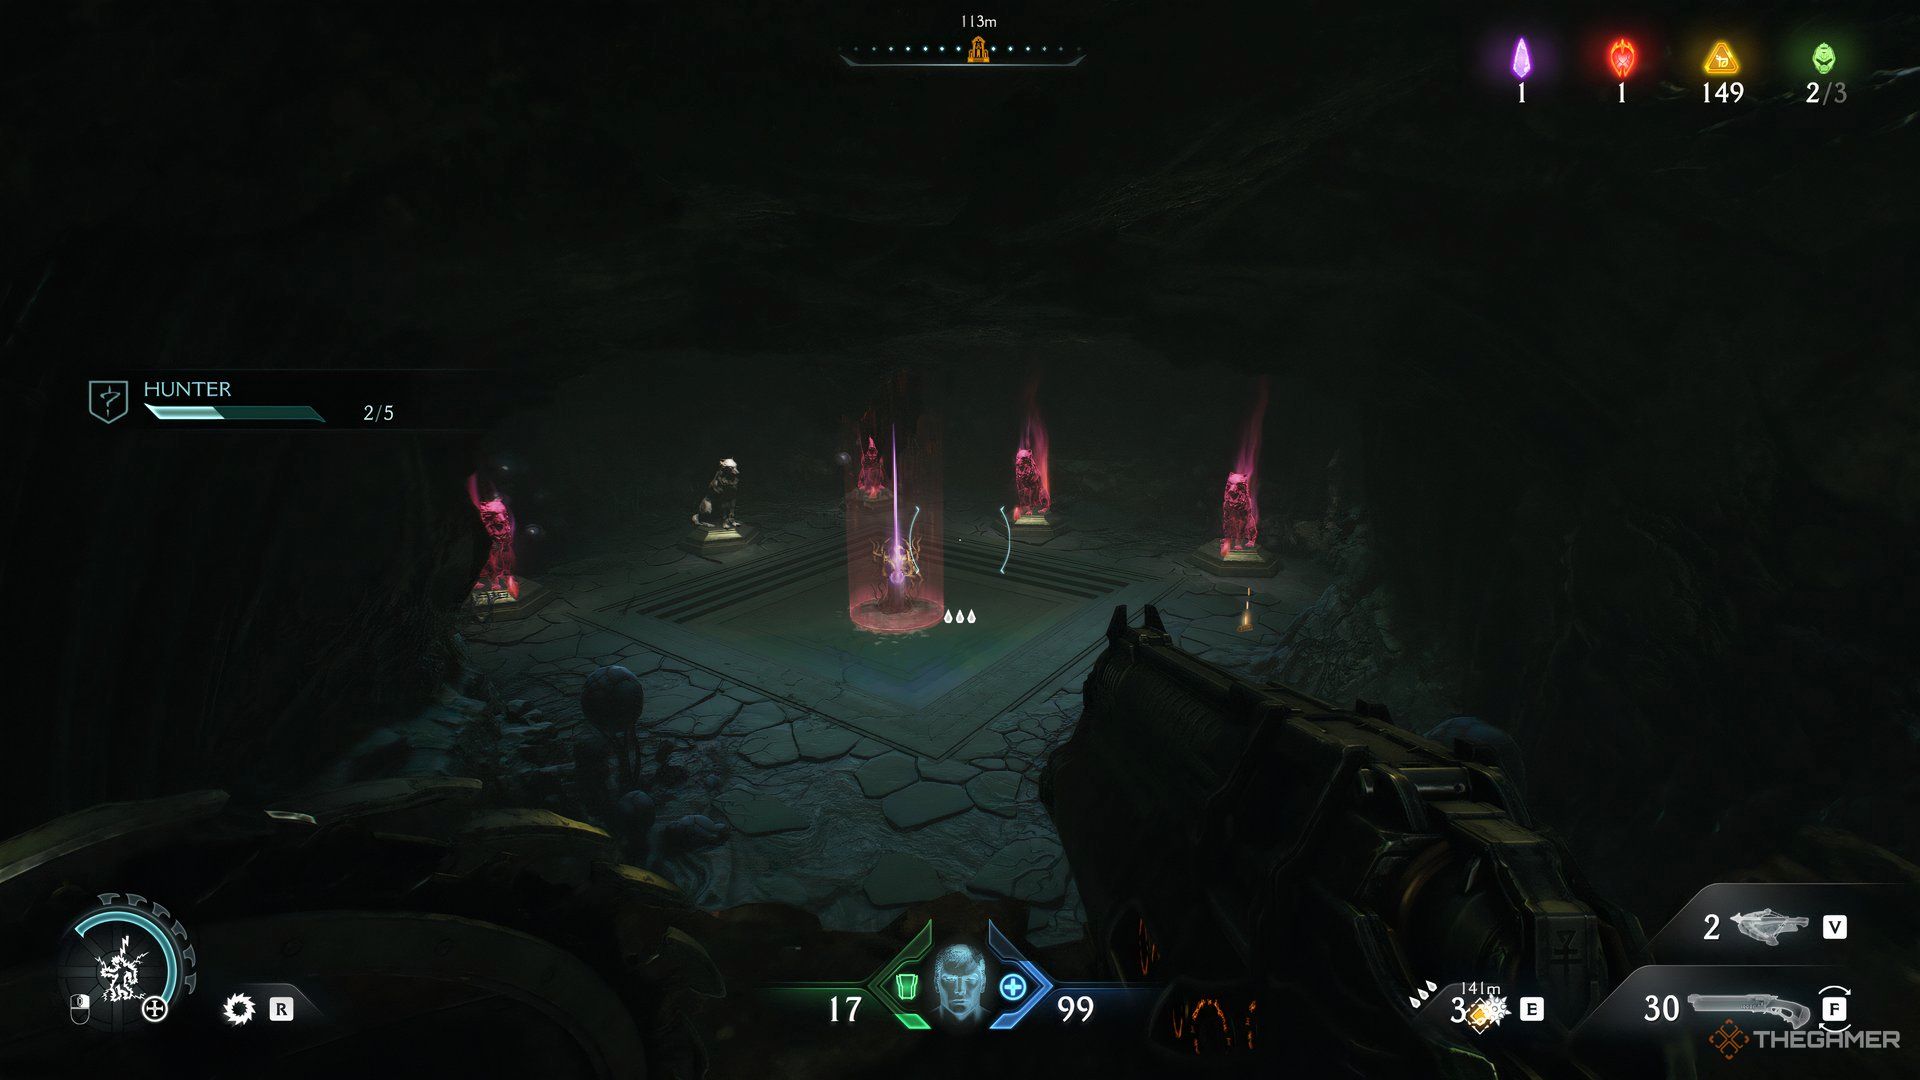
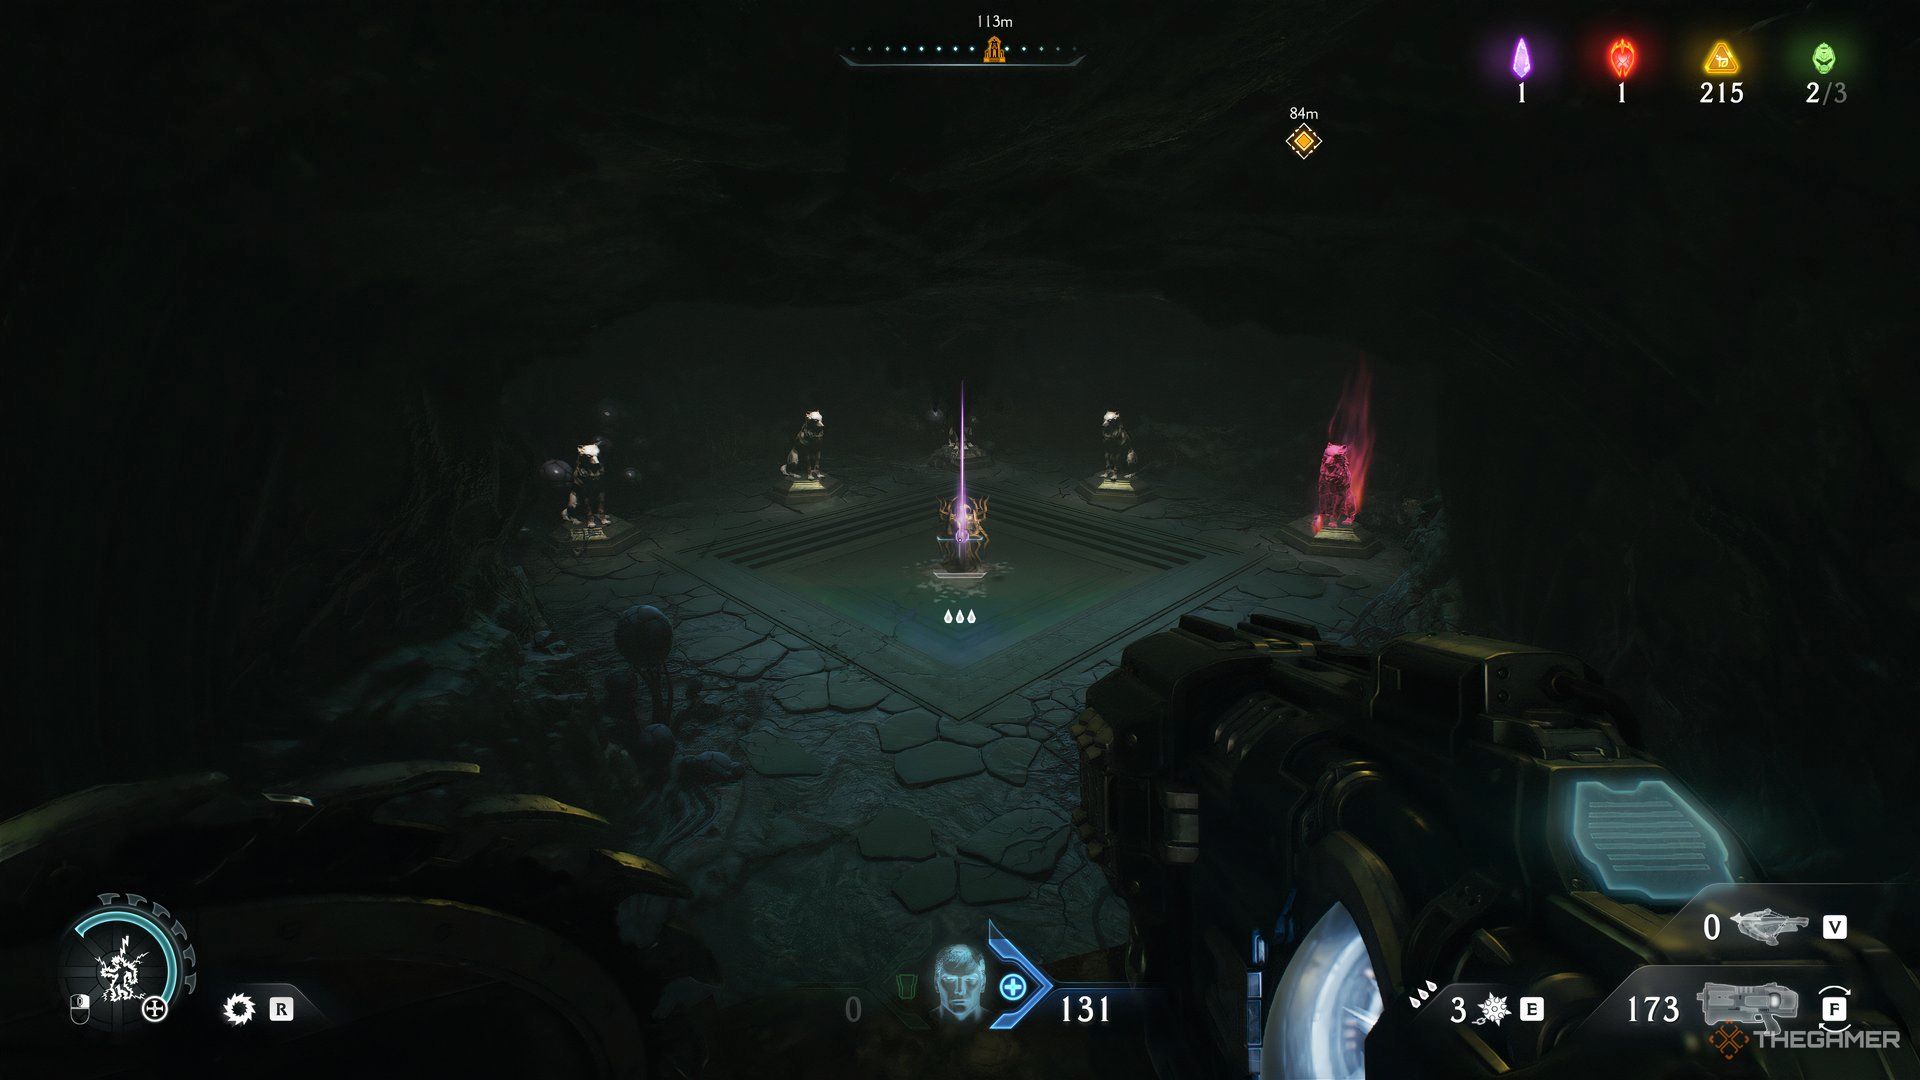
Follow the path with gold pick-ups till you reach a ledge overlooking a small room. In the small room, you’ll find an inaccessible Wraithstone with five Wolf Statues around it. Three of them are covered in red, while two should be grayed out.
This is because you’ve broken two so far. Drop into the room and collect the sole piece of gold. Next, turn around and enter the tunnel with more gold pieces.
At the end, you’ll find the third Wolf Statue that can be broken down.
Demonic Armor Essence
Now, head back the way you came from by climbing up the wall. Make your way back to where those enemies are. Again, you must deal with a Leader before getting the armor boost.
Once that’s done, the second black ball becomes available. If you still need to complete the Roundup challenge, now would be a good time to attempt it. When the area is clear, interact with the black ball to obtain the second key fragment.
Wolf Statue 4
From the black ball, turn around and walk straight. You’ll go between two rock formations. When you do, make a left right after you pass them. By walking a little straight, you’ll see a gold pile on the right. As you turn around, you can also find a few health jars near a ledge.
Walk up to the ledge. By looking to the left, you can find the fourth Wolf Statue. Again, throw your shield at it to break it.
Wolf Statue 5
Head back towards the pile of gold you just picked up. Follow the path towards another entrance that has more gold pick-ups in front of it. However, take care of the large tentacle monsters before you go in.
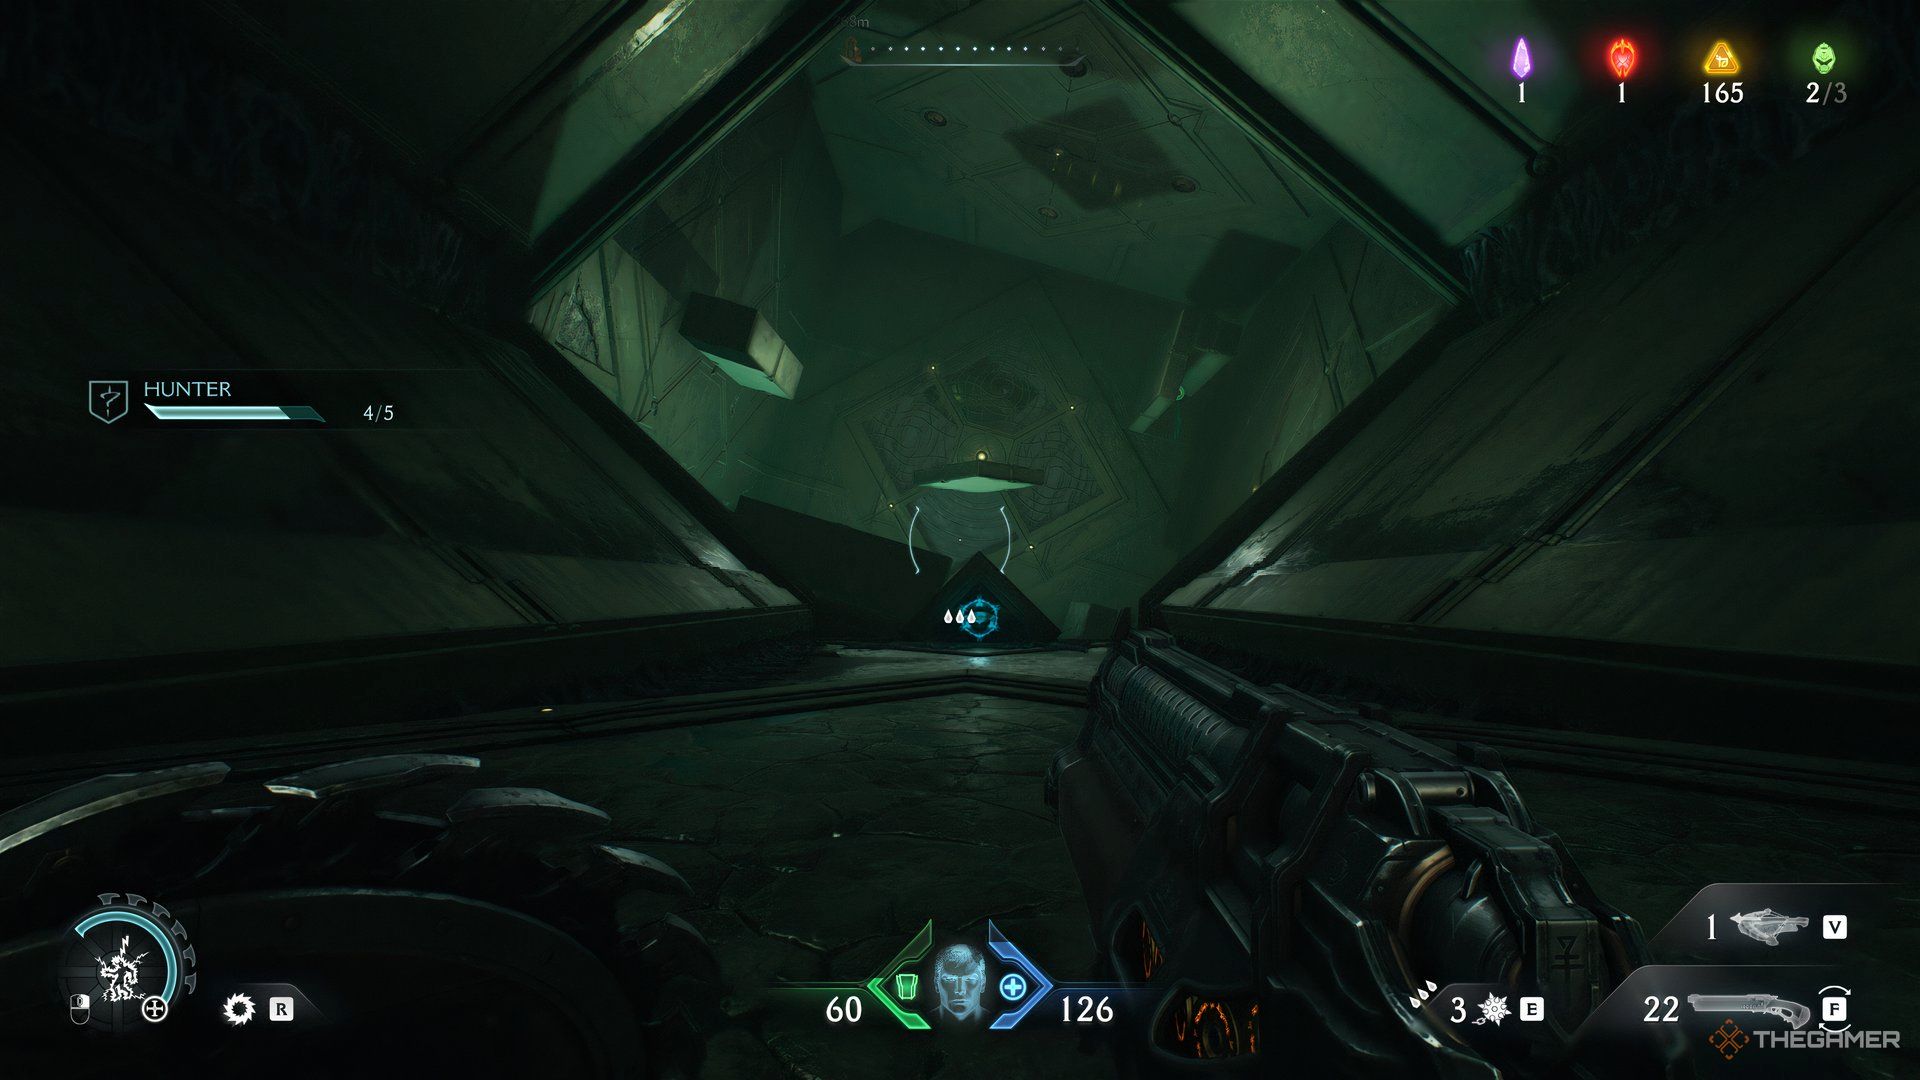
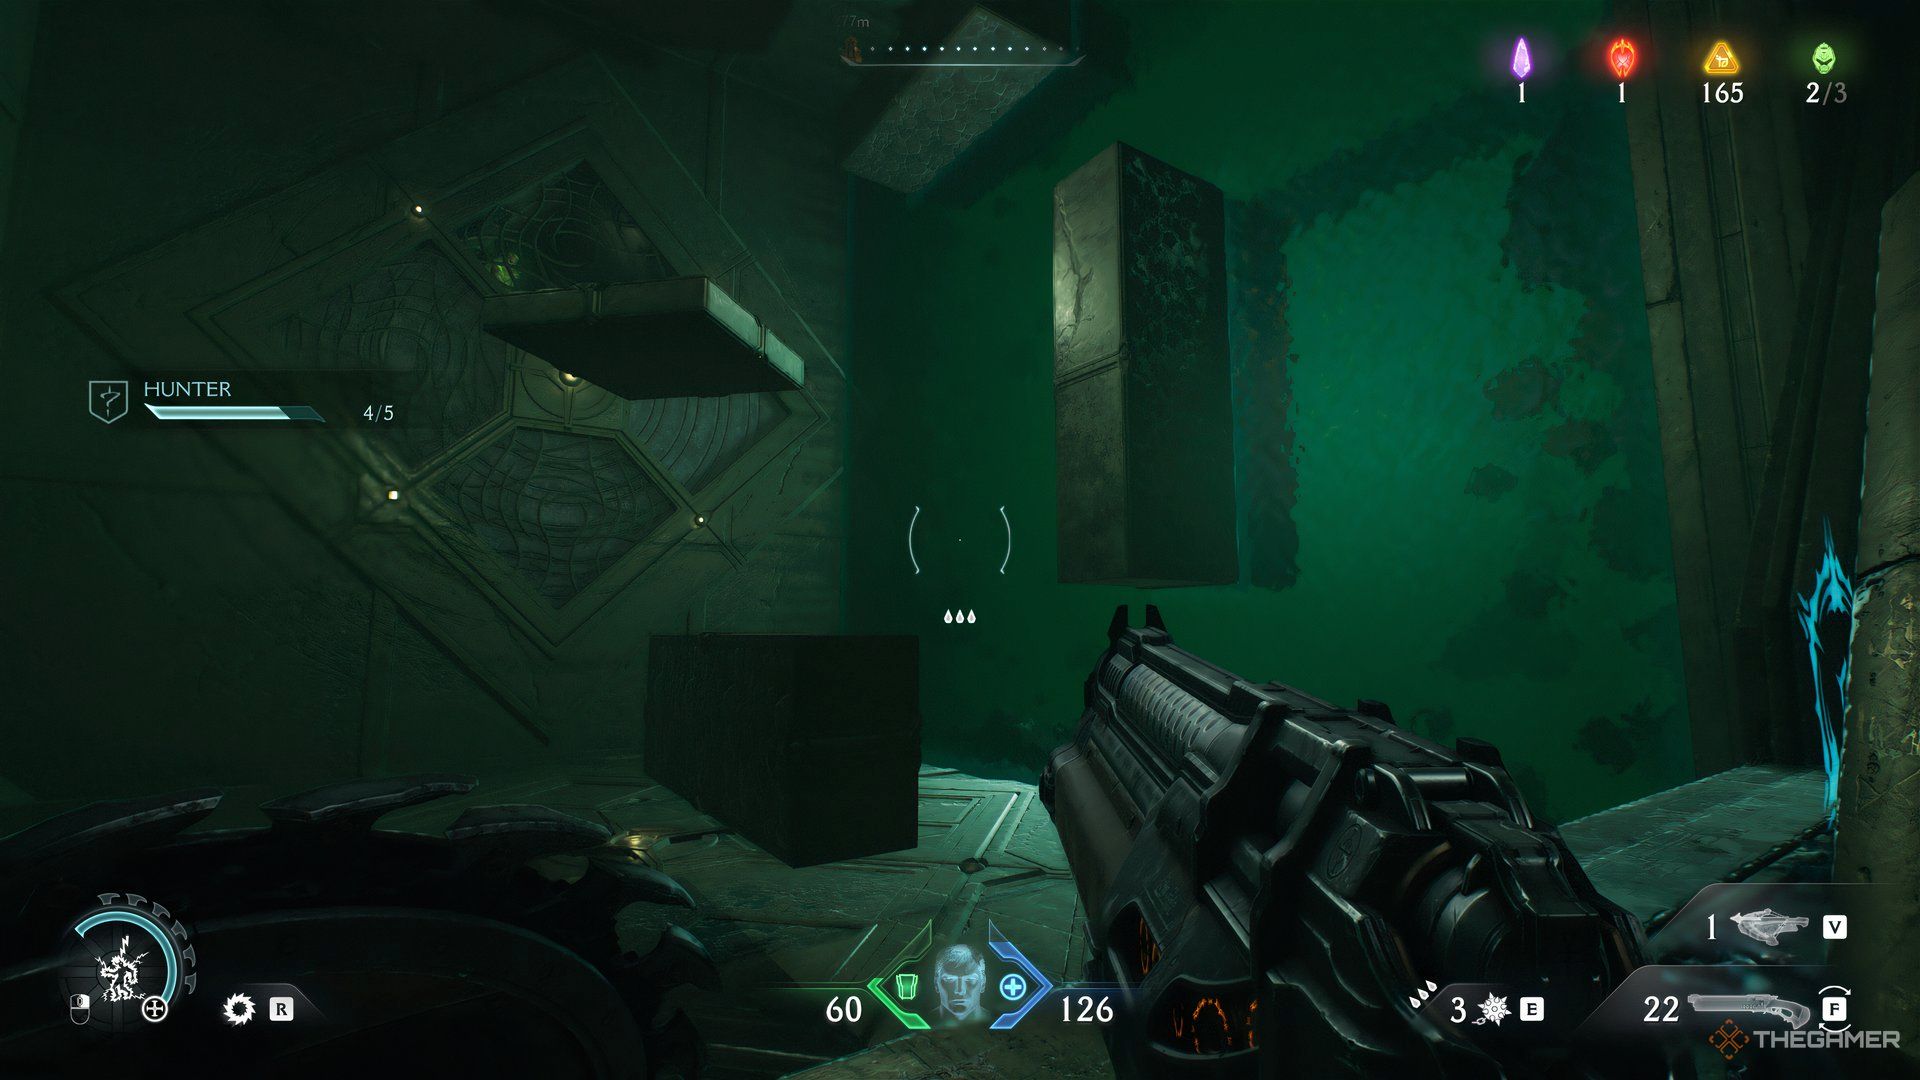
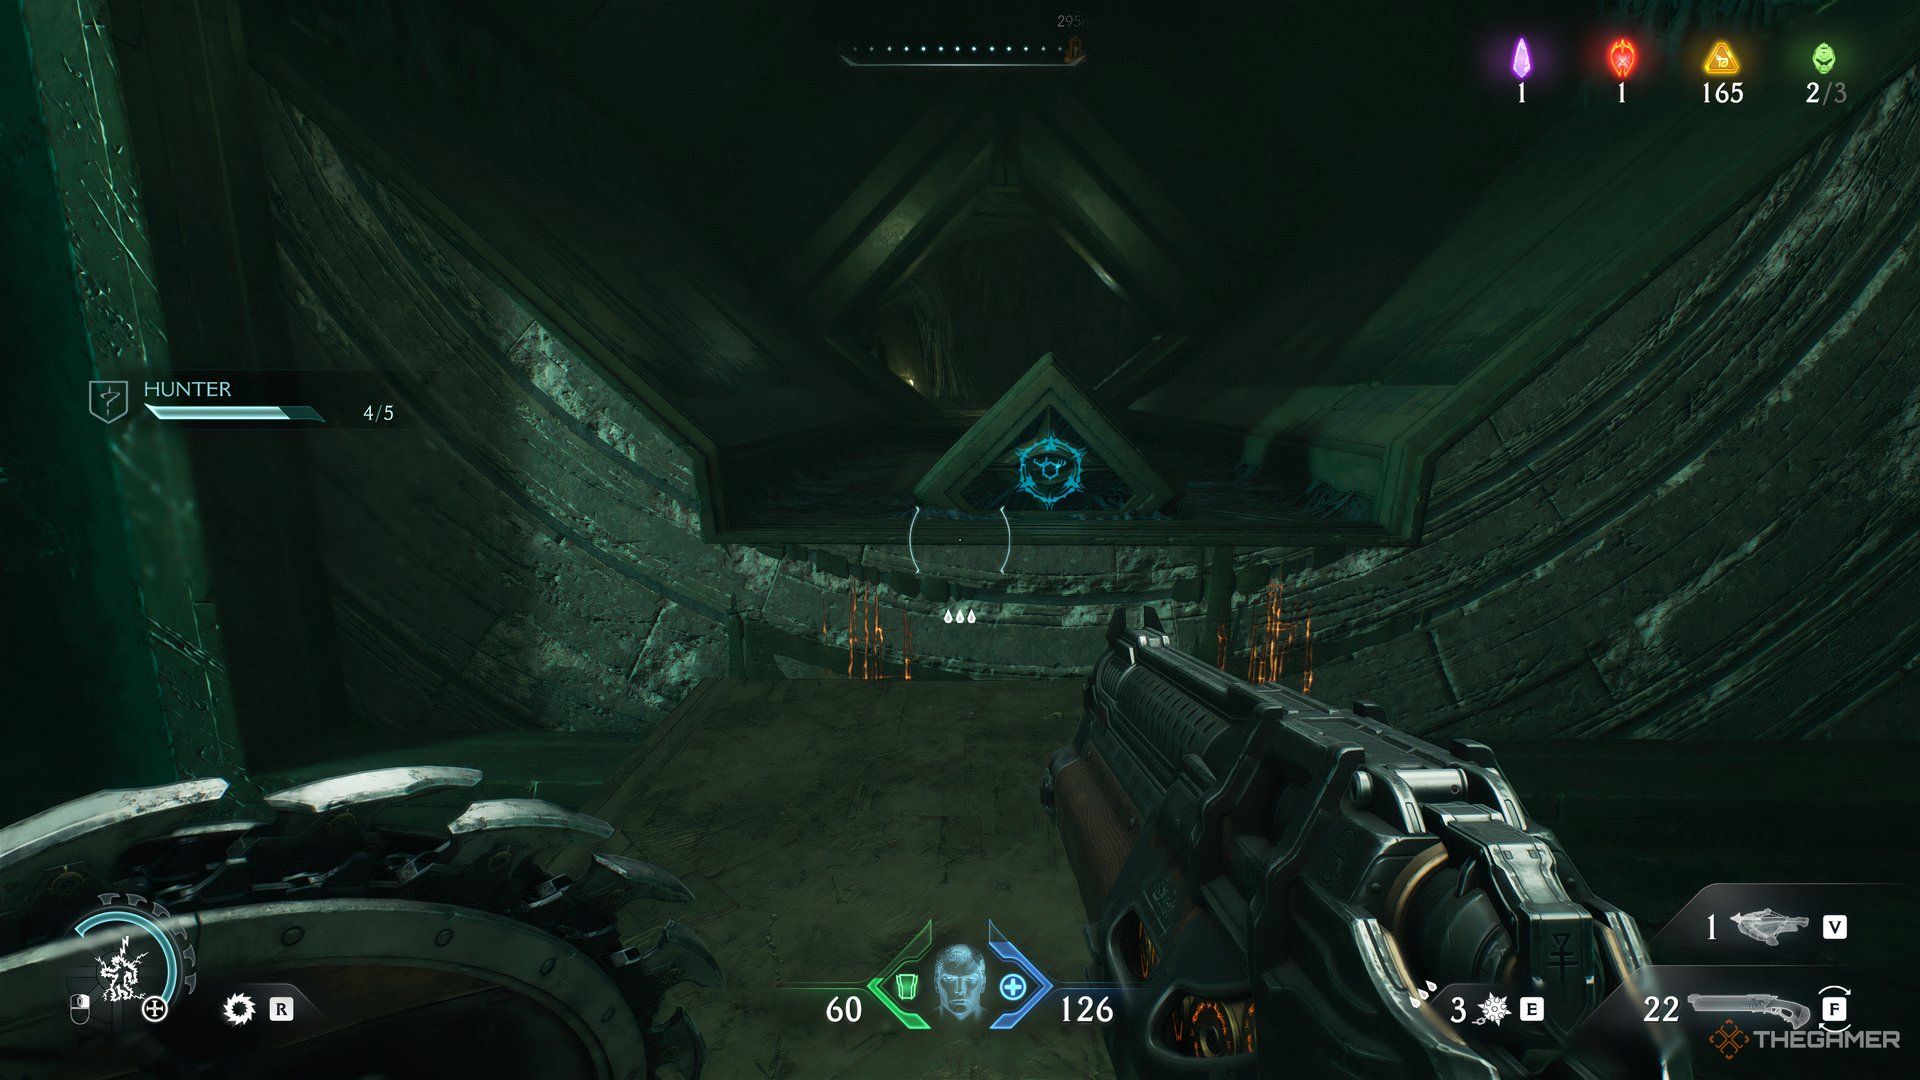
Afterward, make your way to the large entrance. Once inside, follow the path going left. You’ll end up in a room that is rotating. There will also be a shield trigger at the end of the platform you’re on.
Wait for the room to stop rotating. Then, throw your shield at the trigger point. This will cause the room to shift again. After it moves, ensure there is a block that you can easily jump onto.
You can use the image above to see what the layout of the room should be after you’ve moved it.
While on the block, turn around, and again, throw the shield at the trigger point. This will cause the room to move another time. When the room moves, balance yourself on the block because you will fall off if you don’t move around.
Now, you should be on the top right wall after the room stops rotating. From here, turn around. You’ll find a point to throw your shield and jump to. Leap across the gap, and you’ll land next to a Gold Chest. Interact with the chest, and the opening behind it lets you out.
Once outside, walk directly from the entrance. You can find the last Wolf Statue in front of a wall.
However, deal with any enemies along the way.
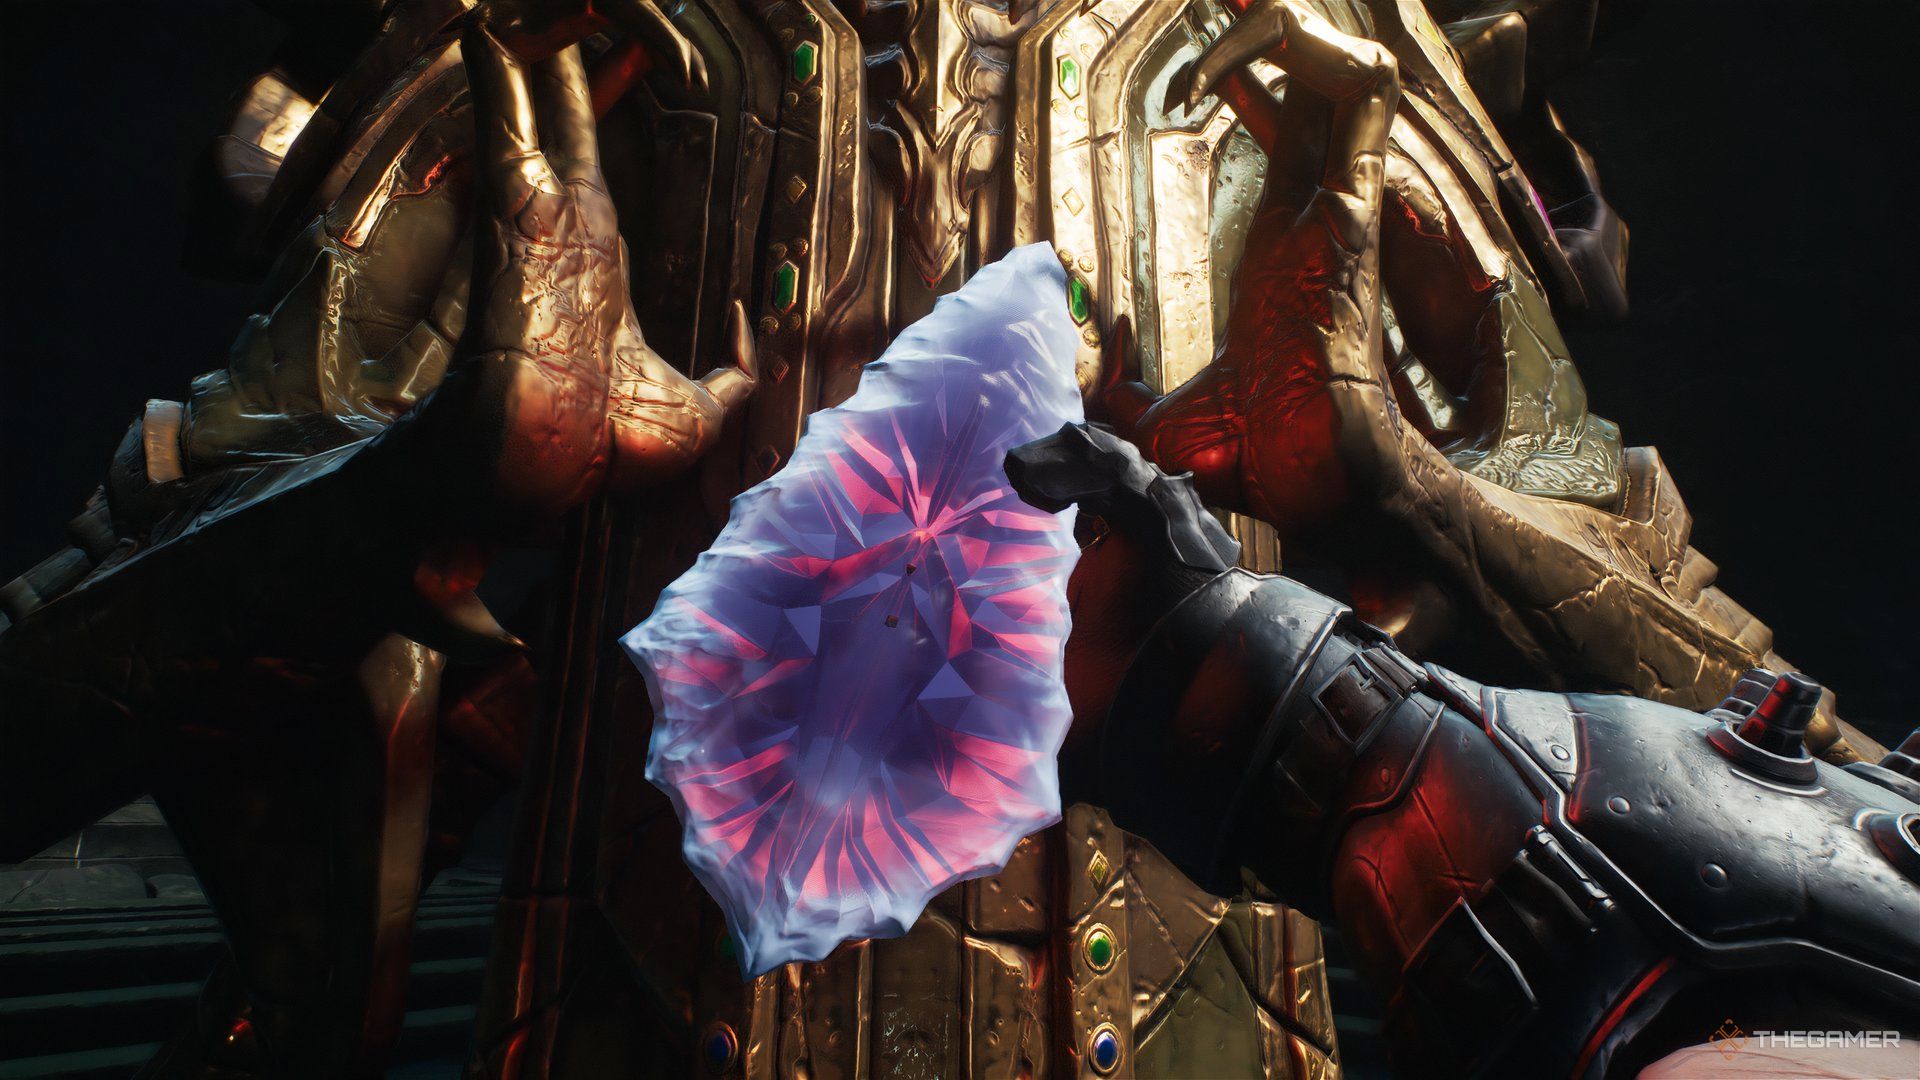
Wraithstone
To get the last collectible, make sure you have all the wolves broken down first. Assuming that’s done, head towards the story marker to the large structure. When you’re in front of it, walk in the opposite direction.
You’ll end up on an elevated platform. Drop the ledge and turn immediately around. As you walk on the platform, you’ll enter the area with the Wraithstone and five wolves, all of which should be gray by now.
Now, the Wraithstone is finally accessible. Once you have it, head back to the story marker to finish the level.
However, there will be one last wave of enemies at the very end of the level. Again, if you don’t have the Roundup challenge, this is the last time to do so. But if you don’t get it, simply retry the level.
Next
Doom: The Dark Ages – Every Secret And Collectible In The Sentinel Command Station
You will need to snake through Doom: The Dark Ages’s Sentinel Command Station in order to get every collectible. We’ll, show you the way.

