The City of Ry’uul is one of the bigger levels in DOOM: The Dark Ages. In turn, while you’re exploring this cosmic world, you might not be able to find all the secrets and collectibles. On top of that, there are several instances where you may need to backtrack, which could leave you even more confused.
Related
Doom: The Dark Ages – Every Secret And Collectible In The Forsaken Plains
Find every hidden secret and collectible in The Forsaken Plains of Doom: The Dark Ages.
Since the majority of the secrets you need to find in this level are out of the way, getting 100 percent may be a challenging task. While you can redo the mission and get everything on a second or third run, this guide will help you find every secret on your first attempt.
All Secrets And Collectibles in The City Of Ry’uul
To complete this mission, you’ll need to free a Cthulhu-like demon from its prison. This level is somewhat on the easy side because you have your entire arsenal to use now.
On the other hand, as mentioned, getting all the side items will be the difficult aspect of the mission.
The City of Ry’uul has the following secrets and collectibles you have to find:
- 182 Gold
- 2 Rubies
- 1 Wraithstone
- 2 Life Sigils
- 1 Health Demonic Essence
- 1 Armor Demonic Essence
- 10 Secrets
- 1 Codex Entry
- 1 Collectible Toy
Mission Challenges
Much like the many other missions in DOOM: The Dark Ages, you can find gold littered throughout the level. But to get the full amount of gold, you’ll need to complete the required challenges.
For The City of Ry’uul, there are three of them. All can be done at different stages of this level.
Heads Up
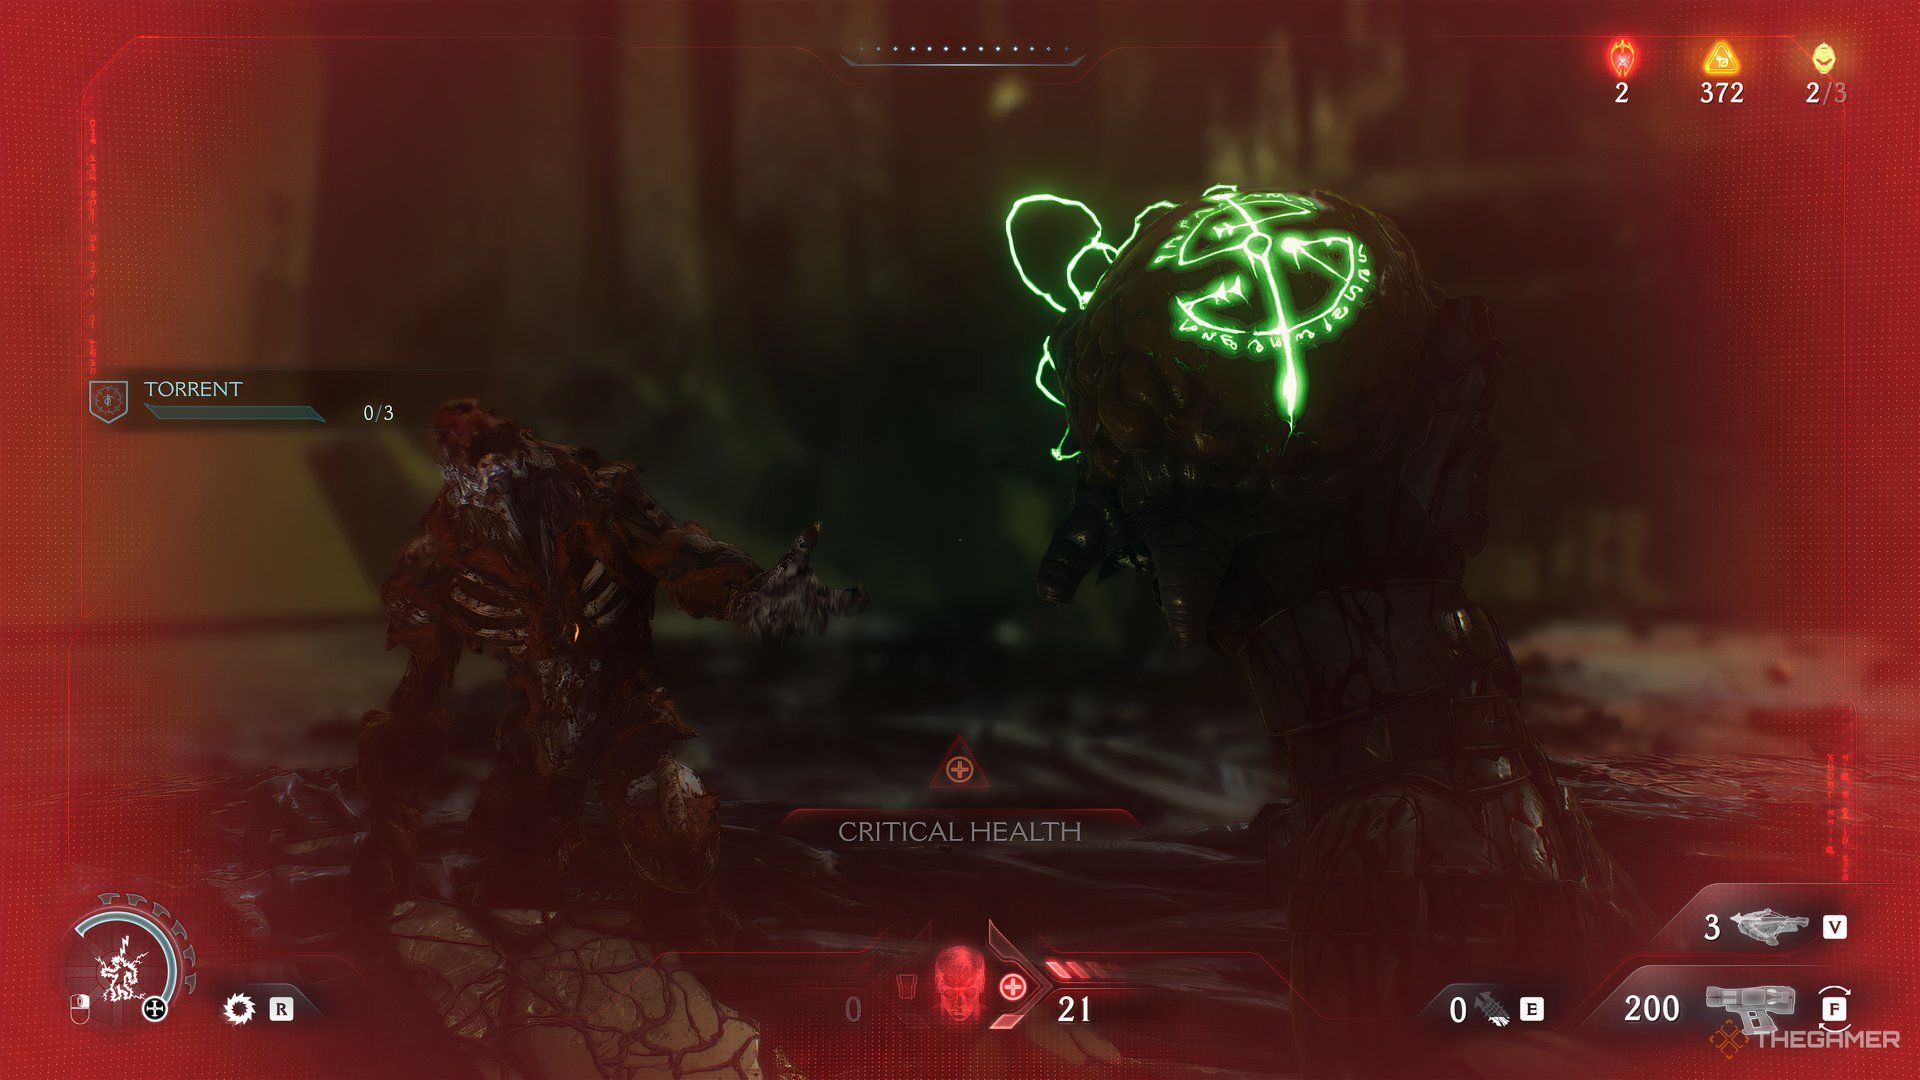
Completing this challenge will require you to parry three Cacodemons. You’ll earn about 50 gold for this.
Fire Cracker
Hurt 25 demons with the Dreadmace. This is a new melee weapon you get in the middle of the level, so you can’t miss it. It also rewards 50 gold.
Torrent
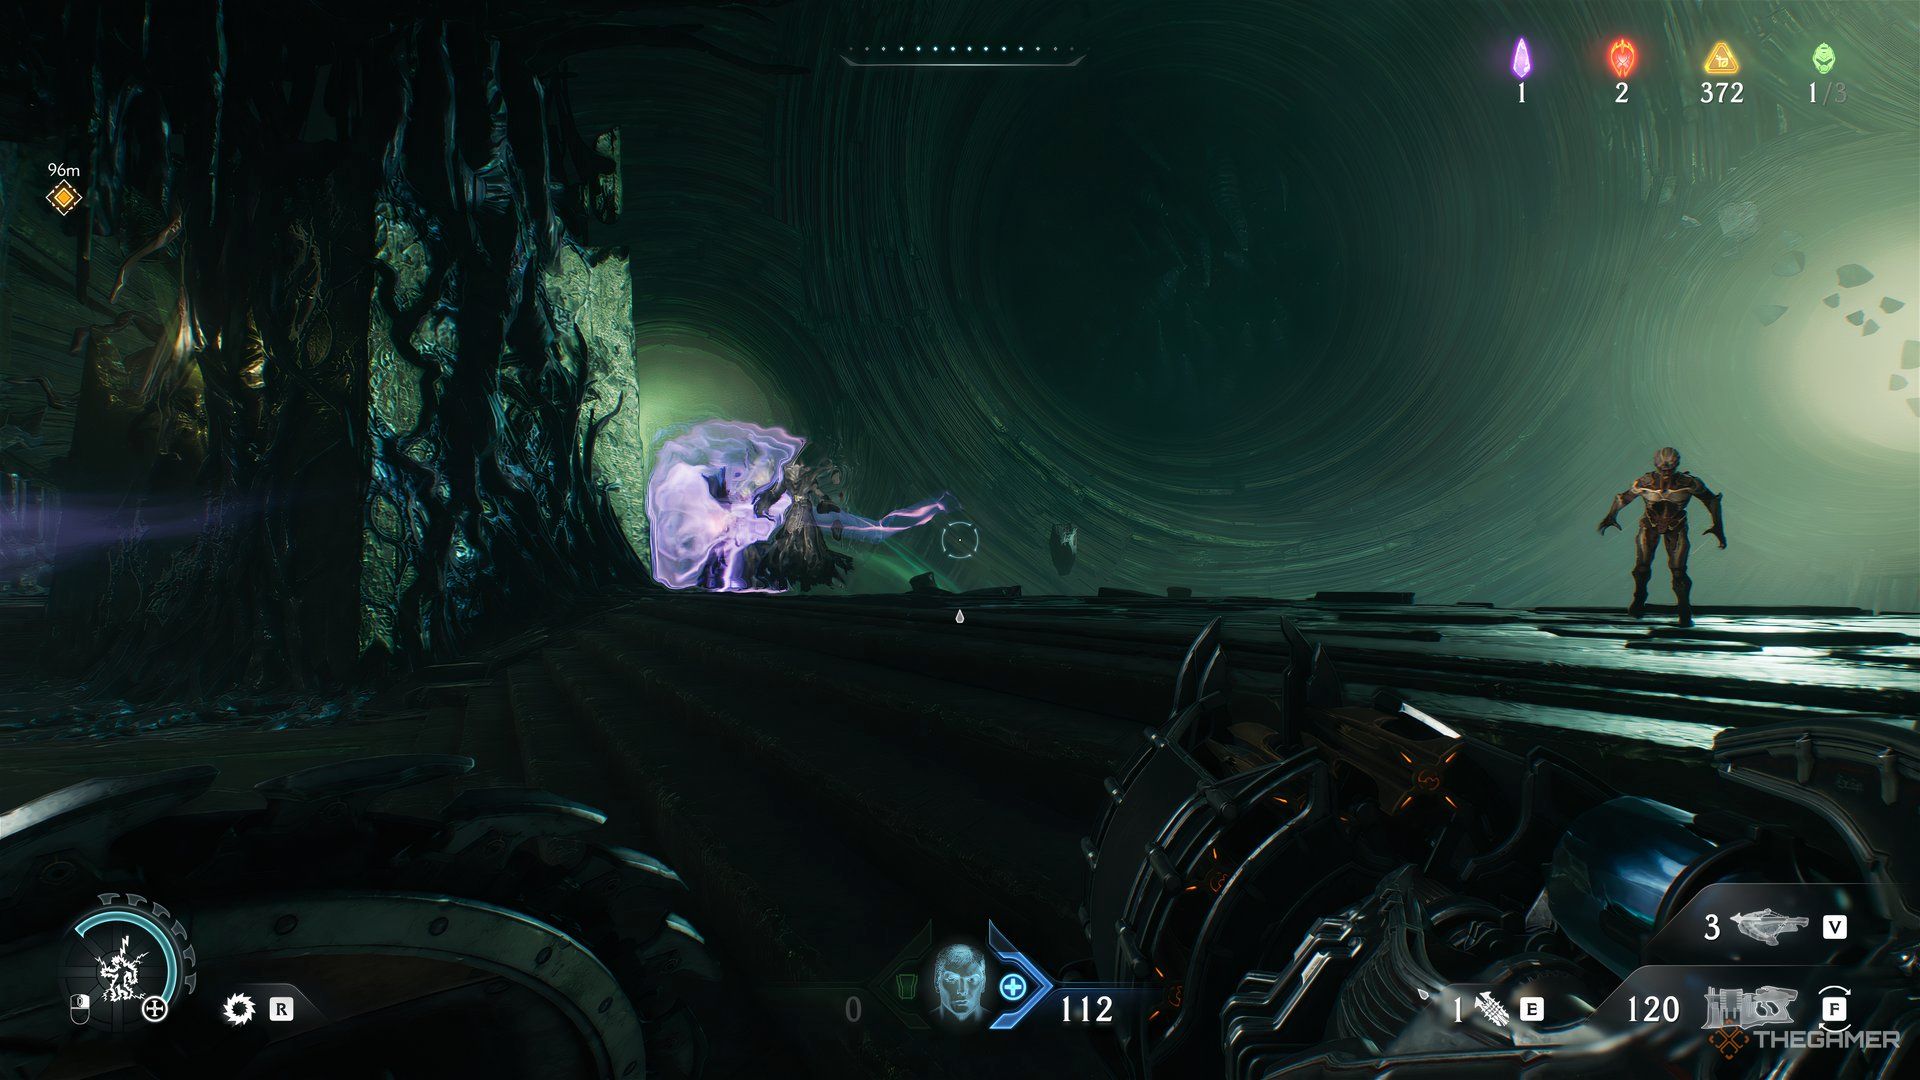
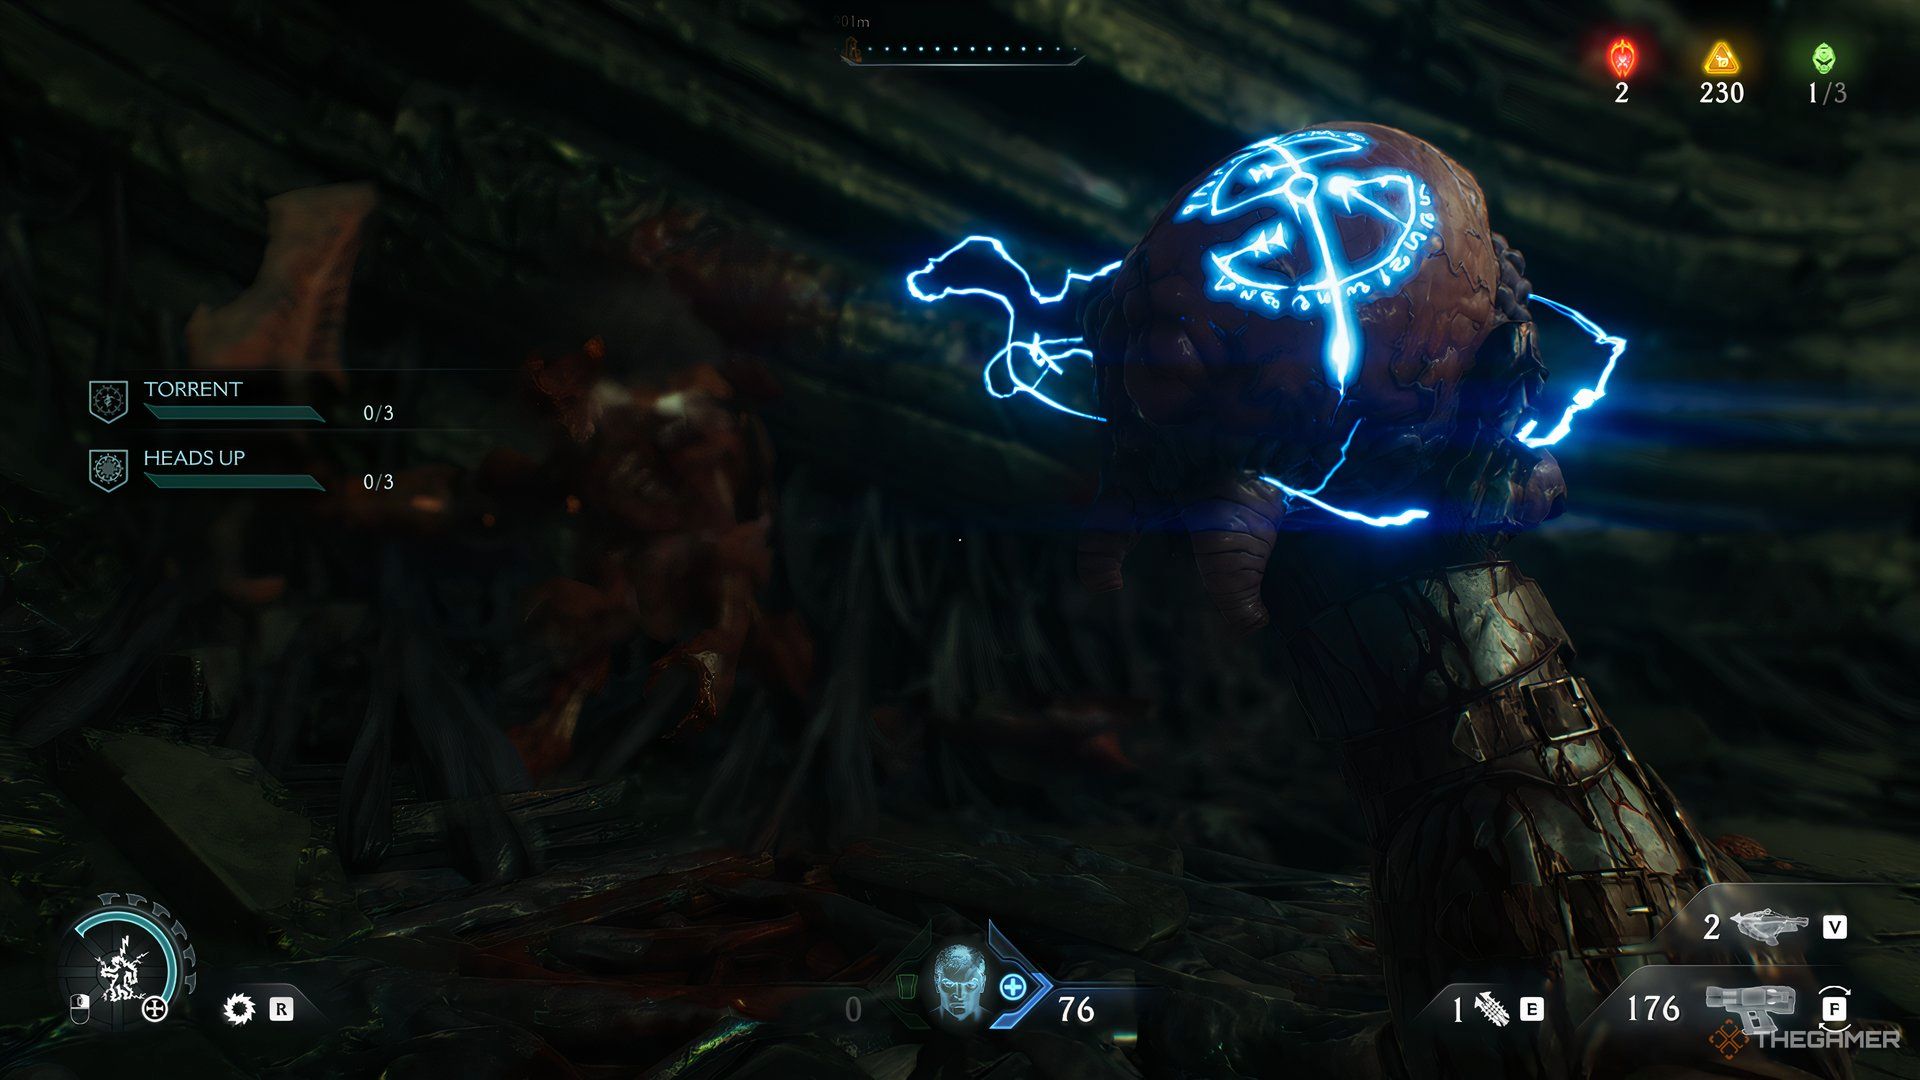
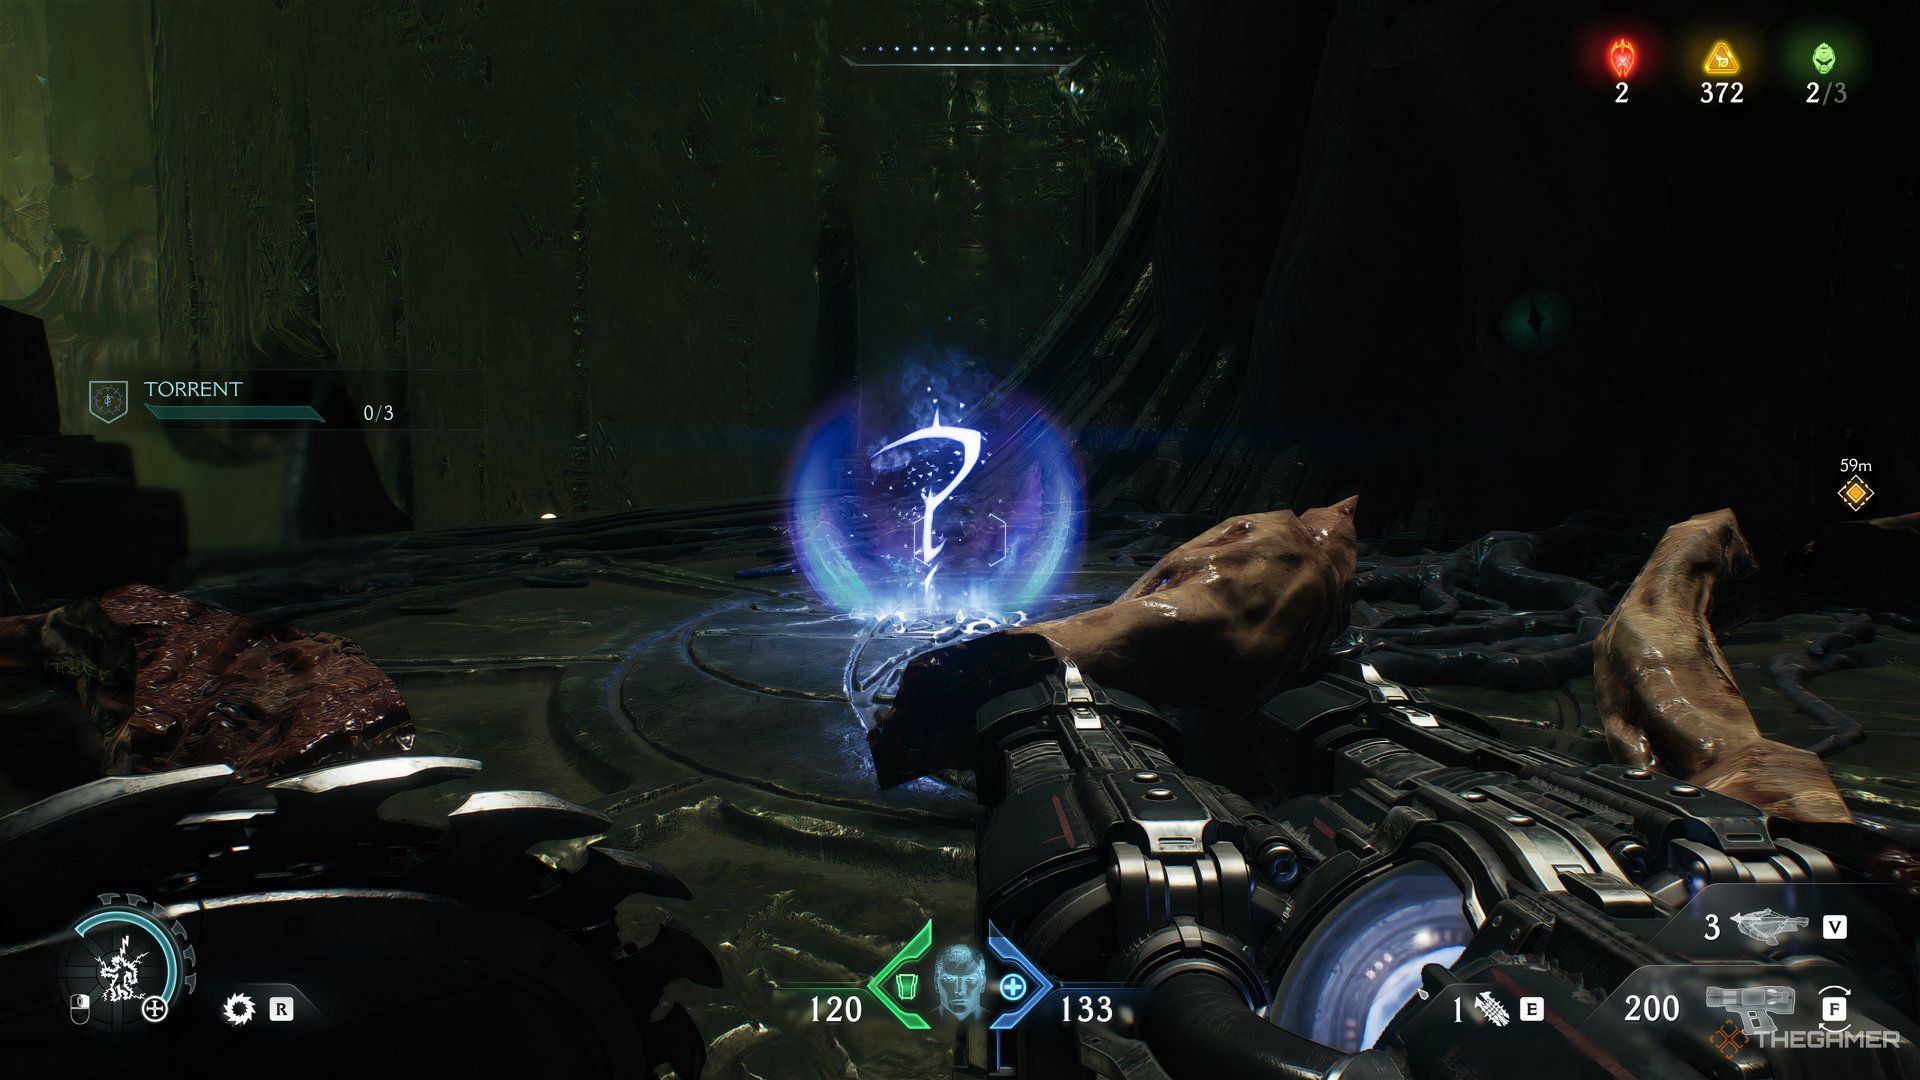
Hit eight or more demons with a stun from the Heaven Splitter shield rune. But note, you have to stun the same demons three times. Upon completion, it yields 50 more gold.
Ruby 1
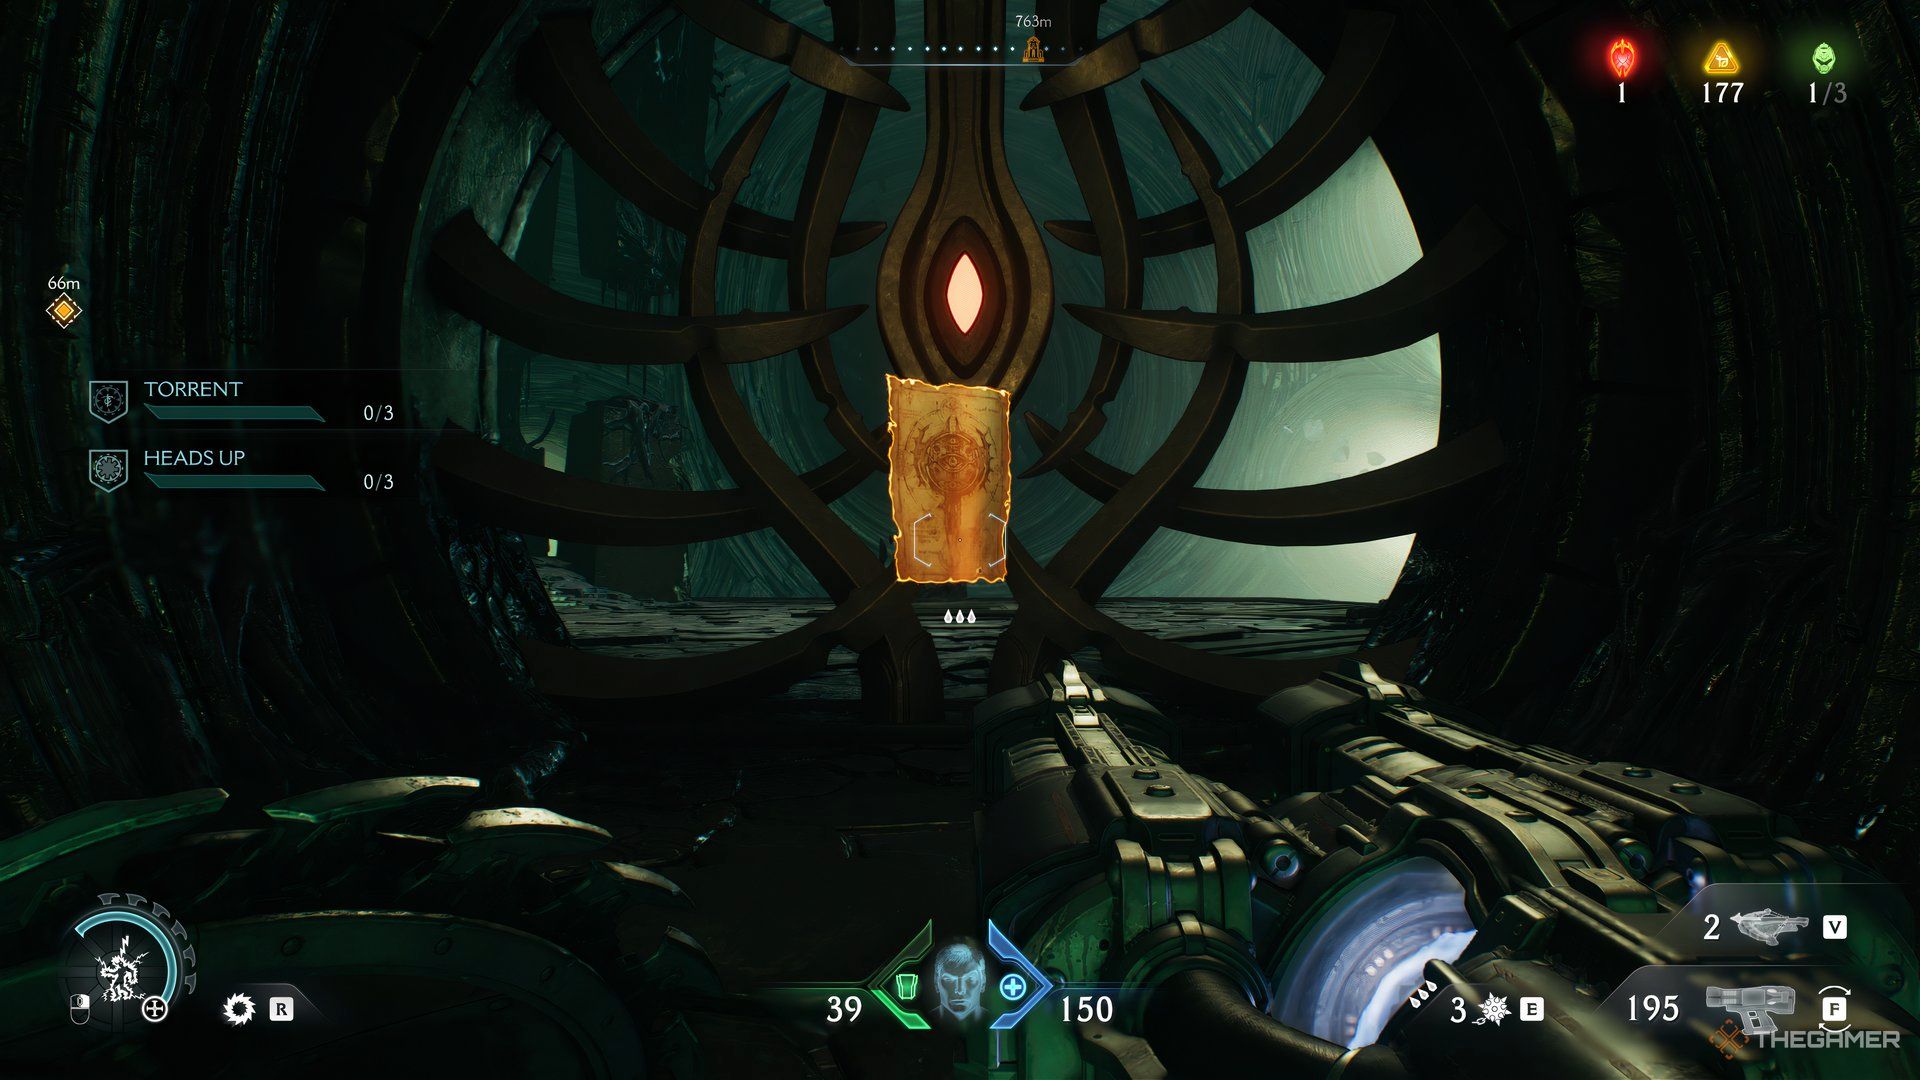
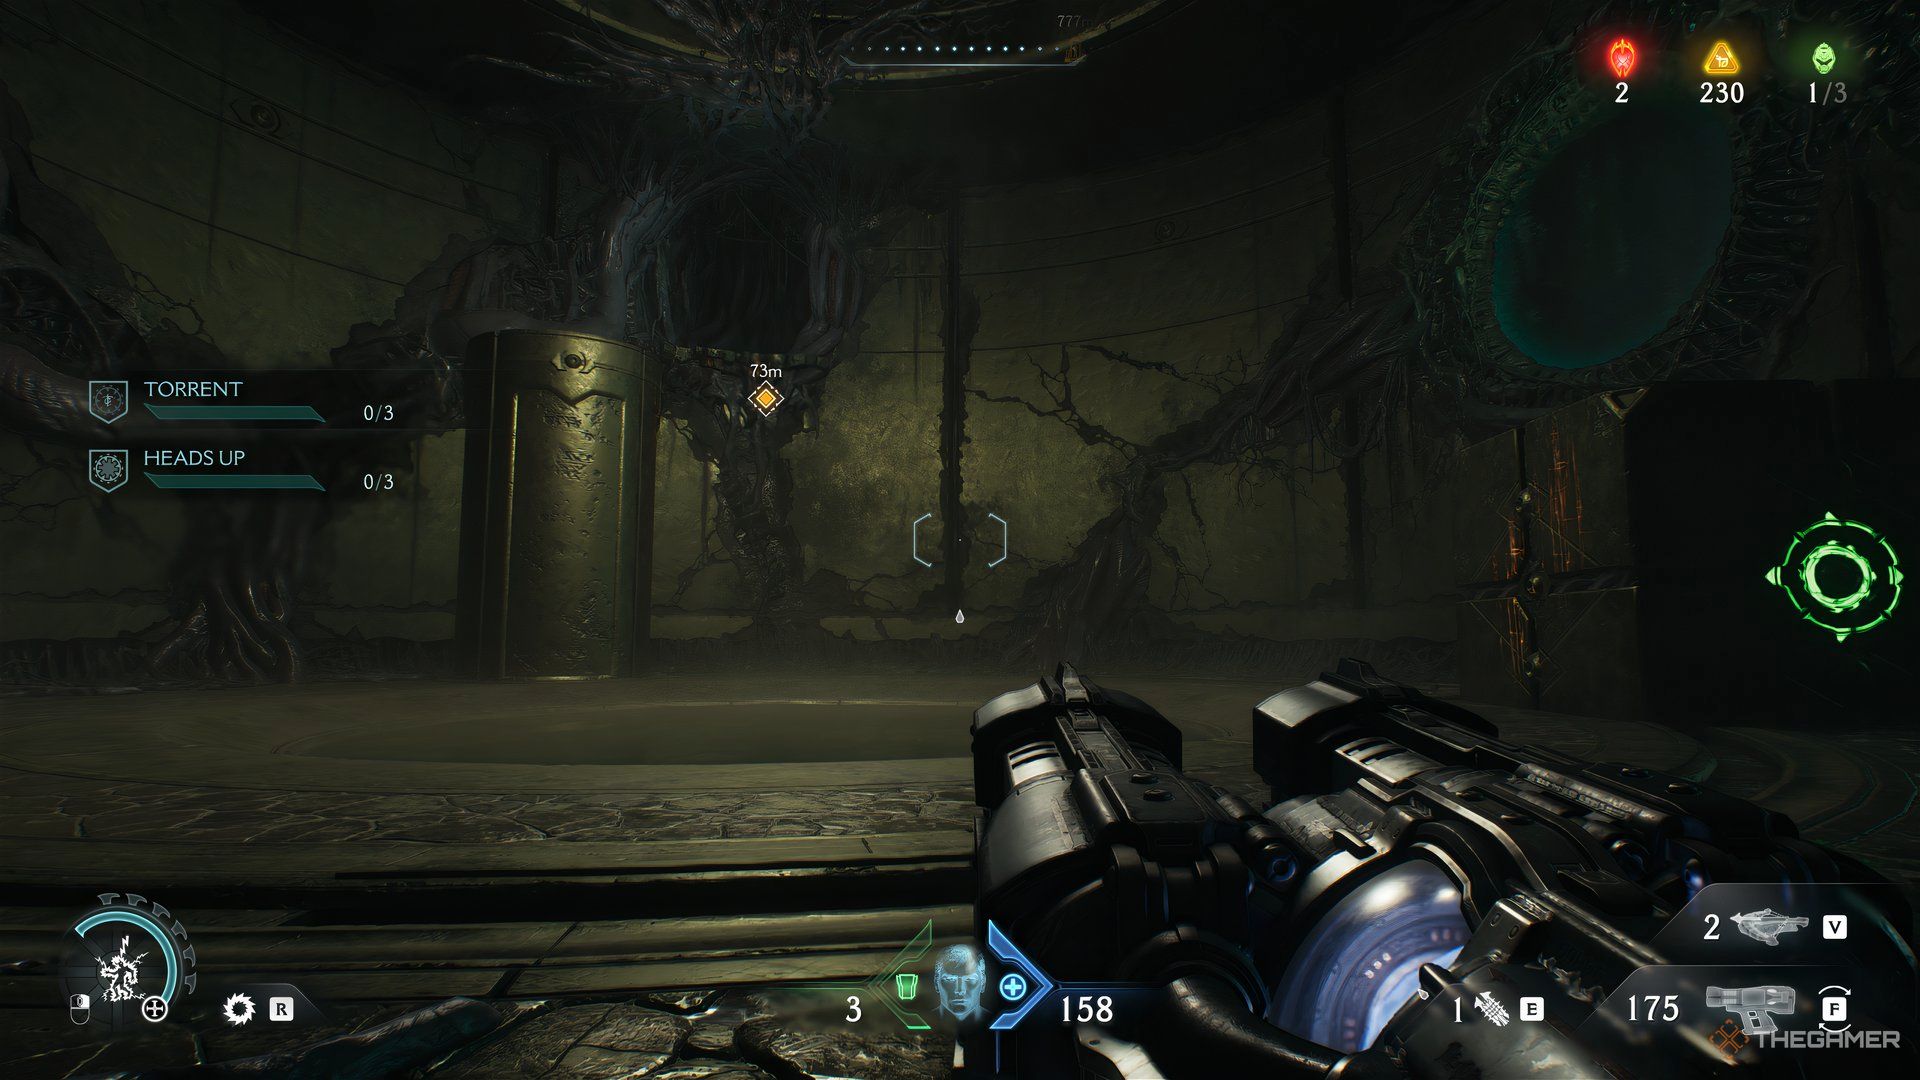
Before collecting this ruby, it would be a good idea to collect the first gold pick-ups close by. When you reach the opening of the level, you’ll enter a large open space with a door in the front. Turn right and follow the story marker.
This will take you to a platform that has a shield dash point, allowing you to jump to the other side. However, before jumping through, look down from the ledge. There will be a spot where you can use your shield dash to access it.
After you make it through, enter the room, but turn around and look up as soon as you go in. You’ll see a point where you can throw your shield at and jump to. Once you make it to the upper platform, turn around again and jump across to the elevator.
As you make it up the elevator shaft, look to your left. There will be a pile of gold. On the right is a monolith, allowing you to exit the room.
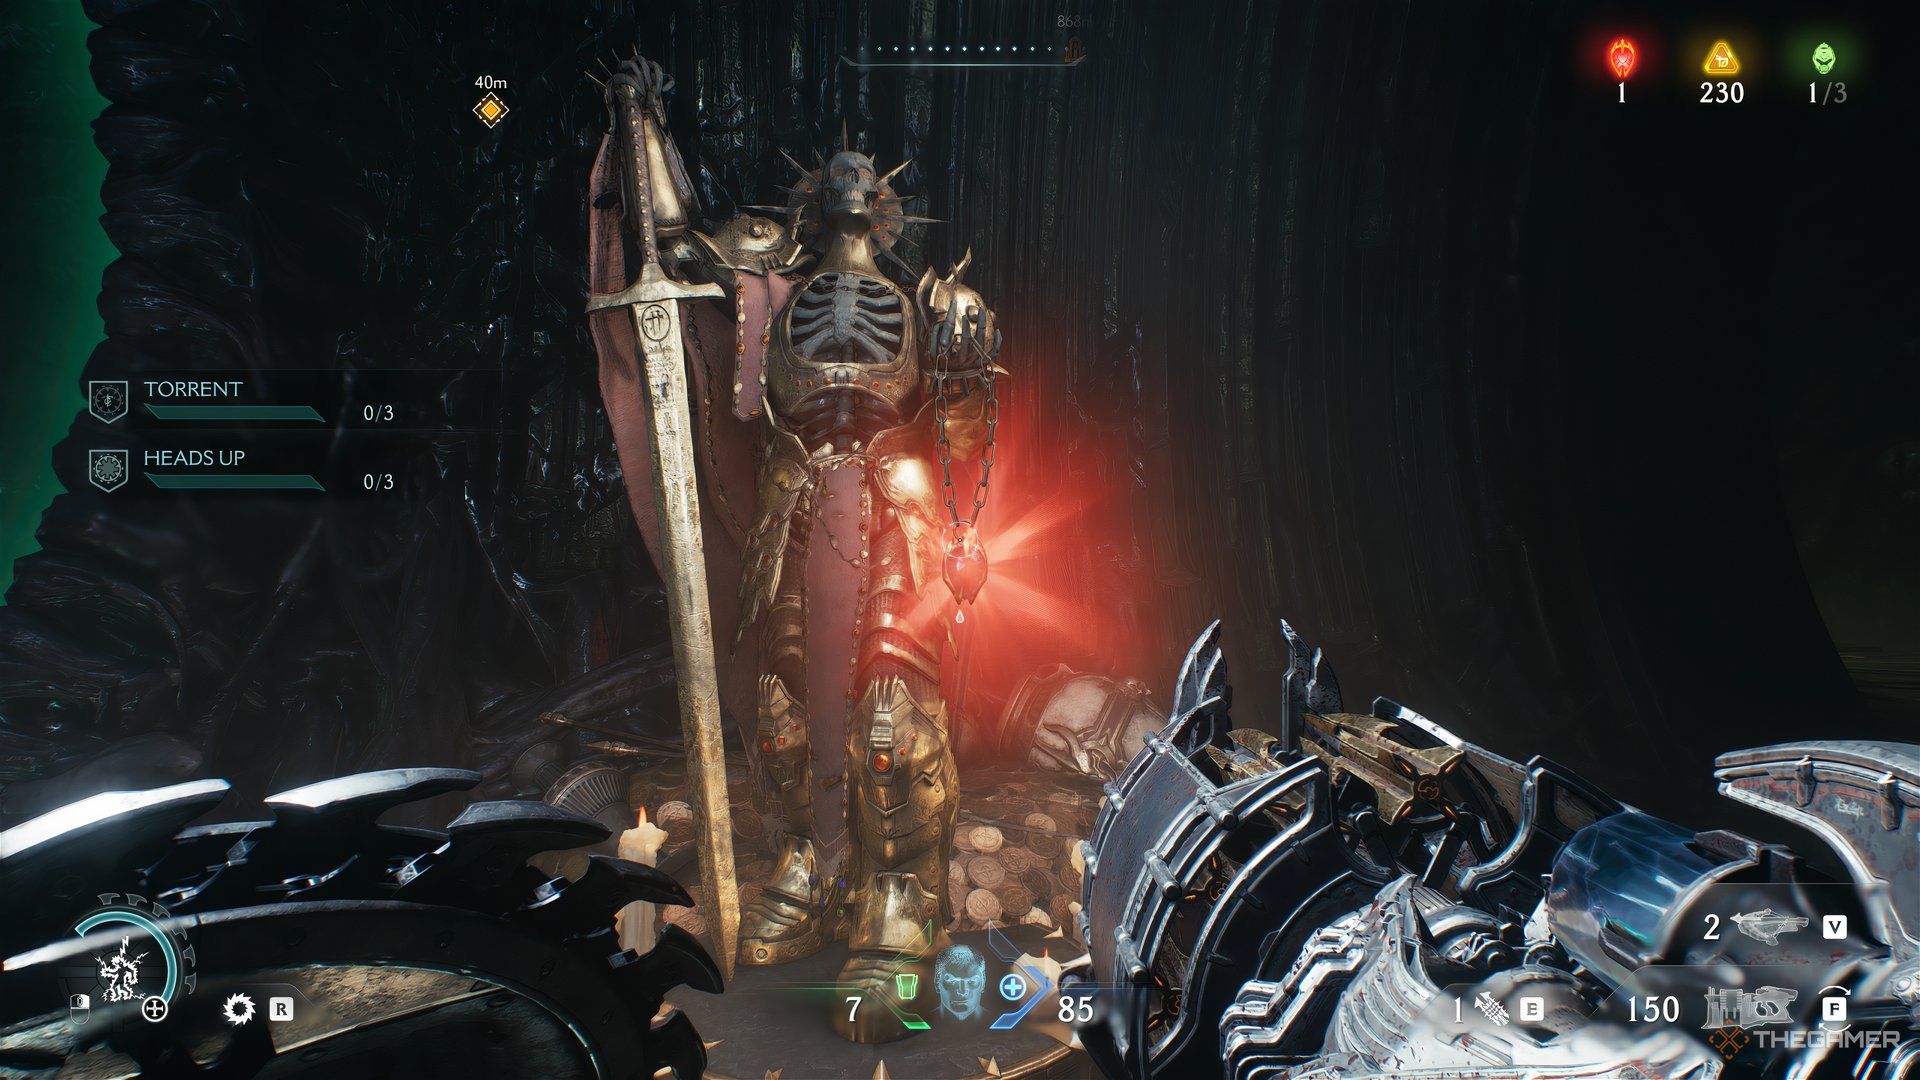
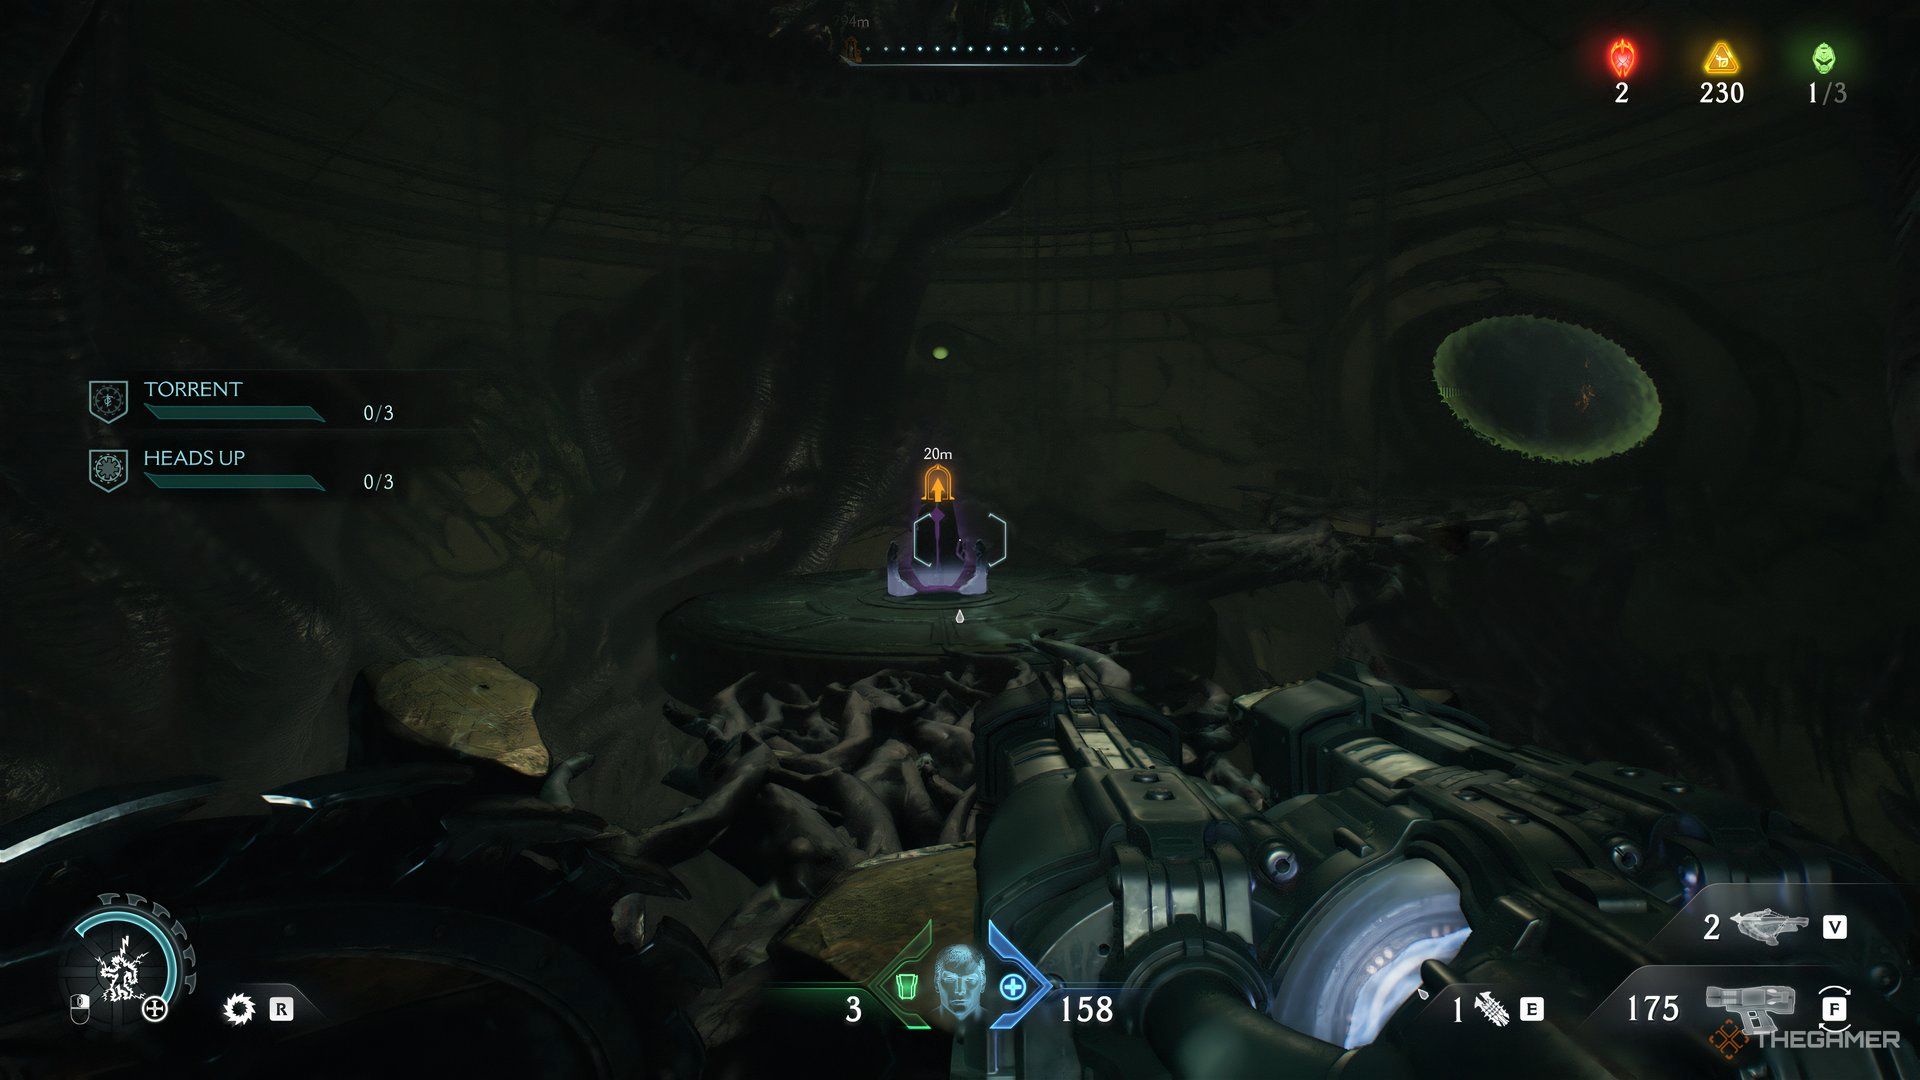
When you pick the gold and interact with the monolith, you’ll get sent back to the level’s opening with the large door. From here, head straight; there will be a jump pad on the opposite side of your position. Once you’re at the top, look left, and the first ruby will be held by a statue.
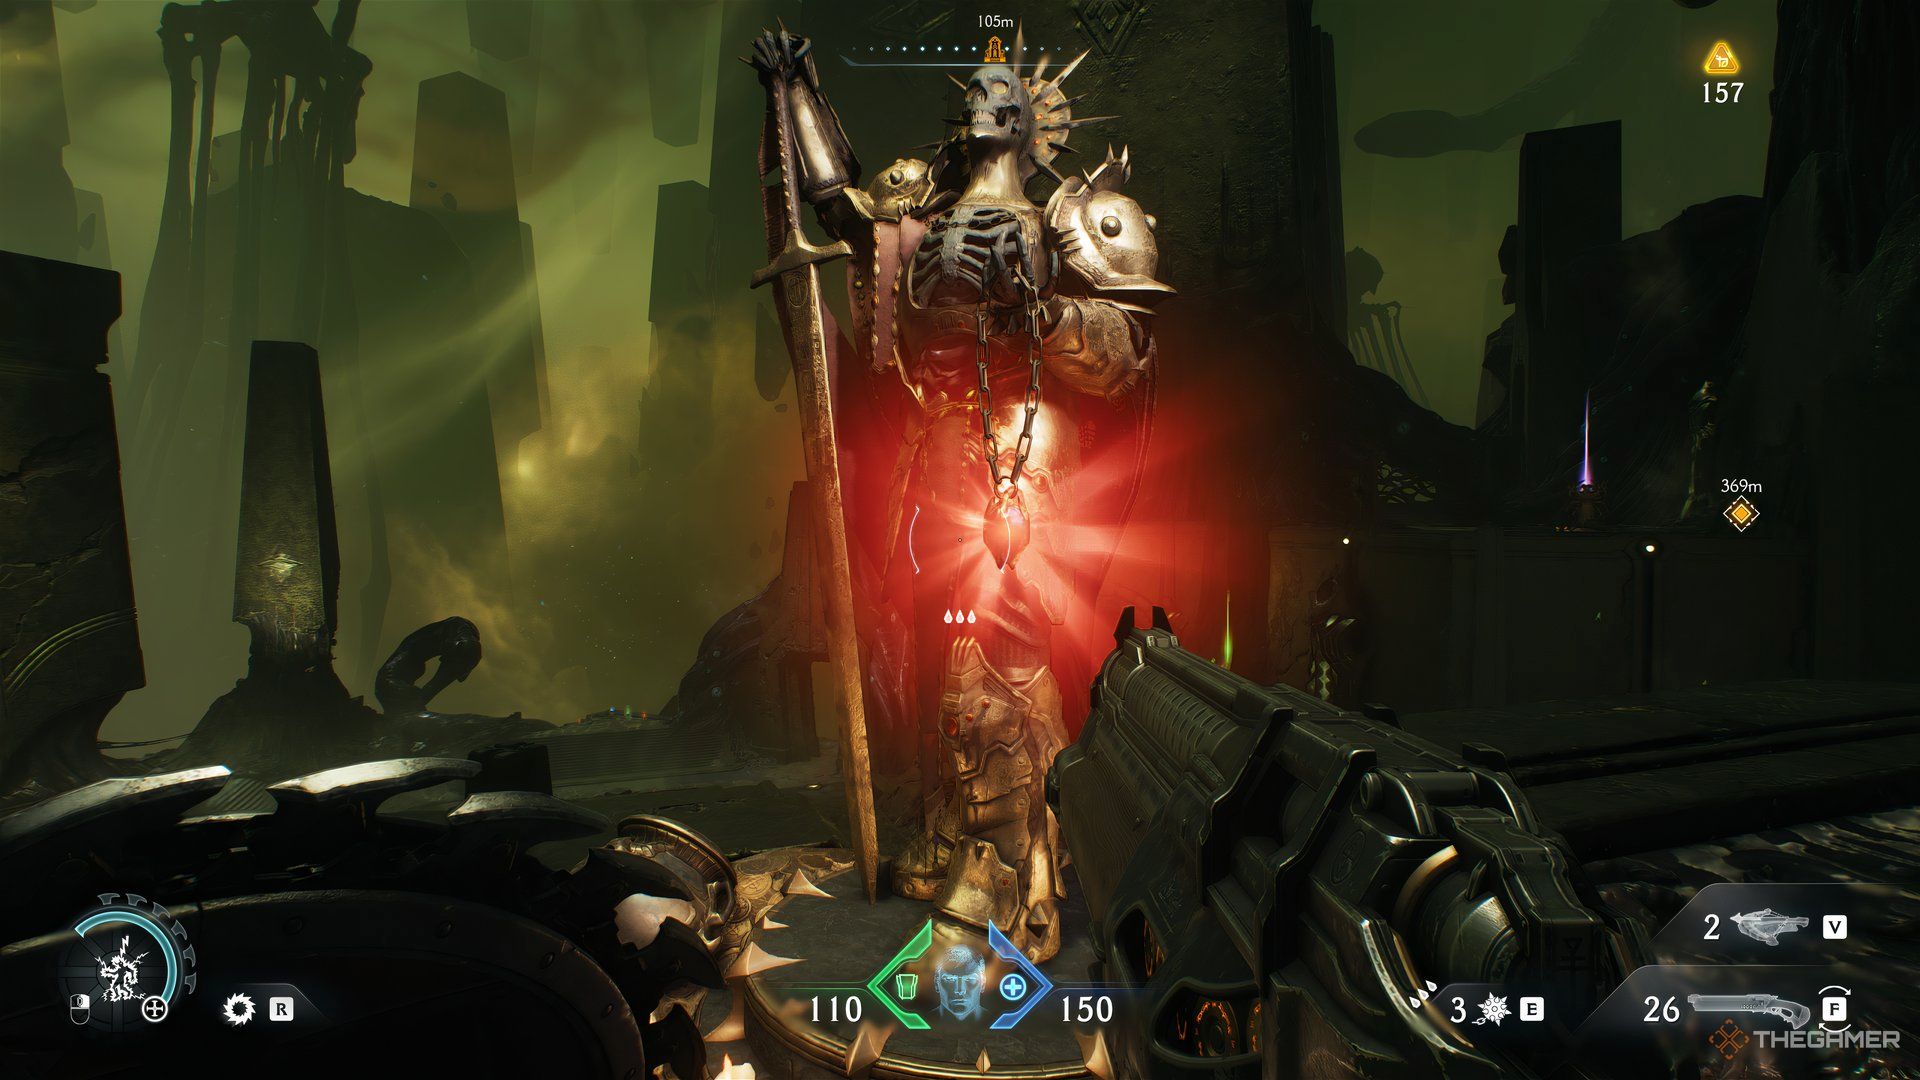
You just have to interact with the statue to get the ruby.
Life Sigil 1
Now that you have the first ruby, jump down and make your way to the story marker. You can follow the path by jumping through the first shield dash point to make it to the other ledge.
After you land on the other side, keep following the story marker by going straight and climbing the wall. This will lead you to a hallway with another open space and a shield dash at the end.
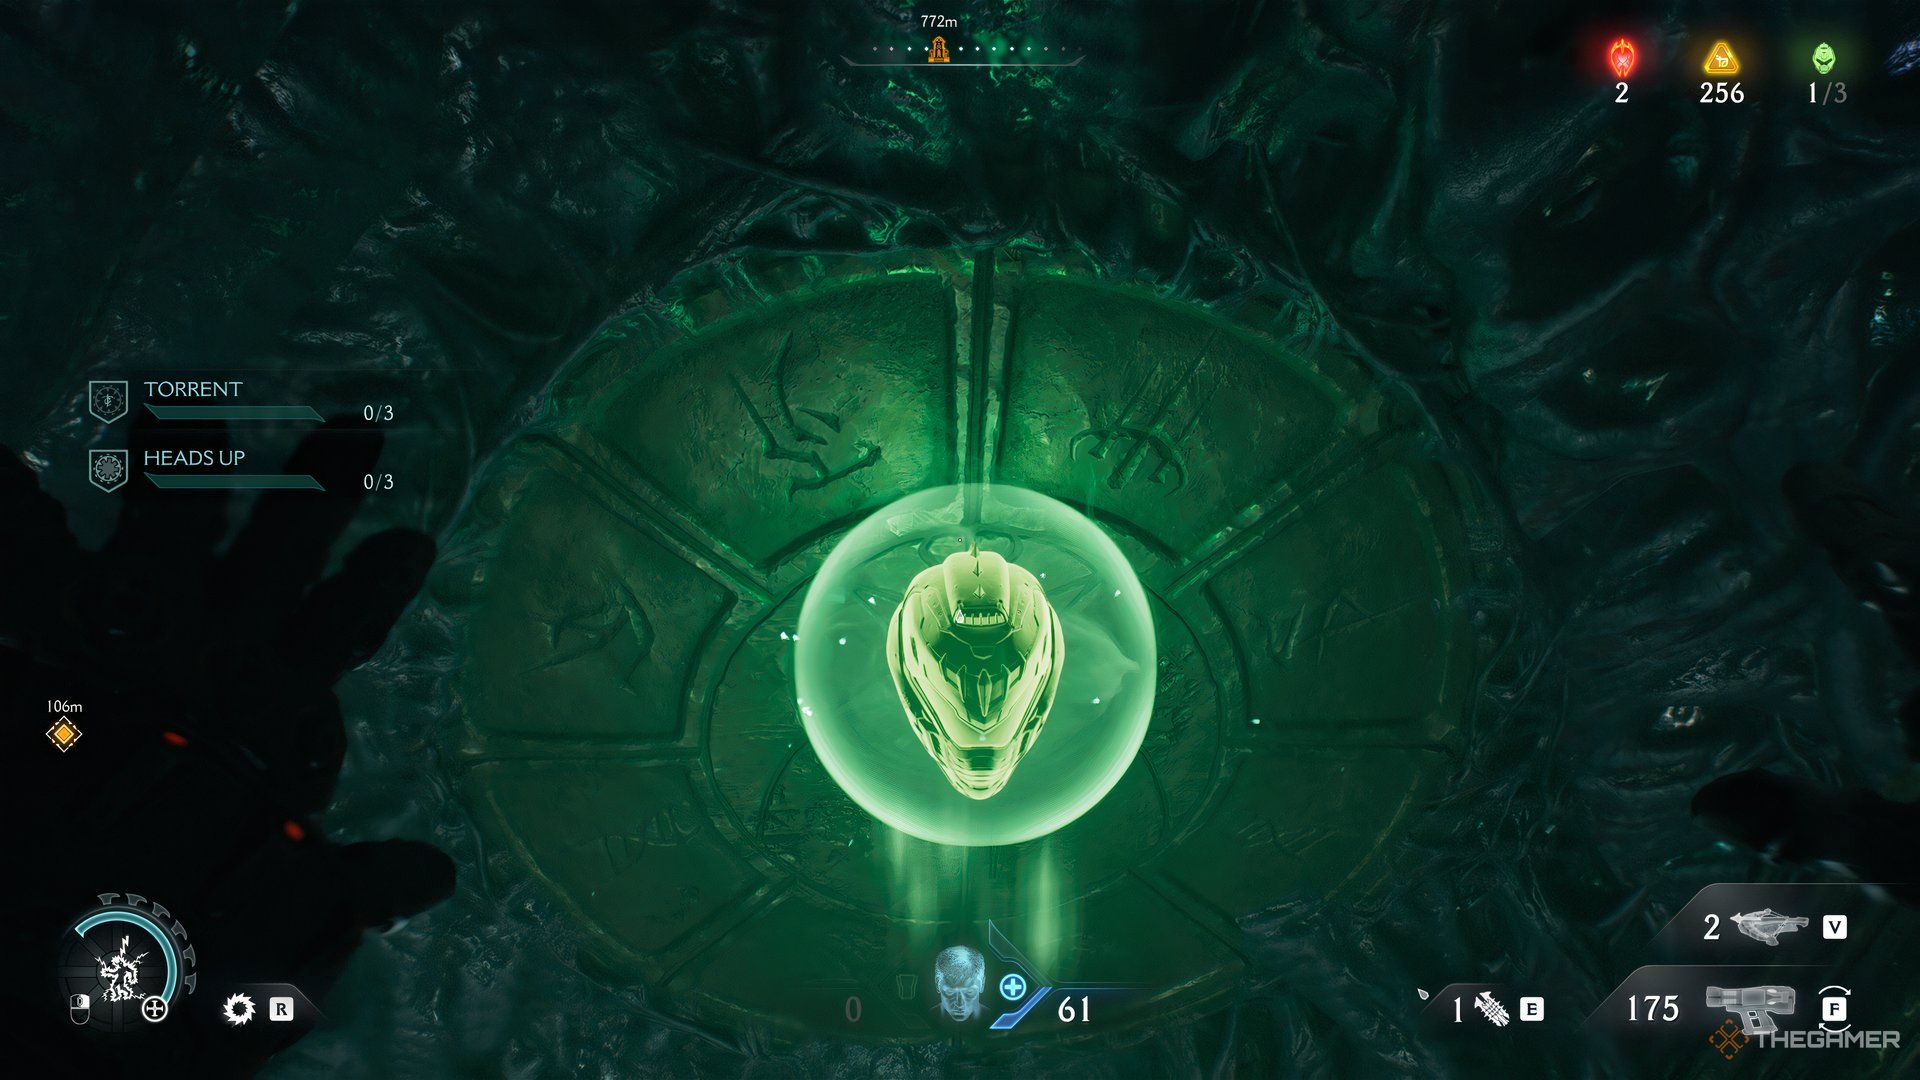
When you leave the hallway, immediately turn left. Go all the way to the ledge and drop. There will be tons of gold on the path. At the end of this path, you can find the first Life Sigil.
Make sure you’re ready to fight in this small hallway, as large tentacle monsters will attack you from the ground.
Just beyond the Life Sigil, there will be a door to lead you out. You’re going to end up on the same platform you were on after the first shield dash.
Codex
From here, go back to the same path you used with the wall to climb on. Take the shield dash point to make it to another ledge, and then turn left. However, instead of using the shield dash point on the left, keep straight and jump down.
Collect all the gold here. Once that’s done, turn around and climb up again.
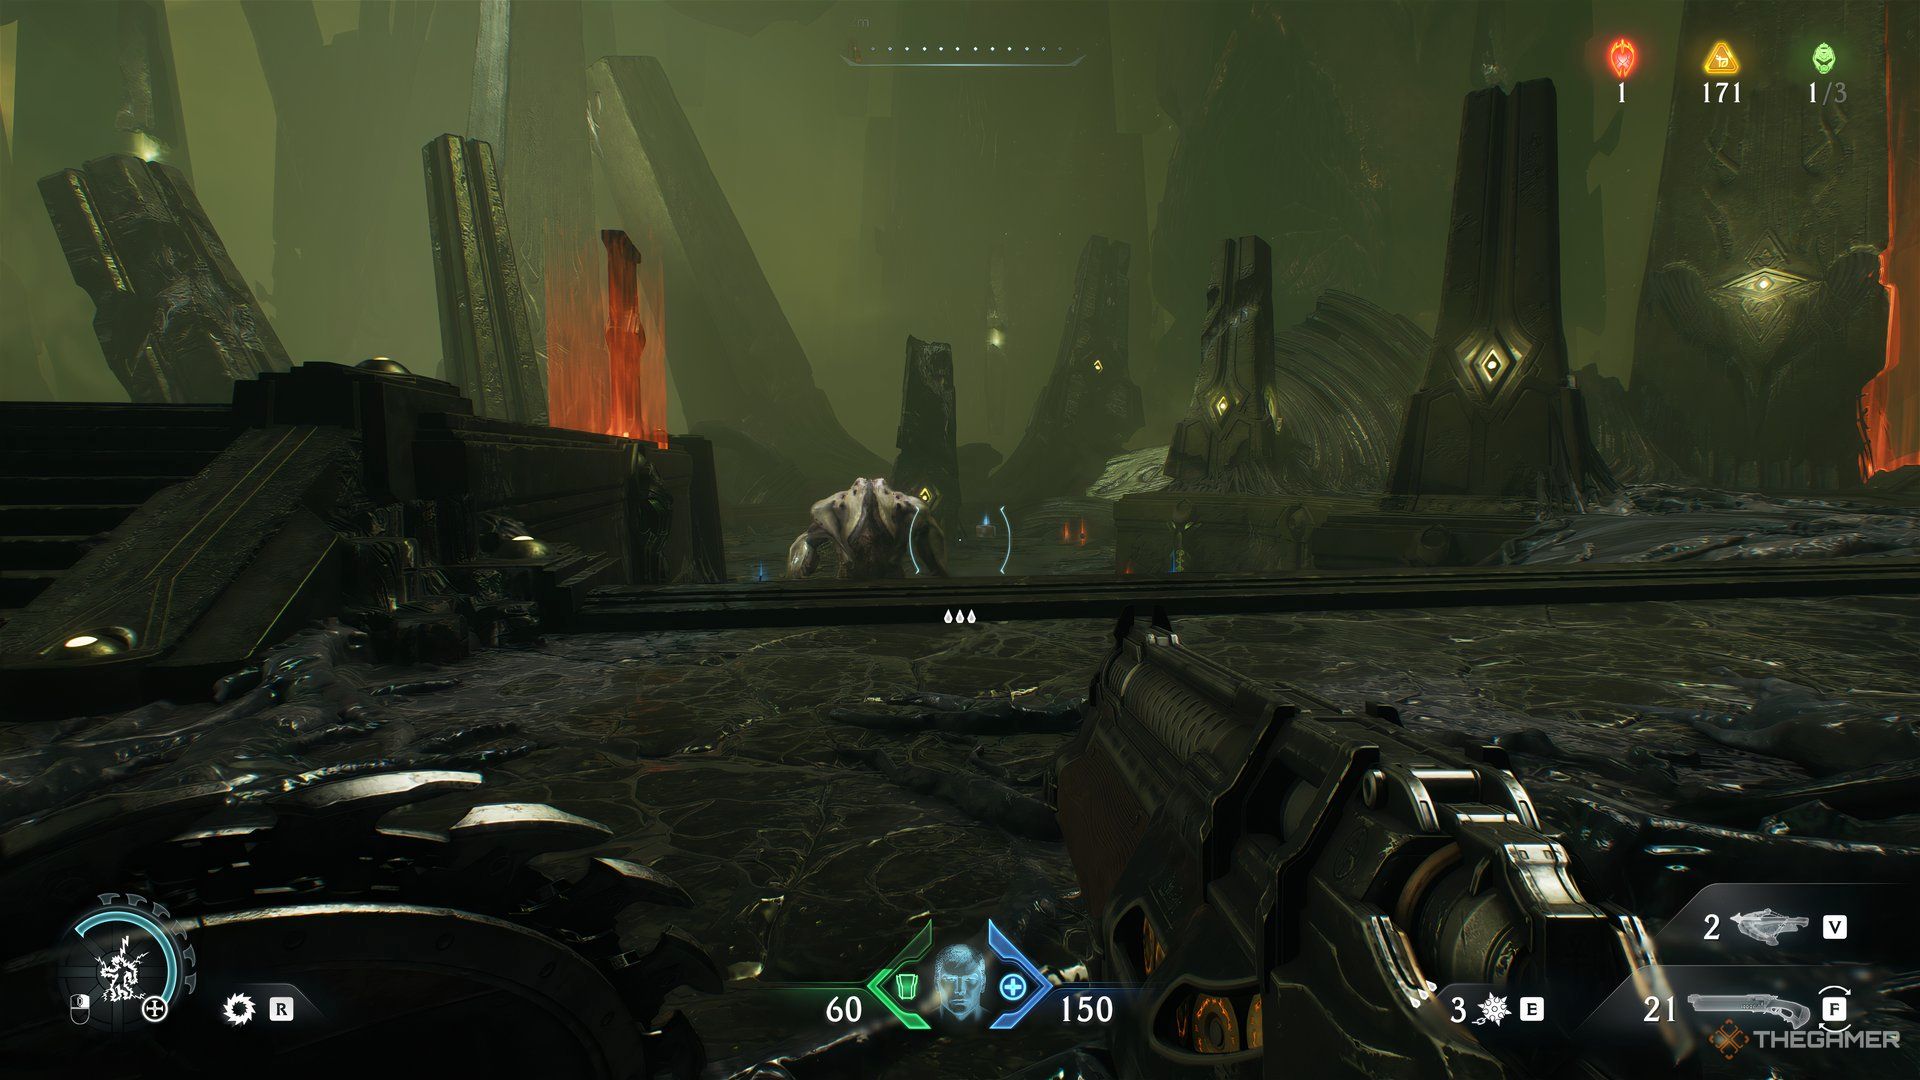
At the top, keep following the story marker to your first battle. The Agaddon Hunter is featured in this fight. You can easily defeat it by parrying the attacks and using the Super Shotgun.
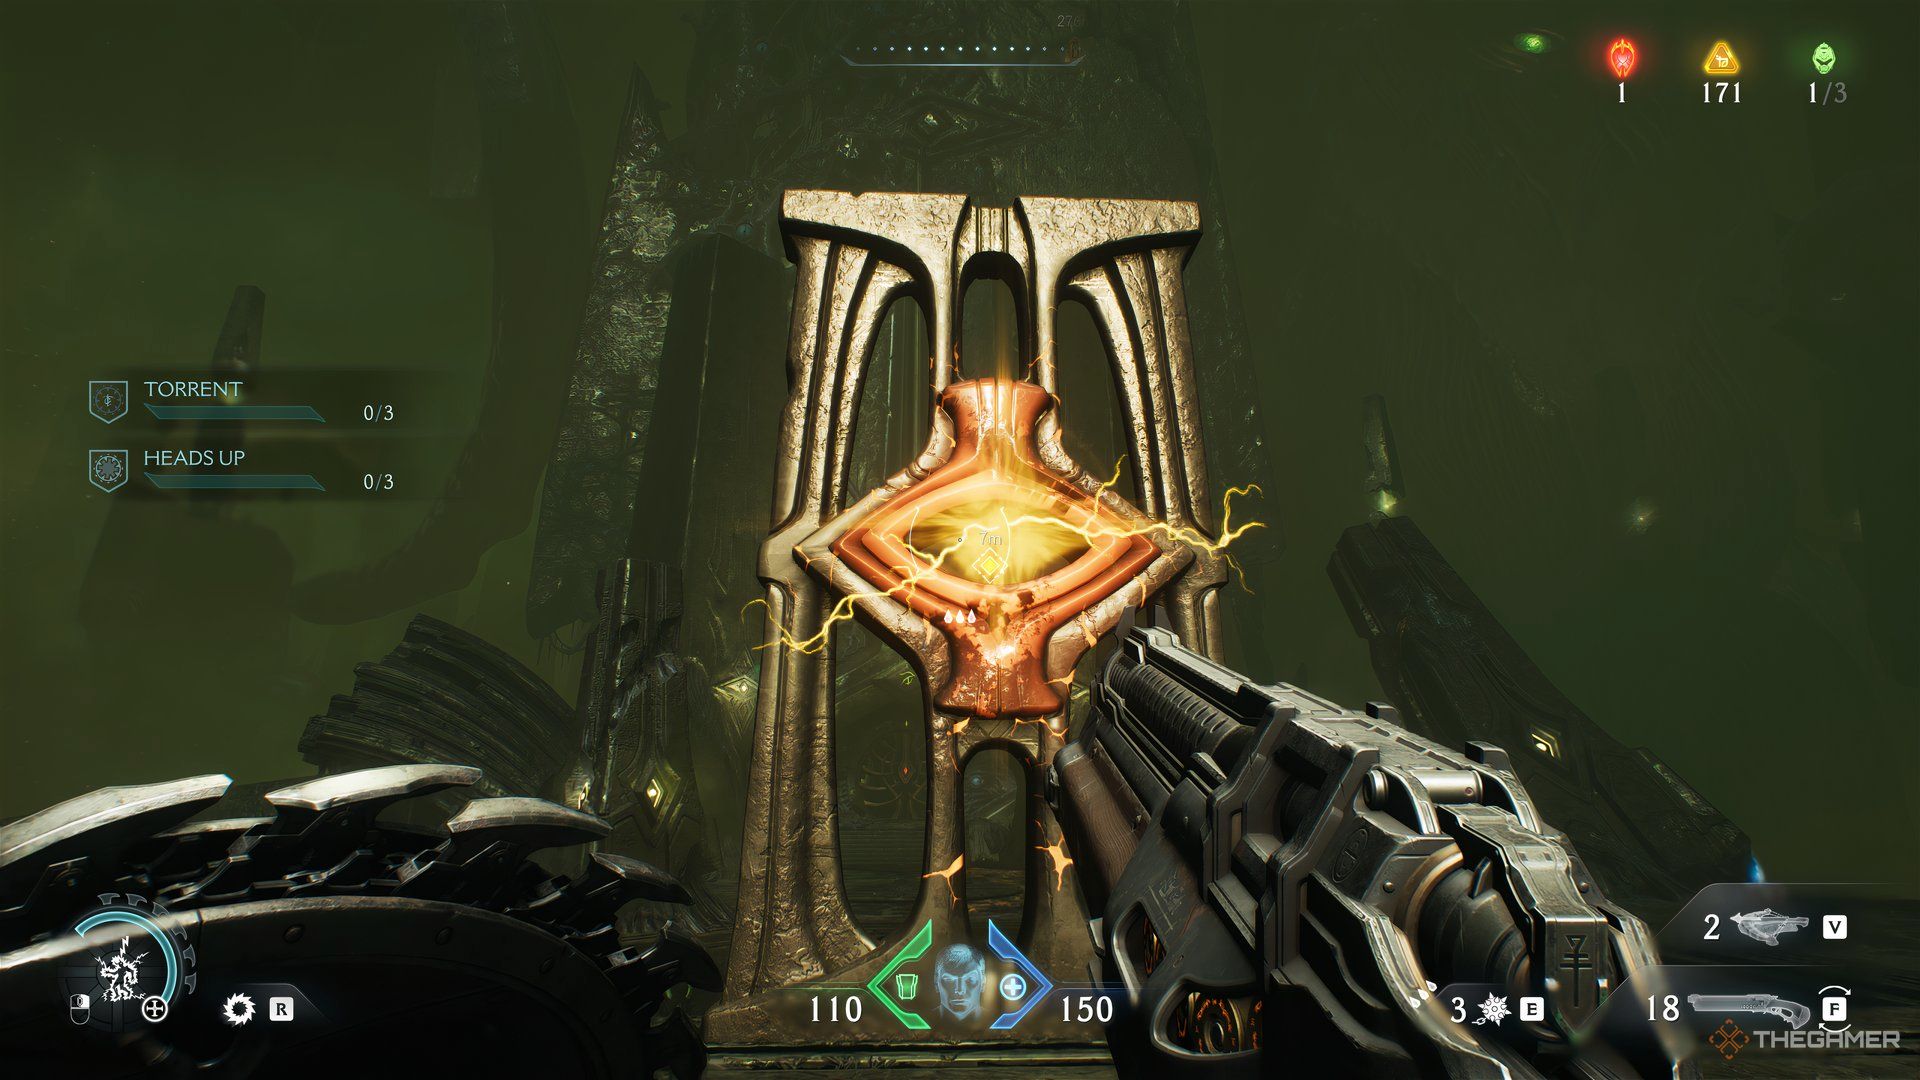
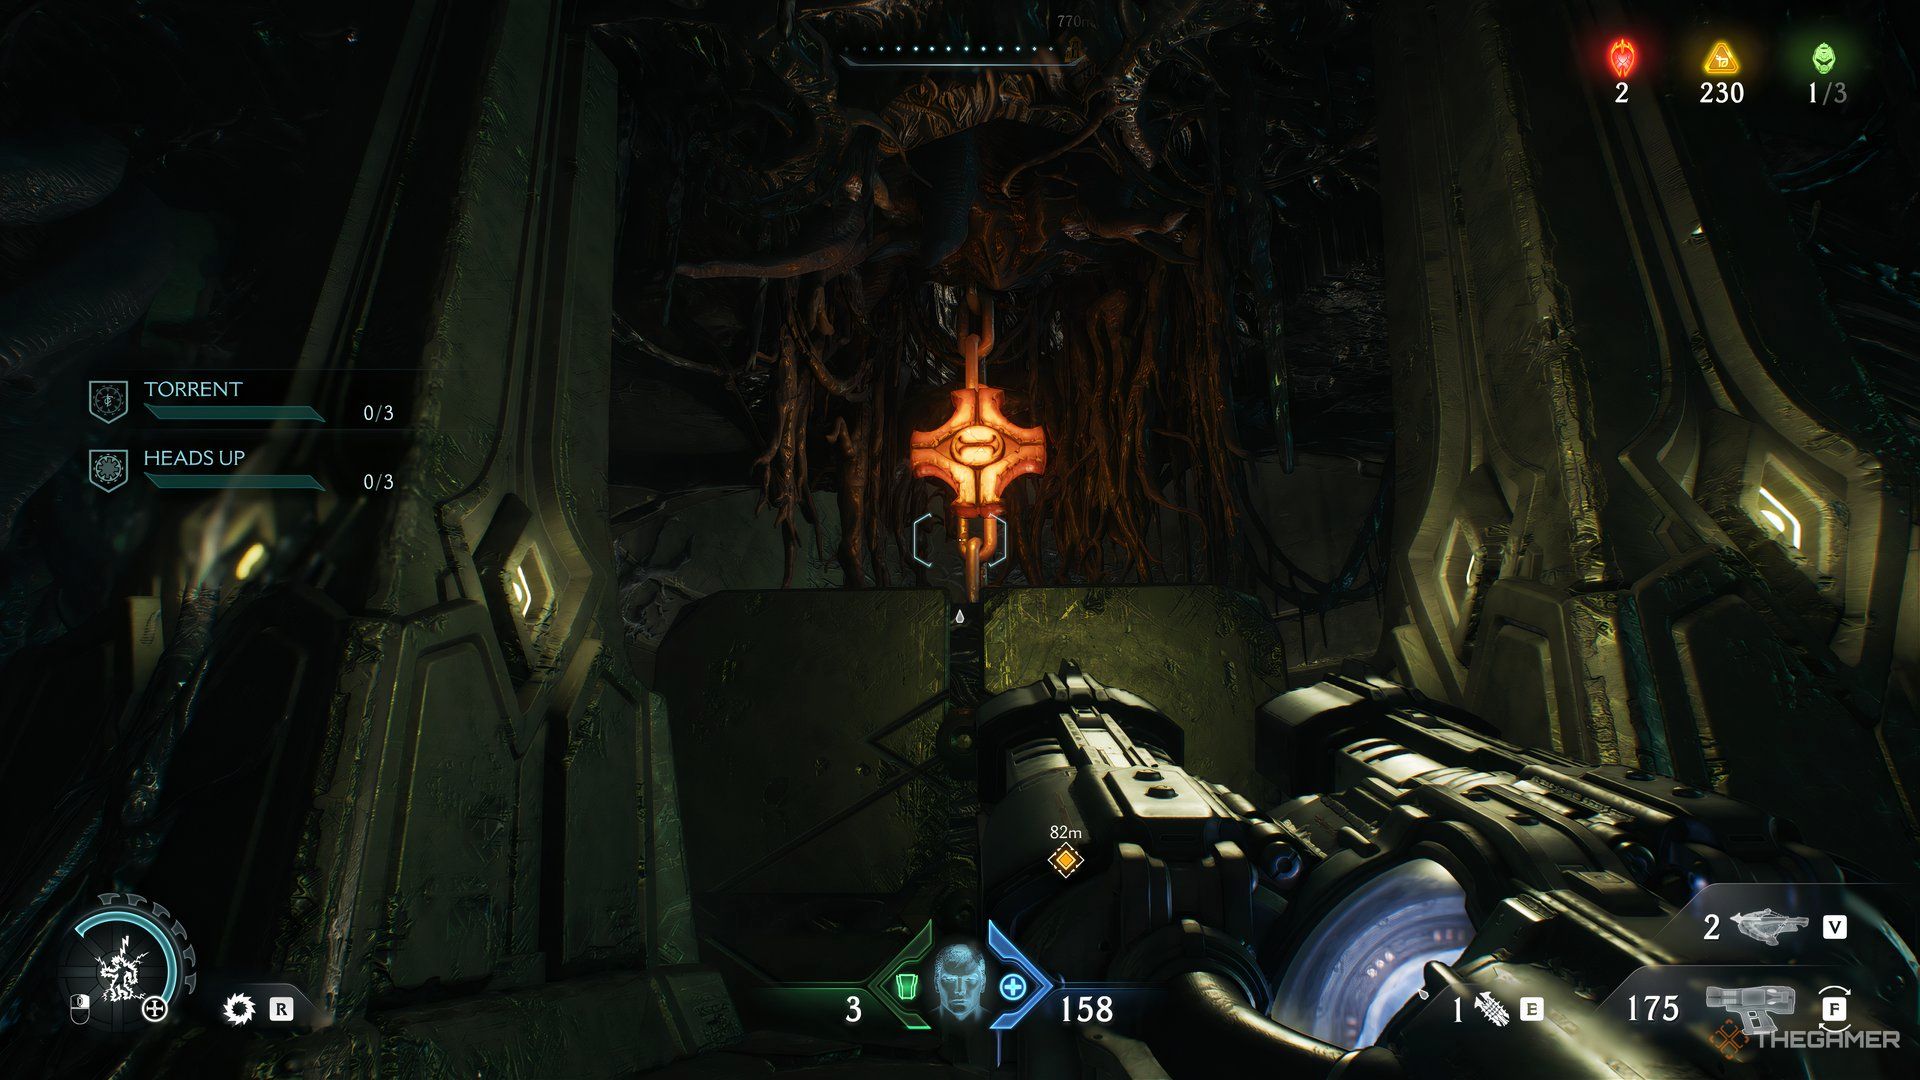
After it has fallen, you’ll need to line up an eye that is in front of the large structure with the monolith that’s on the opposite platform. When that’s done, throw your shield at it, and the entrance to the structure opens.
Again, follow the story path leading you to an open room. There will be enemies to fight here as well. Once they’re gone, follow the story marker to the other side of the room. But when you make it to the other side, turn around to see a set of stairs.
Once you reach this new platform, turn right towards the wall. Drop, and follow the path of gold pickups. When that’s done, go to the end of the hallway and collect the one and only Codex in the level.
Related
Doom: The Dark Ages – Every Secret And Collectible In The Sentinel Command Station
You will need to snake through Doom: The Dark Ages’s Sentinel Command Station in order to get every collectible. We’ll, show you the way.
Ruby 2
When you exit the hallway, you’ll loop back around to the same room with the set of stairs in it. Head back up those same stairs. Only this time, go straight on the platform and use your shield throw to jump to the other side.
As you land, turn left and collect the Gold Chest. Then, turn around and jump back on the platform. From here, continue along the story’s path.
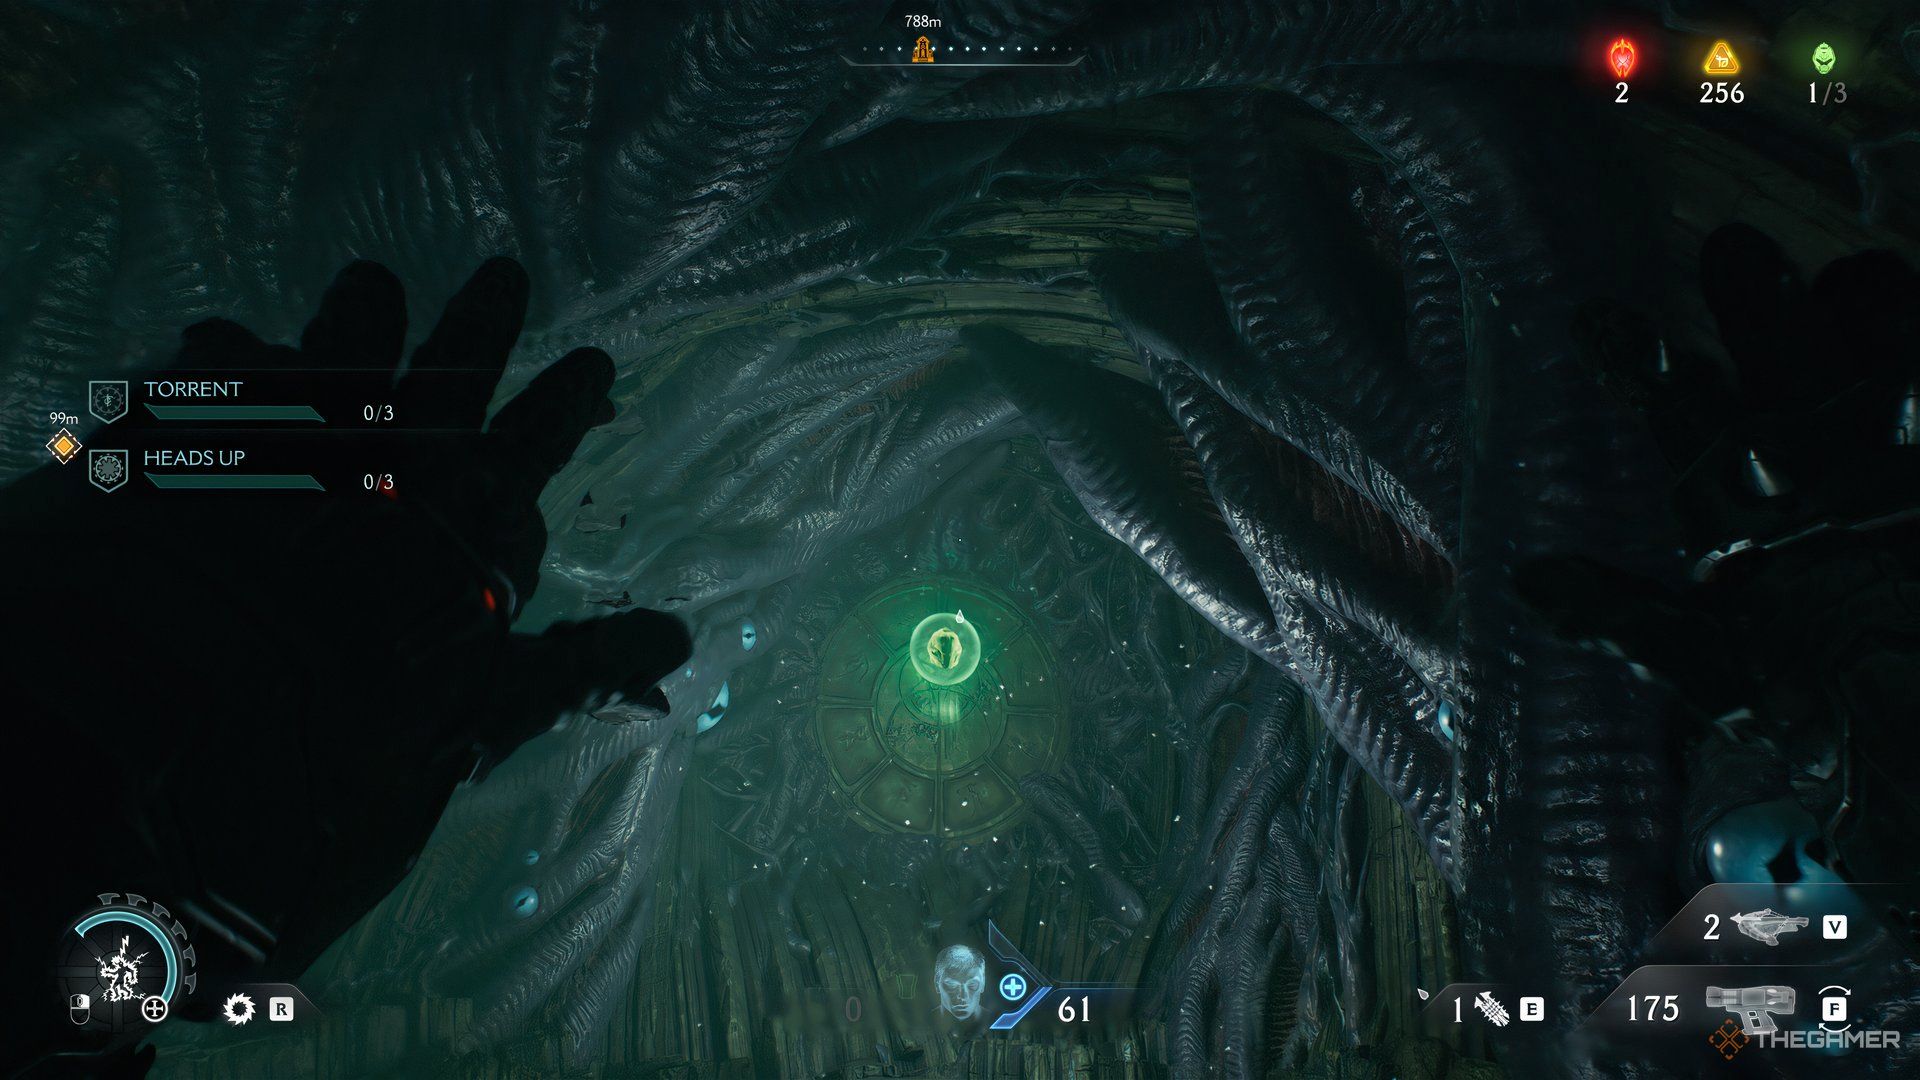
Jump into the tunnel filled with water, and you’ll wind up in a new section. Upon getting out of the tunnel, turn right and head into a large room.
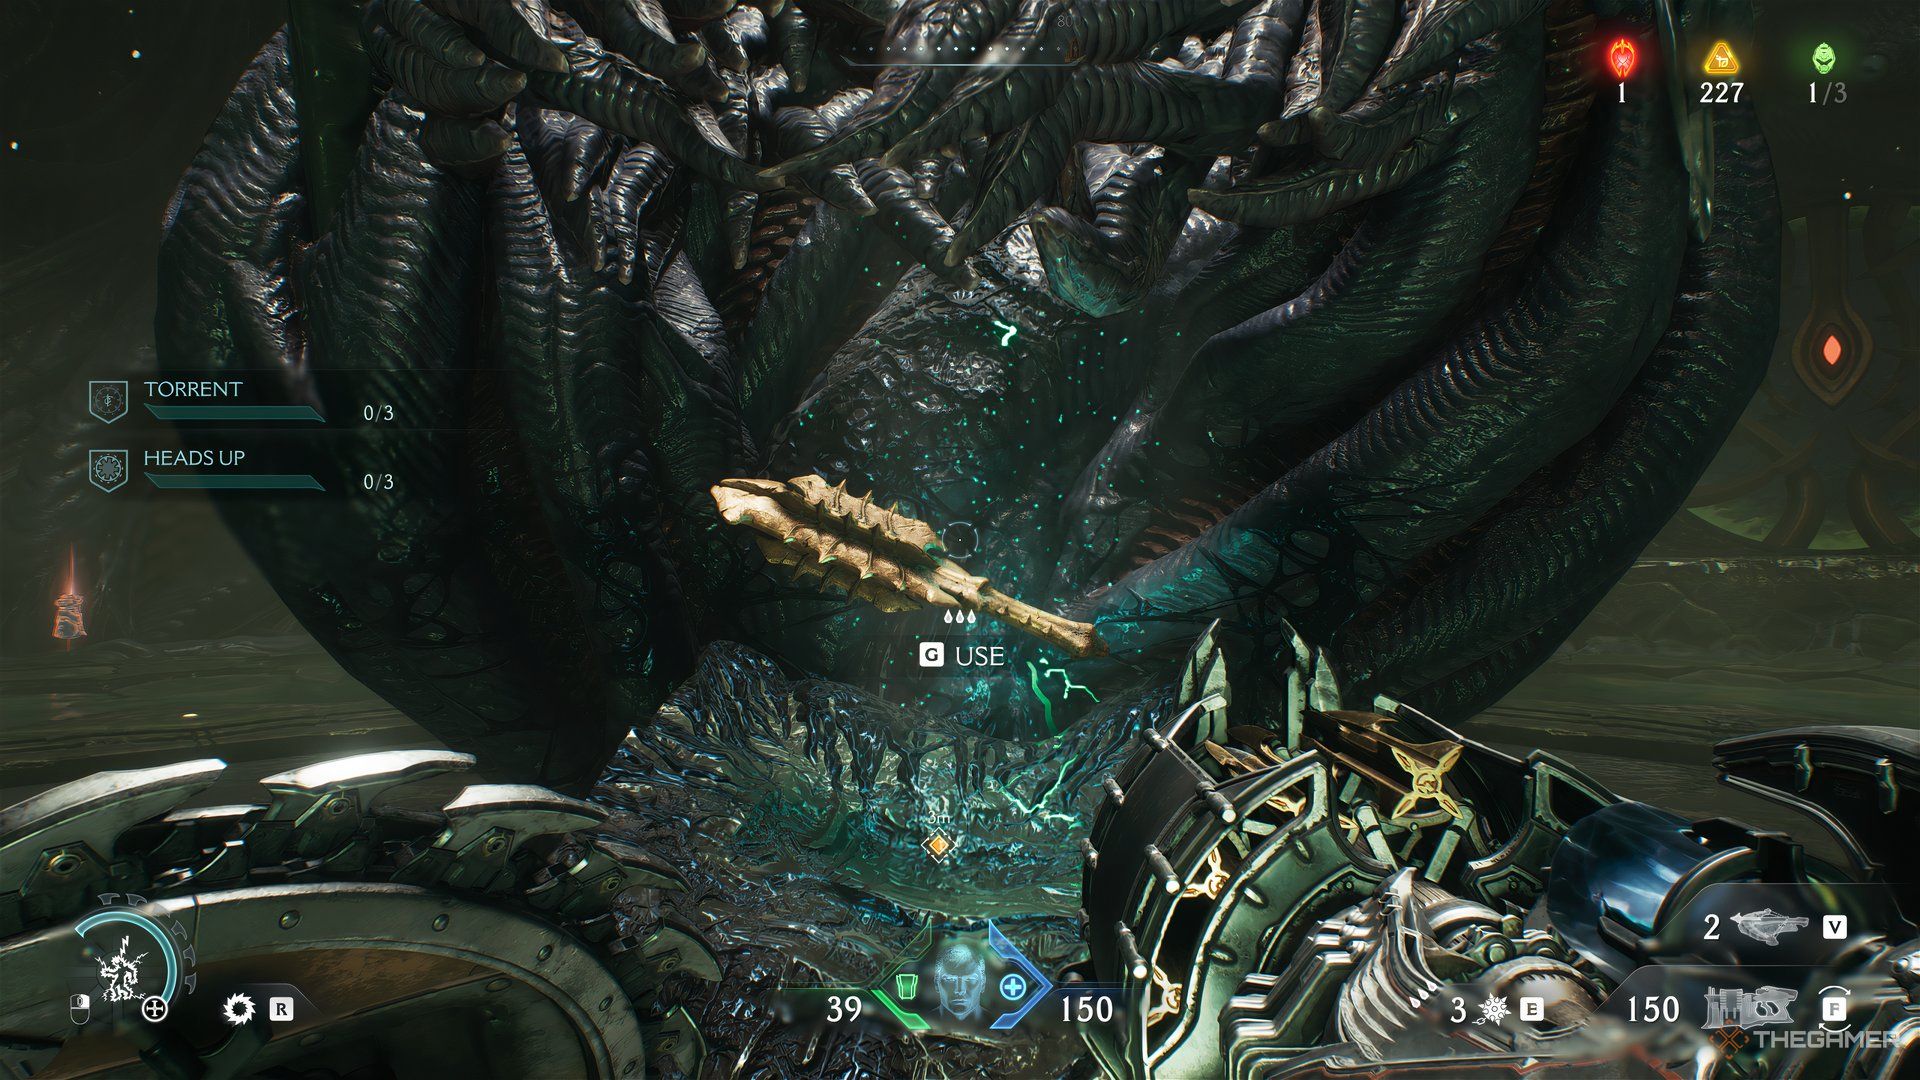
At the very center, you’ll see a large monolith that has the Dreadmace. When you pick it up, waves of enemies will spawn, allowing you to test the weapon.
This area is also a good spot to complete the Fire Cracker challenge.
After you’ve dealt with the enemies, follow the story marker that will take you to a smaller room. Once you’re in this room, turn around and look up. There will be a blue point to throw your shield at. When you do, a platform rises behind or under you.
If you’re on the platform, jump off and head into the hole under the platform. Swim down while avoiding the large blocks to collect the gold in the tunnel. At the end of the tunnel, swim up to the exit.
Once you leave the tunnel, the second and final ruby will be accessible.
Health Demonic Essence
When you leave the room where the ruby is, you’ll be taken to the room where the elevator is located. Once again, trigger the elevator the same way by using your shield and go up.
On the right will be a monolith that you need to line up the eyes with, and your shield to break. Afterward, leave this room and enter a big area with enemies waiting for you.
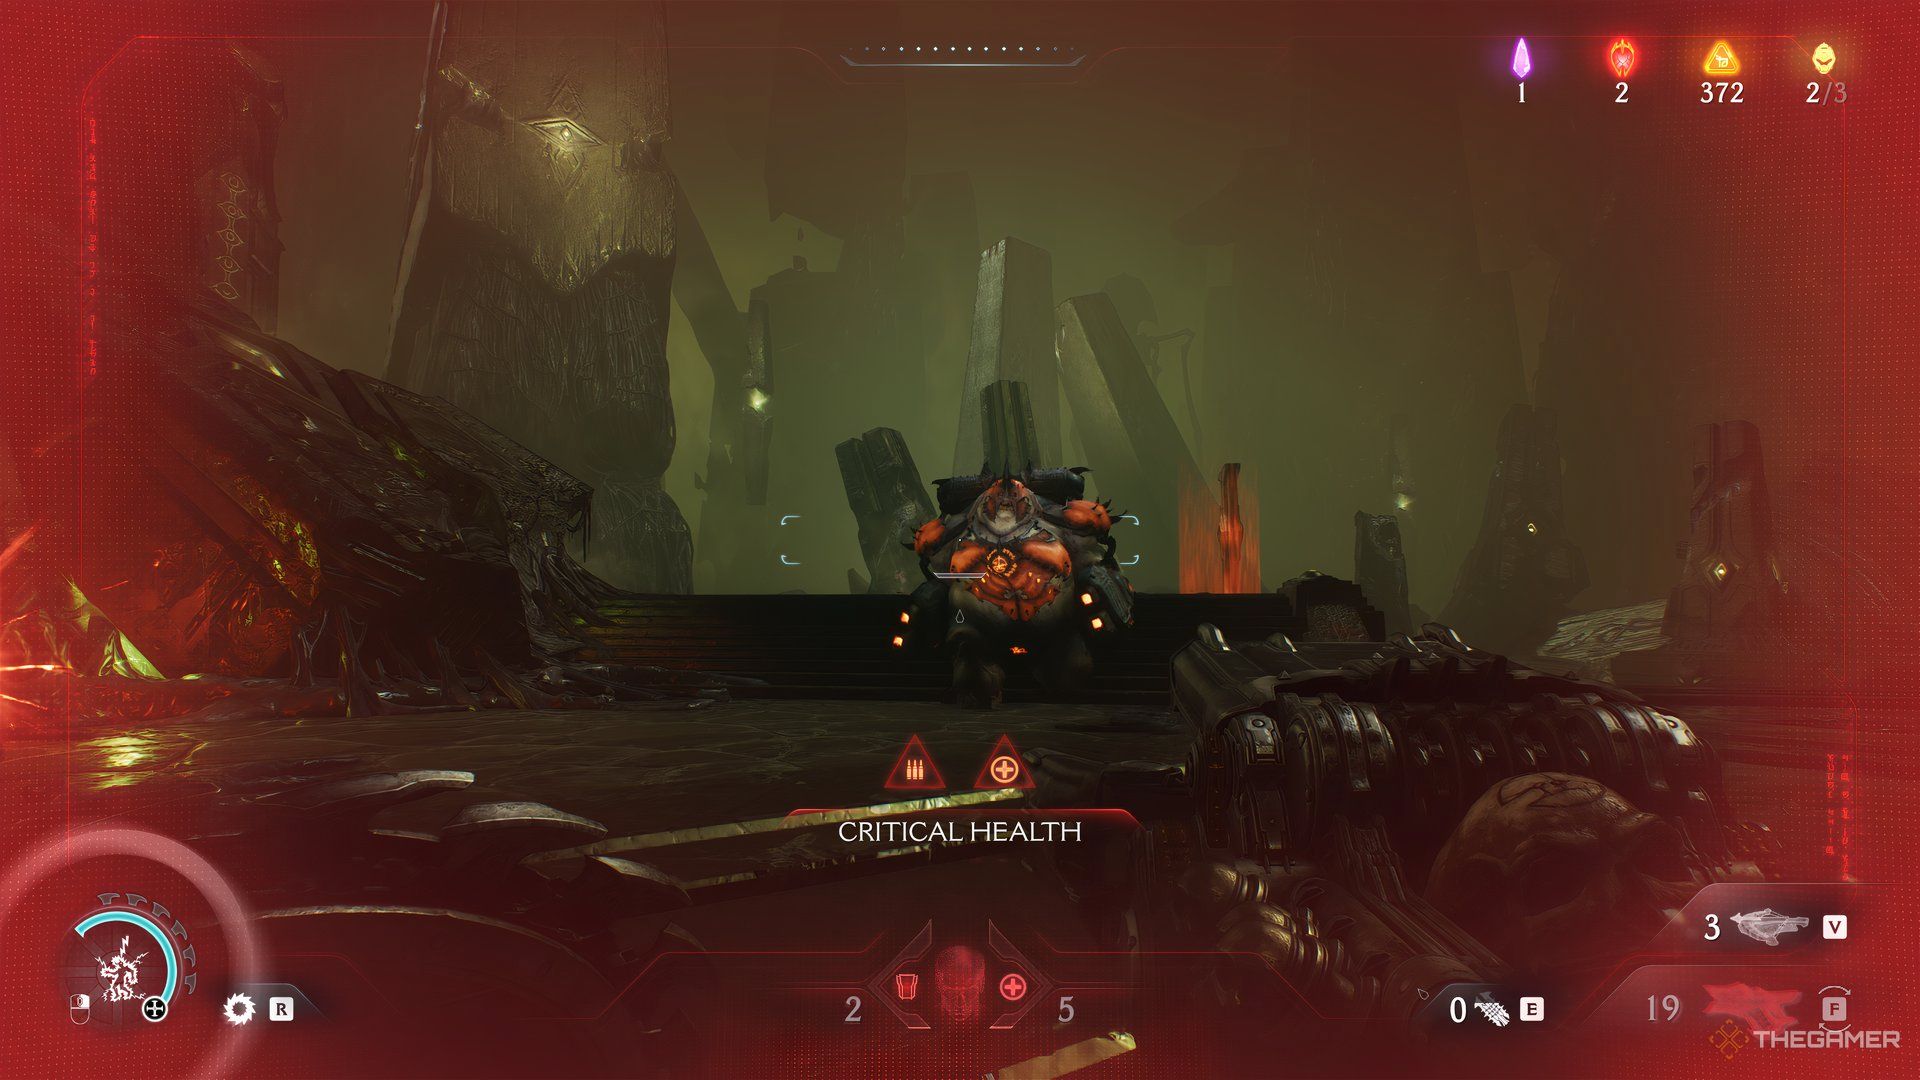
You’ll have to deal with Cacodemons and a mini-boss that will give you a health boost. So, it would be a good idea to attempt the Heads Up challenge during this sequence.
If you don’t get all three parries in this encounter, you have a few more attempts to do so in the level.
Related
Doom: The Dark Ages – Every Secret And Collectible In The Spire Of Nerathul
Your next big dragon stage in Doom: The Dark Ages is just as filled with secrets as the last. We’ll show you where they all are.
Life Sigil 2
After the fight, you can keep following the story marker that will have you dropped into a large room with water in the center and moving pillars.
As you enter the room, turn right. You should see a nook where you can throw your shield at. This causes another pillar to come out of the ground. Climb this new pillar and make your way into the tunnel.
Follow along the tunnel to the other side. After exiting, look right and there will be a stone cube to drop via Superheated Metal. To break the metal, throw your shield at it. When the cube drops, go down with it.
On the left side of the cube will be a shield bash point. However, make sure you’ve taken your shield off from the trigger point to move the pillar that you were on back in place. This enables you to move the large cube to the far left side of the room.
It should hit another pillar. When it does, climb the cube and then the pillar, and enter a new room with an elevator in it. Ride it up, and you’ll be taken to the room where you first got the Dreadmace from.
Here, continue along where the story marker leads, which is to the tunnel on the right.
Swim in the tunnel following the only path. When you’re out, you’ll reach a new room with a monolith in the center and a tunnel on the right. Before interacting with the monolith, head into the tunnel.
In this tunnel, collect all the gold. You’ll be led to the other side of the tunnel; however, turn around and swim back. Go beyond the entrance you used, and you’ll see a slit in the wall which should have fireballs shooting out.
Go into the slit and avoid the fireballs. Follow the path with the gold pickups. When you reach the end of this path, you can get the last Life Sigil.
Once that’s done, head back to the room where the monolith is. You can use the same route you took to get in.
Armor Demonic Essence
Assuming you’re back in the room with the monolith, interact with it. You’ll trigger an elevator taking you up. At the top, look for the sole opening that will lead to a small hallway. At the end of the hallway, two enemies appear.
After this short fight, follow the path. But, where the path bends, navigate to the right side and drop. There will be a Gold Chest there. From here, climb back up and keep following the story marker. It’ll lead you to the next secret.
At the end of the path, you’ll be taken to the exterior with a shield dash point in front. Use the point, but when you’re in the air, pitch downward, so you land on the first level of the platform on the other side.
Collect all the gold here. Once that’s done, head upwards. When you reach the top, you’ll see a large gap with an armor pick-up on the other side. Jump towards the pick-up. Upon landing on the other side, look left and climb the wall.
When you do, take all the gold on the path and follow it. At the end of the path there will be a trigger point where you can throw your shield to. Once that’s done, head back to where the armor pick-up is, and go straight. On the other side, there will be an activated jump pad.
The jump pad will take you to the third level of the platform, where you’ll need to fight a Cacodemon. When it’s defeated, use the jump dash point at the top to take you to another platform with gold on the left.
There will also be a Mancubus you’ll need to deal with. After it’s taken care of, head up the wall behind it. When you’re on a new level, head straight towards a set of stairs, but keep right of it. Look slightly down, and you can find another area to drop into.
You’ll see a bunch of gold to pick up with a shield dash point at the end. When you take the gold and use the shield dash point, you’ll end up right beside a Gore Nest.
This will start a fight with a few Cacodemons and a mini-boss giving you Armor Essence.
Toy And Wraithstone
Both these collectibles are next to each other and should be found at the same time. Once the area is clear of the mini-boss, continue following the story marker. This will take you to the opening part of the level with the large doors.
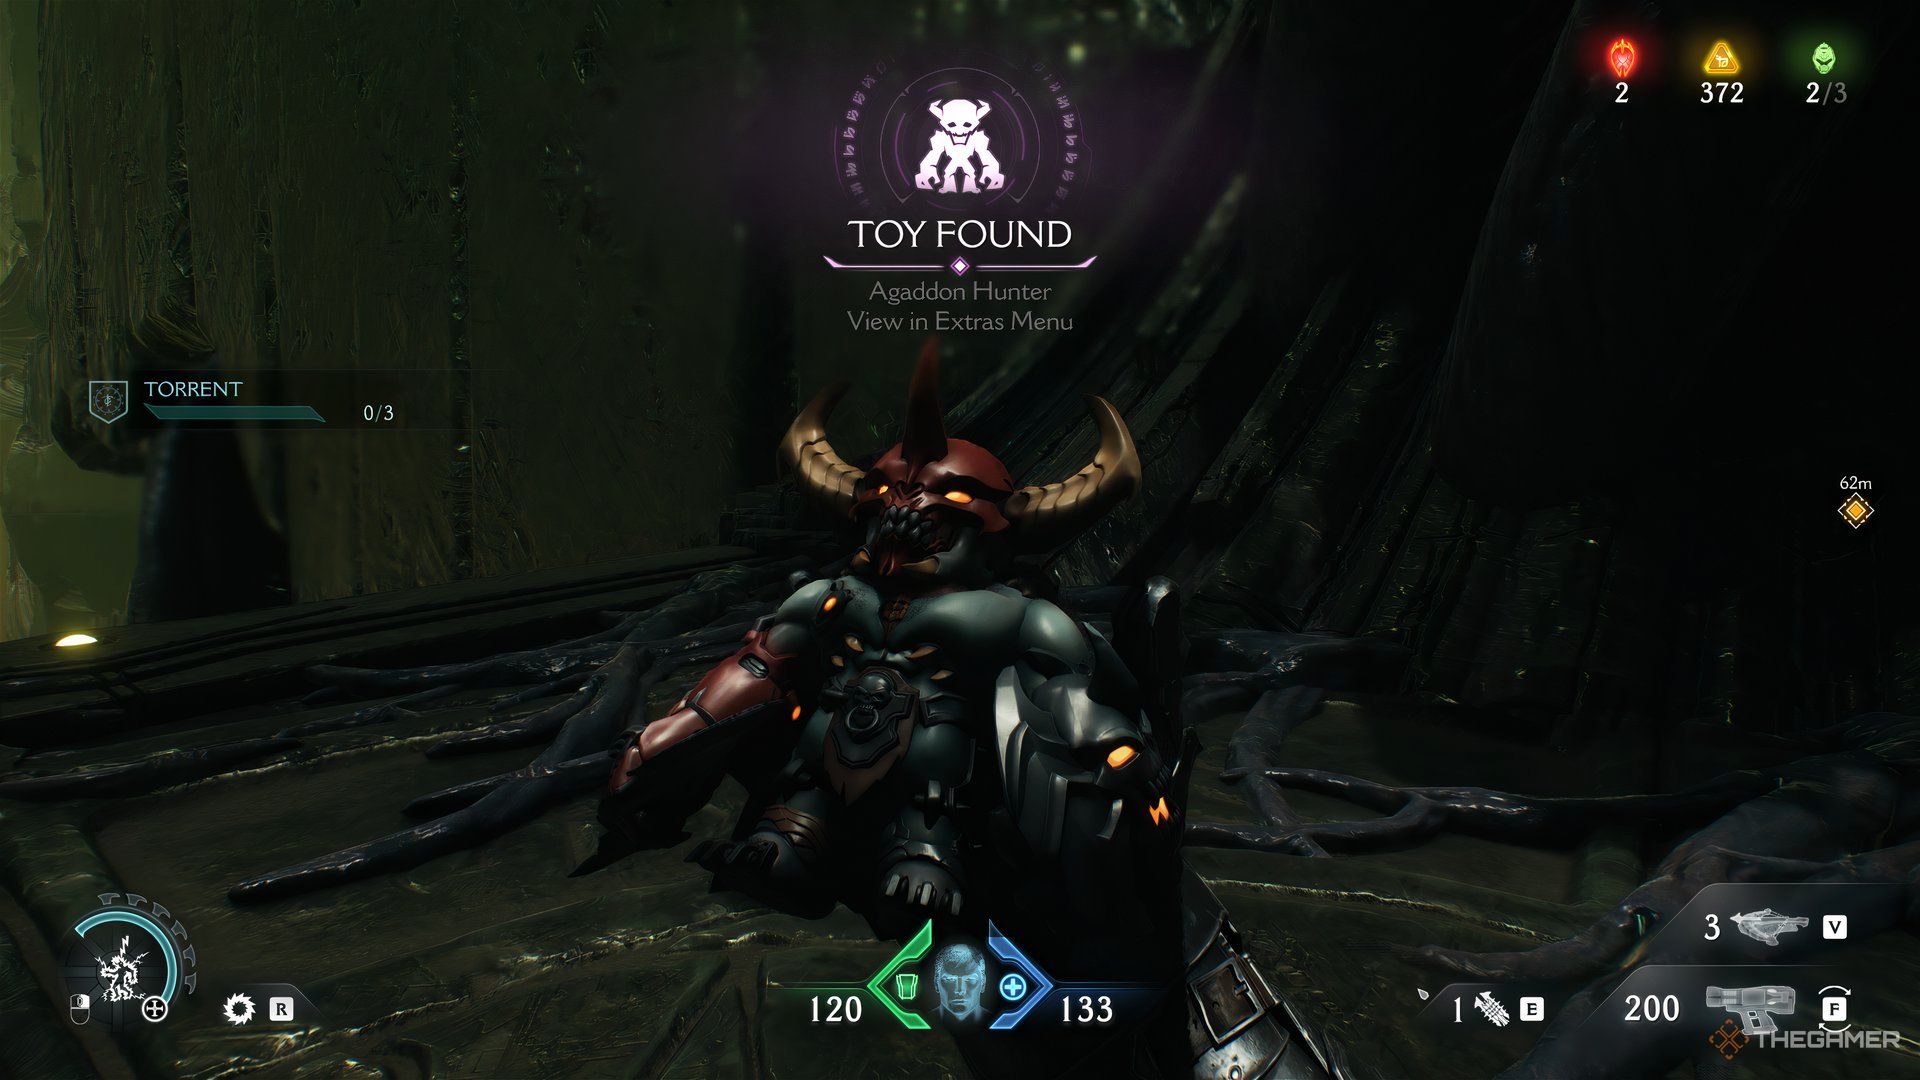
Before going straight, turn right and break the wall. Jump down, and you’ll be able to obtain the only toy, which is the Agaddon Hunter.
After you get the toy, climb up and continue on the platform. The area across from where the toy was will have the Wraithstone. Beside it, there will be a monolith that requires you to line up the eye again and hurl your shield at it.
Once that’s done, the large door opens, leading you to the exit of the level. However, before that happens, numerous enemies will spawn down below. So, if you haven’t completed the challenges yet, you can try to achieve them this final time.
Next
Doom: The Dark Ages – Every Secret And Collectible In The Sentinel Barracks
The next Doom: The Dark Ages stage has you stomping around the barracks. We’ll point you to the secrets.

