
Ancient Soil is a main quest in Avowed. It’s one of the most critical points of no return in the game. You’ll team up with Giatta to venture into Naku Tedek, where you’ll search for a massive Adra pillar hidden deep within the Ancient Soil, hoping to uncover the source of the Dreamscourge.

Related
Avowed: Missing Rangers Quest Walkthrough
This guide shows how to start the Missing Rangers quest in Avowed, where to find Adelarro and Belenna, consequences, rewards, and some common bugs.
Along the way, you’ll discover something crucial about yourself. But let’s not spoil it just yet! In this guide, we’ll walk you through the key moments, the choices that shape your path, and the consequences of accepting or rejecting your Godlike power, plus the ending choices involving Paradis or Thirdborn.
Important Notes Before Starting Ancient Soil

Ancient Soil is a major point of no return in Avowed, so make sure you’re fully prepared before starting the quest. Here’s what you need to take into consideration before taking on this quest:
- The following quests will automatically fail if not completed before the ending of Ancient Soil: Scofflaw’s Vase, Elder Offerings, Nature vs. Nurture, and Steel Resolve.
- The quest Debt of Blood only becomes available if Fior mes Iverno is burned down.
- At the start of this quest, Giatta may give you a letter if you convinced Elowe to spy for you or instructed the Ambassador’s spy to monitor the Steel Garrote, revealing that the Steel Garrote is secretly gathering forces in a hidden waterfall cave near Fior. You can also learn this information by speaking to Dorso during Steel Resolve and make sure to clear the Garrote camp.
-
If you don’t have a Frost spell, make sure to bring plenty of
 Eye of Rymrgand
or collect them as you explore the dungeon.
- Upgrade some of your gear to Exceptional quality to make the fights easier.
How To Reach Naku Tedek

Bring Giatta along for this quest. She can shock electric generators to open doors and provide healing for your party.
The closest Fast Travel point to Naku Tedek is the River Fork Beacon. From there, cross the river to reach Belderreno’s Lair. You can enter and defeat it for a bounty if you’re up for a challenge. To the left of the lair, look for a path with rock ledges and scaffolding.

Climb all the way up until you reach a building marked with an orange shield symbol. Nearby Xaurips will likely notice you and attack, so be ready for a fight.

After clearing the area, check the collapsed wall with wooden supports. Below the second orange shield, you’ll find a generator. Use an Electric Lily Seed or have Giatta activate it with her ability. Backtrack to the previously locked door. It will now be open, and inside, you can loot a purple chest.

Once you’re done looting the chest, head back to the main road and climb the scaffolding on the left to reach the Naku Tedek Grounds. There’s plenty to collect here, so take your time exploring the domes and grab anything that looks useful.

Don’t forget to stop by the Naku Tedek Party Camp. Unlocking it adds a new fast travel and resting point to your map. Keep going past the camp and you’ll find a sloping path that leads down to a graveyard. This is where you can progress on the quest Mapping the Living Lands: Emerald Stair.
Before heading into Naku Tedek itself, make sure to visit Merchant Alyssa. She sells some Awakened Adras and a  Warmage’s Robe
.

You can also chat with the Priestess of Berath nearby to learn more about the lore. When you’re ready, take the stairs next to the priestess and go through the door to enter Naku Tedek.
Explore The Depths Of Naku Tedek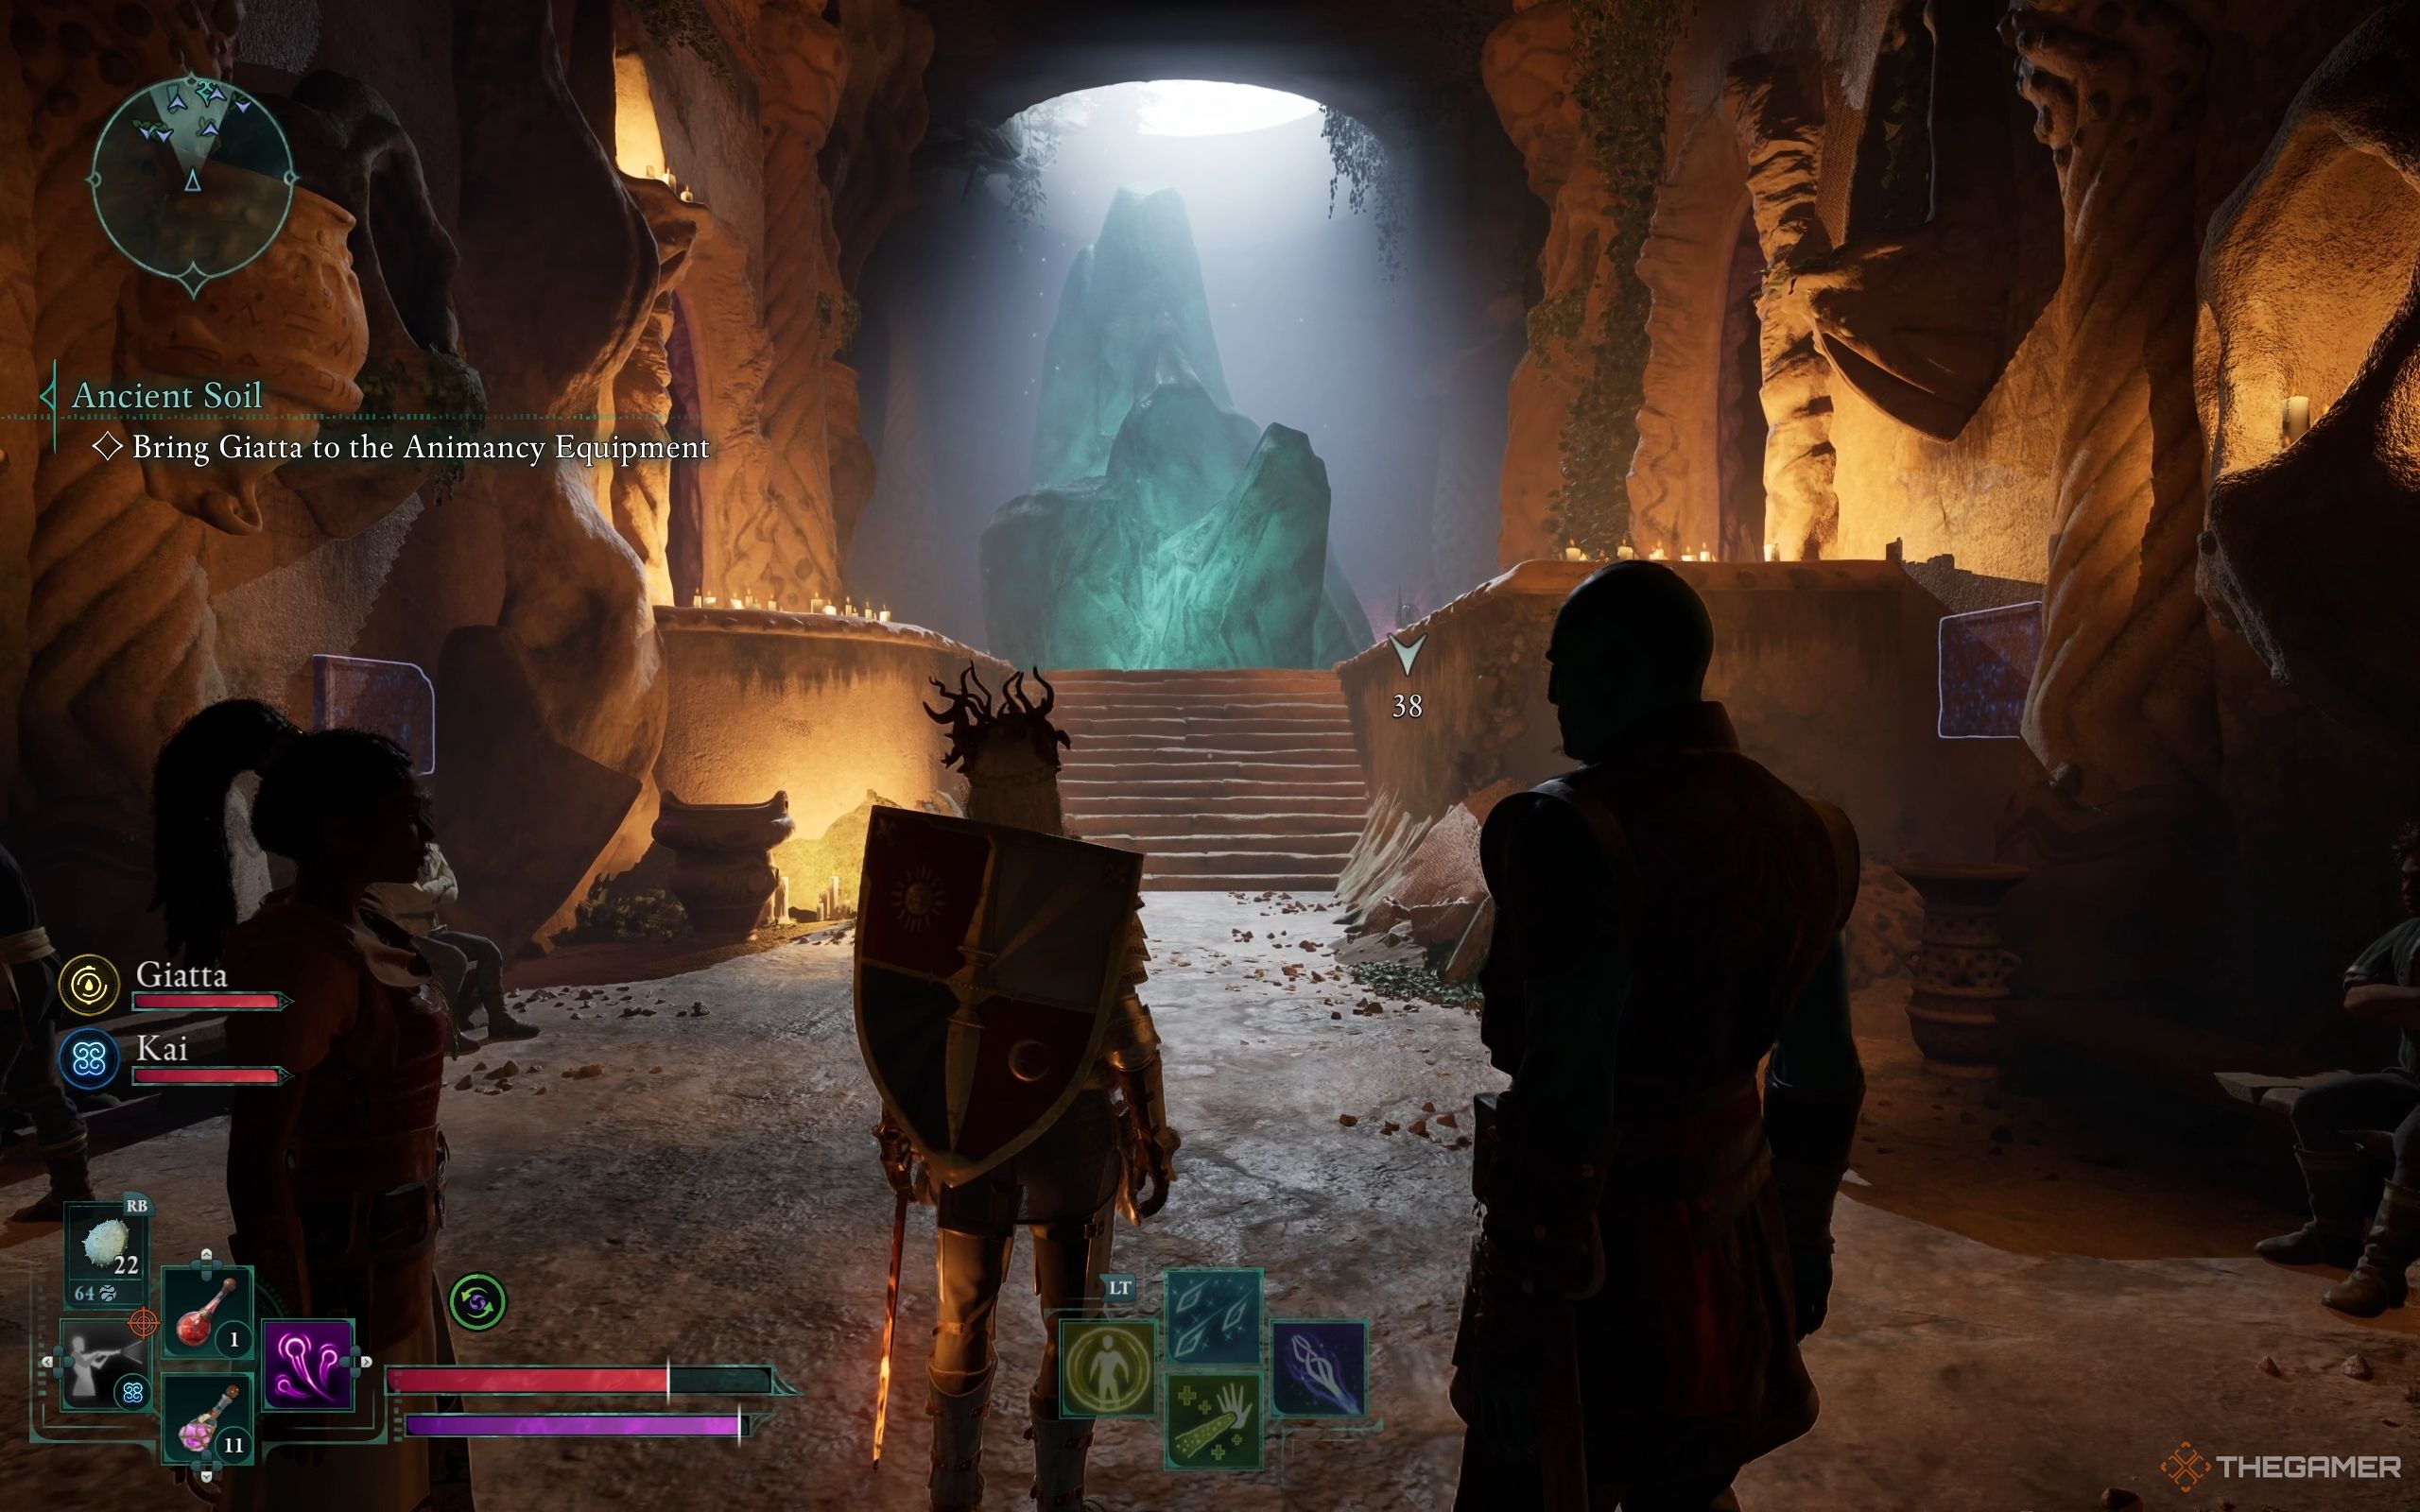
As soon as you enter the temple, you’ll spot a massive Adra in the center. On either side of it are two purple-lit rooms:
- In the left room, you’ll find a chest, a Lock Box, and a Healing Potion.
- In the right room, there’s a Fine Bow and a book called Dignity of the Deceased.
Loot the area for useful items like an Eye of Rymrgand, Electric Lily Seed, Magran’s Fury, and an Essence Potion.
You’ll also come across Luminous Alfons here. Talk to him to pick up the side quest A Relic from the Ashes.
Next, interact with the animancy equipment near the Adra. Giatta will handle the calibration, unlocking a nearby door. Head through it to find a giant tree branch leading downward. Don’t jump straight to the bottom just yet.

Instead, look to the left for some ledges where you can pick up another Eye of Rymrgand.

Then, return to the main branch and head right to find an alcove with a chest.

Once you’ve looted everything, drop to the lowest level to continue.
Don’t worry if you miss the jump to the root and fall to the bottom. If that happens, just take the spiral staircase back up and give it another try.
Once you reach the bottom, you’ll find two paths. One leads to a purple area, and the other to a locked room with an orange shield above it. Let’s head toward the locked room first.

Look to the left of the door for another shield and generator. Shock the generator to unlock the door, leading you into a room with water and a tree root. On the table to the left, you’ll find a Health Potion. To reach the far tree branch, you can either use your Frost spells or throw an Eye of Rymrgand to freeze the water. Once you’re on the branch, jump to the Eye of Rymrgand on the wall to collect it.

Return to the branch and make your way upward. Follow the path to find a chest you can unlock with 3 Lockpicks. Near it, on the table, is a Fine Dagger and the Effigy Necklace—a Totem Fragment.

Next, head back to the previous room and make your way toward the purple-lit area. You’ll encounter two orange shields, a generator, a Sporeling Bruiser, and a Sporeling Corruptor. Defeat the enemies and loot the Lockbox. Shock the generator to open the next door.

You’re now in a corridor filled with red water that deals damage if you stand in it. First, grab the Eye of Rymrgand on the left wall, then burn the brambles on your left. Jump into the alcove and loot the chest inside.

Now, freeze the water using Frost spells or an Eye of Rymrgand to cross safely. If you don’t have a way to freeze the water, just sprint through, but be cautious. There are pressure plates near the end of the hall that trigger lightning traps. Kai will warn you about this.
After crossing the water, continue through the open door into a room with a large mural. On the table, you’ll find a Forgotten Soul Pod and a Common Dagger. Look down, and you’ll notice Skeletons moving around. Get a head start by attacking them from the upper level with ranged weapons or abilities. Prioritize the Scourge Skeleton Priest, then the Enchanter, followed by the Barbarian and Skeleton Minions.

To the left of the mural is a locked room with an orange shield. Between the room and the mural, you’ll find a generator behind a broken wall and some roots. Shock it to open the door. Inside, loot a Healing Potion, a chest, and Hylea’s Talons.

Head back to the previous room and descend the stairs to find an electrified waterlogged room. There’s a hole in the middle begging you to dive down, but don’t rush. First, use ice platforms to cross safely and avoid electrocution.

At the far end, loot the Eye of Rymrgand. To your right, you’ll spot an orange glowing shield and a generator. If you look up, you’ll see another shield near a trap that drops electrical darts into the water. This is the reason why the water is electrified. Shock the generator to stop the darts from falling and restore the water to its normal state.

As you make your way back to the beginning of the flooded room, when you reach the narrow hallway with roots on each side. Climb up to the right alcove to find a purple Sarcophagus. On the opposite side, you’ll find a Common Dagger and an Essence Potion.
Now that the electricity is gone, you can safely dive into the hole with broken grates.

Grab the Krakenhorn at the bottom, then surface in a new room full of Sporelings. Defeat them and shock the generator to open the sealed door leading to a room with deep water.

Stand by the doorframe and create ice platforms to reach the other side, picking up the Eye of Rymrgand along the way. Follow the tree root upward and enter a purple room with a gold-glowing Sarcophagus. Loot it to get  The Packmule’s Burden
, a unique ring that increases your carry capacity by +25.
Dive through the water tunnel again to return to the main path, where you found the generator to disable the electric darts. Before entering the next door, look for a cracked wall between two doors. Throw a grenade to burst it down and loot the treasure chest inside.

Head through the next door and follow the path into a room with an abomination impaled by the Giant’s Slumber spear in the center. Be sure to loot the room before pulling the spear out. Removing it will shut the door and spawn two Spectres, a Greater Calamity Blight, and several Skeletons.

The Spectres explode upon death, so stay clear of the blast radius. Stay on the move throughout the fight, as the enemies are fast, and you don’t want them cornering you. Once you’ve defeated all the enemies, the sealed door will open.
Cylia Boss Fight

Descend the stairs, and you’ll notice an alcove just a bit above. You can jump to it to open a chest containing various materials and a Health Potion. Loot the Soul Sponge at the bottom of the stairs, then continue down until you reach a giant Sporeling named Cylia, dancing in front of the Adra Pillar with a Delemgan Scourge and some Xaurips.
There’s a Xaurip Shaman among them, so focus on eliminating the Shaman first. Afterward, take care of the rest of the enemies and leave Cylia for last. While Cylia can buff its allies with shields and healing, it doesn’t do so quickly, allowing you to clear the others without much trouble, especially if your gear is of Exceptional quality.
Cylia has resistance to Frost and Poison, but with its low HP, it’s easy to take down. Just be wary of its wall slam, small-area explosion, and poison volleys.
Should You Accept Godlike Power In Naku Tedek?

After defeating the enemies, interact with the Adra. For the first time, you’ll see the being behind The Voice: Sapadal. Speak to Sapadal to learn of its connection to you, the Godless, and The Living Land.
Sapadal will ask you to find it in The Garden beyond the poisoned sea. But for now, you’ll have two choices: Accept Sapadal’s power or reject it.
- Accepting the Godlike power grants you the Thorn of Sapadal, a godlike ability that fires a piercing energy thorn, damaging multiple enemies and briefly rooting them. Also, Sapadal will tell you to find it in the halls of the Tebaru Sanakis.
- Rejecting the Godlike power gives you +1 Attribute Point instead.
Your choice doesn’t impact the story’s ending. It just changes how you play. So you can choose whatever you like.
Return To Fior Mes Iverno
Before heading back to Fior, there are a few items to loot. To the left of the Adra pillar, you’ll find a pool of water. Create ice platforms to reach the ledge. Once there, climb up and you’ll find a Lockbox.

Next, turn your attention to the room with three orange-glowing shields. You need to power up three generators. The first is to the right of the door.

The second is below the bridge leading to the Adra.

The third is behind a tunnel to the right of the door.
After activating all three, the door to the sealed room will open, where you can loot a Margran’s Blessing and a chest.
With that done, you’ve finished with Naku Tedek’s Depths. As you leave, you’ll notice Fior in flames. Depending on your actions with the Steel Garrote camp behind the waterfall, things may look very different here.
Fior Mes Iverno Burned

If you didn’t clear out the Steel Garrote camp, they’ll burn Fior Mes Iverno to the ground. Your next step in the Ancient Soil quest will be to search for survivors. Along the way, you’ll encounter hostile Steel Garrote members.
The survivors are hiding out at the Abandoned Farms. To find out what to do next, talk to Vidarro, Quilicci, and Yatzli. While you’re there, make sure to grab the Debt of Blood side quest by chatting with Vemas Rogera. This quest is only available if Fior Mes Iverno is lost to the Steel Garrote.
If you reach this scenario, Fior will be out of reach for the rest of the game. Plus, most of the side quests in and around Fior will fail automatically.
Fior Mes Iverno Saved

If you took care of the Steel Garrote camp earlier, your return to Fior will be much easier. You won’t have to deal with any hostile Steel Garrote members since they’re all dead, so feel free to loot their bodies and the unfortunate Fior Rangers for some useful items.
As you approach the city, you’ll run into Ranger Tezallo of Fior and Lieutenant Bodcg from the Steel Garrote. You’ll have a few dialogue options, but it ultimately comes down to two choices: Execute Lieutenant Bodcg or send him back in chains to the Embassy. The real question is, should you kill Lieutenant Bodcg?

It’s actually better not to kill Lieutenant Bodcg. Killing him means you miss out on any chance to question him further about the Steel Garrote and Lodwyn’s plans. Plus, your companions will also approve of sparing him.
With that settled, it’s time to enter the city.
Thirdborn Or Paradis: Where To Send The Animancers?

As soon as you step into the city, you’ll meet Vidarro, Quilicci, and Yatzli. Talk to them and go through all the dialogue options until Vidarro and Quilicci start discussing where to relocate the animancers. Both the choices have their pros and cons, so read on and see what future you want for the survivors.
Quilicci suggests moving the survivors to Thirdborn, a place where they can practice their craft without restrictions. If you choose Thirdborn, Fior’s survivors will head there in search of a fresh start.
However, if you let Ryngrim sever the Adra and drain the essence from random people in Shadows of the Past, some of the Fior mes Iverno survivors will die unexpectedly. You’ll learn about this when you speak to Quilicci in the Residential District.
Governor Vidarro proposes moving the survivors to Paradis, a place where they can hide in plain sight of the Aedyrans. The animancers won’t be able to continue their craft. But it’s a safer option since no one will suspect the Fior people have relocated there. If you return to Paradis, you’ll find the governor at the city gates, and he’ll reward you with 500 gold.
If you decide to send the Fior mes Iverno people to Paradis and later choose to make the Living Lands independent, things take a rough turn in The Siege of Paradis. The governor will open up about how his people have to hide, and some are even missing.
The Paradisians don’t accept animancers either. The Fior survivors’ agricultural knowledge earns them respect, and this gradually helps mend relations with the Paradisians and Aedyrans. But they can no longer practice Animancy.

Next
Avowed: Nature Vs Nurture Quest Walkthrough
A complete guide for Nature vs. Nurture in Avowed. How to start, investigate the Xaurip camp, learn the consequences of siding with Amadio or Dolina.